You sit down at your desk, sip your coffee and open your email, then it hits you – Google just sent you a notification. You have a new review for your law firm and it’s not good…someone just left a one-star review with a vague, scathing comment:
“Unprofessional. Would never recommend.”
No details. Nothing to go on, just those 4 damning words.
So, what’s your first instinct?
It could be to fire back a rebuttal and explain in painstaking detail exactly how this person is 100% wrong.
Maybe you think that you should just ignore it, hope it goes away and eventually get buried under better reviews.
However, neither of those responses will help your firm’s reputation, nor will they help you get new clients.
The truth is in today’s digital world, your online reputation is just as important as a referral from a trusted friend or family member.
Getting 5-star reviews is great and should be what you strive for every time!
However, it’s often how you respond to the bad ones that really determines a prospect’s view of you and if they contact your firm…or call a competitor.
Think of your online reputation like a courtroom. Every review is a statement on the record. Your response is your chance to present your best case to the jury. Remember, the jury is not just the reviewer, but every potential client looking you up online.
In this article, we’ll break down how to handle online reviews like a pro—even the brutal ones—so that you can build trust, attract new clients, and strengthen your law firm’s credibility.
Why Reviews Matter to Law Firms More Than You Think
Let’s try a thought experiment…
Imagine you’re a prospect searching Google for a law firm to handle an important case. You look at Google Maps and find two options that specialize in your case type:
- Firm A: 4.8 stars with 75 reviews, with many people mentioning the firm’s responsiveness, expertise, and positive case outcomes.
- Firm B: 3.9 stars with 12 reviews, including a few complaints about slow communication and poor follow-up.
Which one would YOU trust with your case?
Most people would choose Firm A without hesitation.
Online Reviews Are The New Word-of-Mouth
In the 80s, 90s and 00s, law firms would rely on word-of-mouth referrals from past clients or local business connections. Today, however, Google search has replaced most of this.
Consider the following:
✅ 98% of consumers read online reviews before making a purchase decision. (Forbes)
✅ 50% of consumers trust online reviews as much as personal recommendations from friends and family. (SearchEngineJournal)
✅ A one-star increase in a business’s Yelp rating leads to a 5–9% increase in revenue. (Harvard Business School)
In other words, your reviews aren’t just feedback—they’re money-makers! You can’t afford to ignore them.
Silent Dealbreakers: The Reviews You Never Knew Cost You Clients
Have you ever thought about the people that searched for a lawyer in your area and did NOT contact you?
Most attorneys focus only on their direct interactions with potential clients—consultations, referrals, networking. But many potential clients decide against calling your firm long before they ever reach out.
Here’s why:
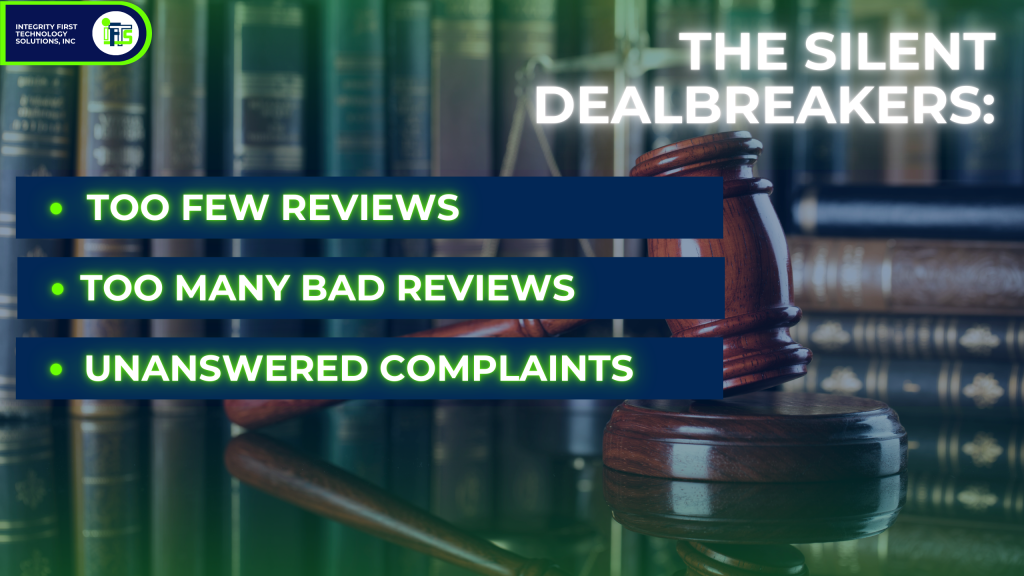
🚩They see too many negative reviews. (Even if they’re unfair, they still create doubt.)
🚩They see too few reviews. (A firm with just 5-10 reviews doesn’t feel established or trustworthy.)
🚩They see unanswered complaints. (Silence from the firm often speaks louder than the bad review itself.)
If your firm is already starting this process with a bunch of positive reviews, that’s awesome. However, without a sound strategy for responding to any reviews that you have received, you’re missing a massive opportunity to control the narrative about your firm.
Think of reviews like a closing argument in a trial. It’s not just about what’s being said—it’s about how you respond that convinces the jury.
In the next section, we’ll dive into how to professionally handle positive reviews—because yes, even the good ones need a strategic response.
How to Respond to Positive Reviews
A question that clients ask us a lot is “Should I respond to the 5-star reviews that my firm gets?”
YES!
Obviously, happy clients are the goal. A happy client’s review can speak for itself, but your response can:
- add credibility to the review by reinforcing that this was a real client
- strengthen your brand because you are going to thank them for their review and the time it took to leave it, which shows others that you are grateful
- encourage more feedback
Think of it like a courtroom victory – you’re not just going to shake your client’s hand and call it a day. You’d reinforce the win by celebrating their success and ensuring they feel valued. The same principle applies to review responses.
Acknowledge Good Feedback to Reinforce Your Brand
The number one mistake firms make with reviews?
When they receive a glowing testimonial, they respond with a generic “Thank you for your review.”
While this is a polite response, it’s not really doing you any favors. In fact, it’s like an attorney that says “Objection,” but doesn’t say why.
Simply put, it’s a missed opportunity.
So, what should you do instead?
Personalize the response and show that you really appreciate the time and effort that they put in. Not only will this be appreciated by the reviewer, but it shows potential clients reading your response that your firm really cares.
Here’s an example of a personalized response:
“[Client Name], we are so glad to hear that you had a positive experience working with our firm and that we achieved the outcome that you were hoping for. Our team works hard to provide you with great legal representation and your review means a lot to us! If you ever need legal assistance in the future, please don’t hesitate to reach out!”
Why this works:
- It’s personal (uses the client’s name).
- It reinforces your firm’s values (hard work, dedication).
- It encourages future engagement (keeps the door open for referrals).
- If a client highlights a specific attorney or team member, mention them in your response! It adds a human touch and shows appreciation for your team.
Leverage Positive Reviews: Don’t Let Them Go to Waste
A great review is more than just a confidence boost—it’s a marketing tool. Most law firms make the mistake of letting good reviews sit idly on Google.
Instead, put them to work. We’ll discuss how to do this later in this article.
Encourage Clients to Leave More Detailed Reviews
When someone leaves you a generic 5-star review and says “Great law firm!”, it’s nice. However, potential clients won’t really learn anything from it. So, it doesn’t help them decide to hire you.
You should encourage your firm’s clients to leave reviews that highlight more specific aspects of their experience.
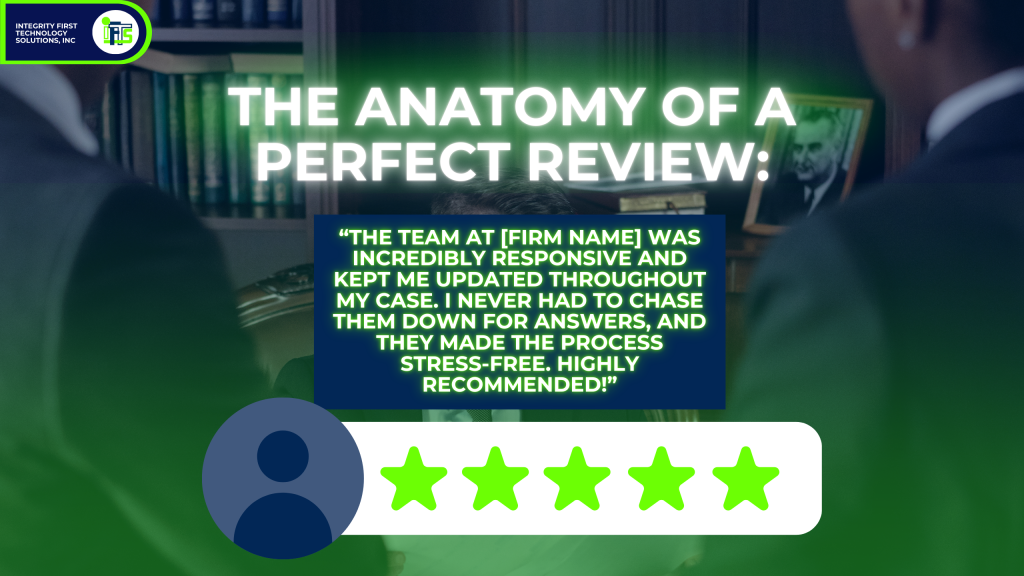
Here is an example of a review that would be great:
“The team at [Firm Name] was incredibly responsive and kept me updated throughout my case. I never had to chase them down for answers, and they made the process stress-free. Highly recommended!”
So, how do you get more reviews like this?
- After a successful case resolution, ask clients directly for a review.
- Guide them by saying, “It would mean a lot if you could mention what stood out about our service—whether it was communication, expertise, or something else.”
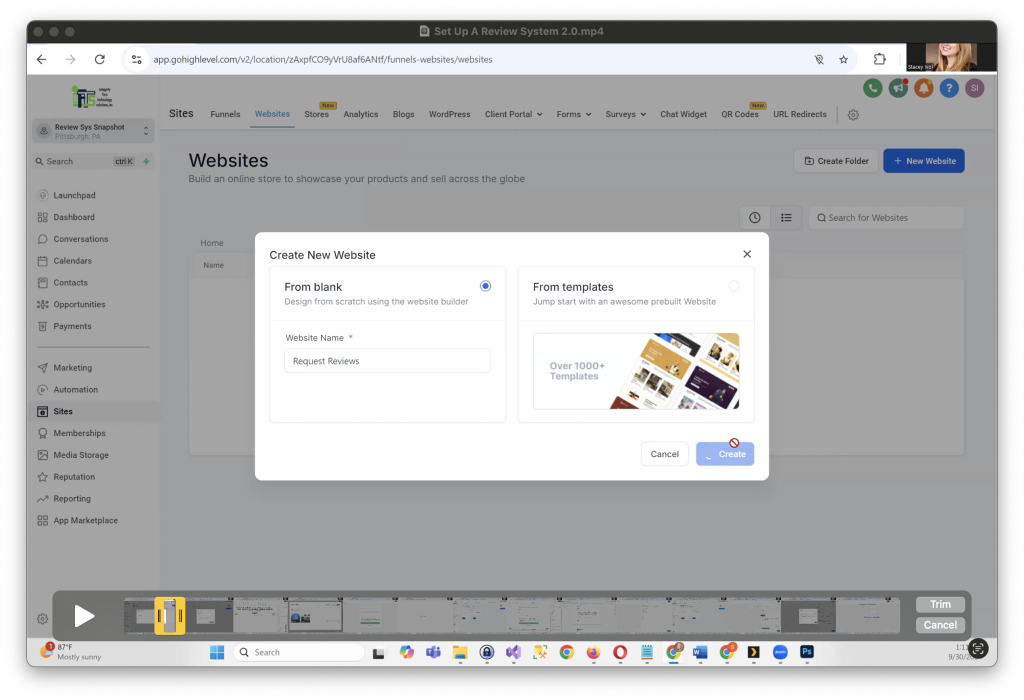
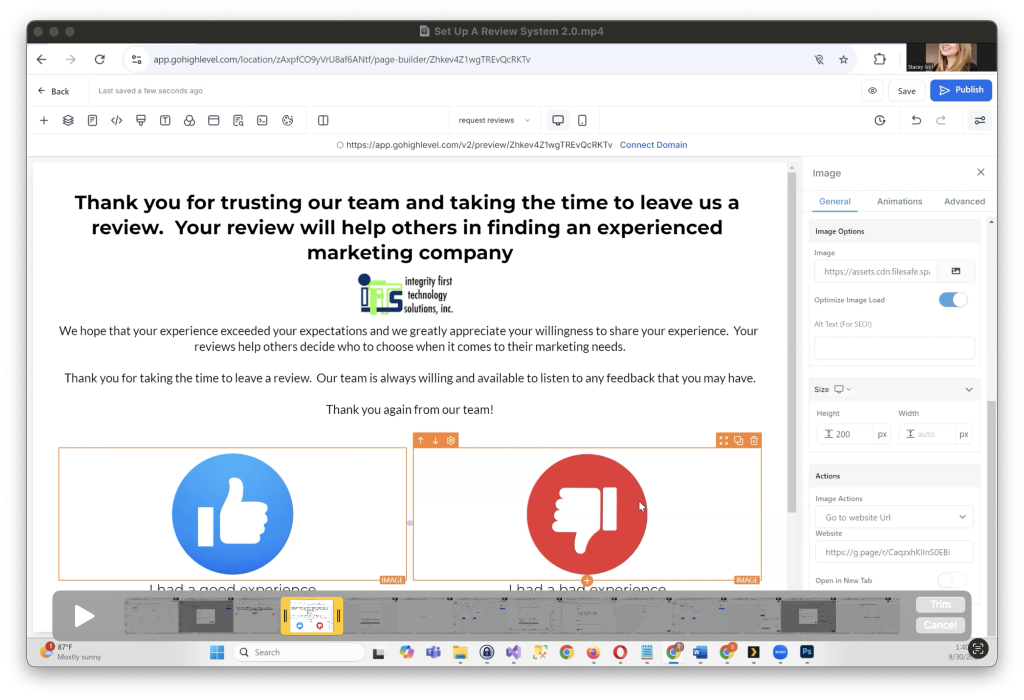
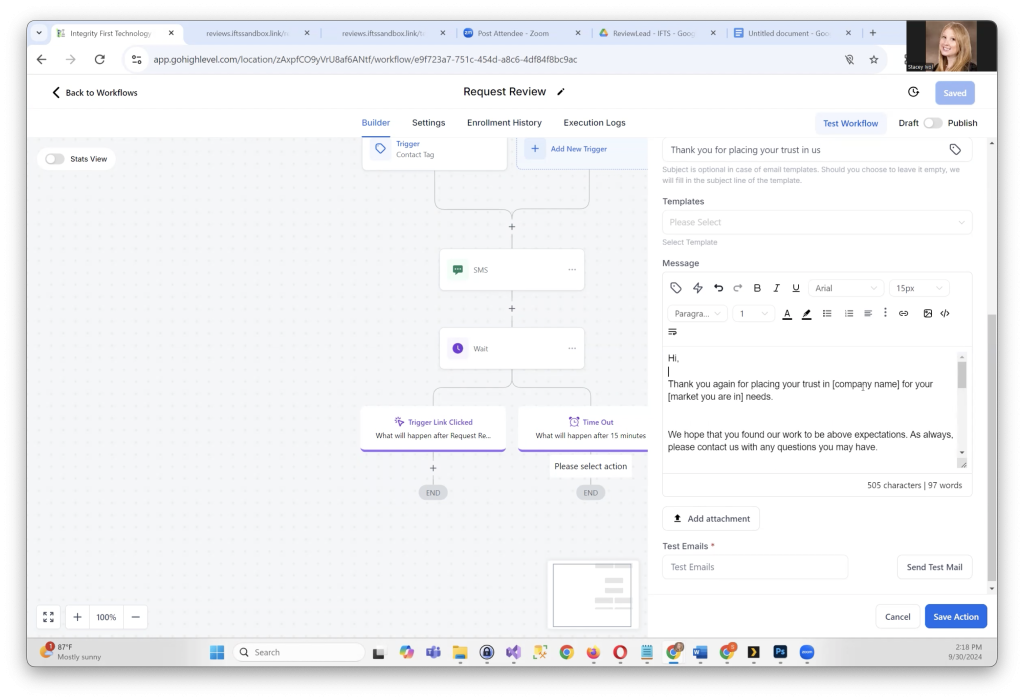
- Automate review requests using tools like GoHighLevel (which can send a polite follow-up text or email with some suggestions on what to say).
Make Responding to ALL Reviews a Weekly Habit
When you respond to your reviews, it’s not just about being polite and grateful to your current clients. It’s a strategic way to:
- build trust
- attract the high-value cases/clients
- position your firm as a top choice
To achieve this goal, you should assign a specific person on your team to be your “Review Captain”. The “Review Captain” will monitor and respond to all online reviews on a weekly basis.
🔜 Next Up: How to handle negative reviews with professionalism—turning 1-star complaints into marketing gold.
How to Handle Negative Reviews Without Hurting Your Firm
It’s happened to all attorneys.
You pour your heart and soul into a case, navigate the complexities of the legal system, and do everything possible to help your client. Then, out of nowhere, a 1-star review appears on Google.
“Terrible experience. Would not recommend.”
No details. No explanation.
Why would someone leave such a damaging public statement for all of your potential clients to see?
Your gut reaction?
Anger? You want to defend yourself, set the record straight, or even call out the reviewer.
Frustration? You feel helpless, watching your firm’s reputation take a hit from someone who may not even be telling the full story.
Nervous? What are you going to say when someone asks about this terrible review?
However, how you respond to that review matters FAR MORE than the review itself.
In fact, a well-crafted response can turn a negative review into a marketing win. The steps to do that are as follows:
Step 1: Take a 24-Hour Pause Before Reacting
Any time someone says something negative about you, it can trigger a lot of emotions. If you respond in the heat of the moment, that response may end up doing more hard than good.
Think of it like a tough cross-examination in court. When you react emotionally, you lose control of the story’s narrative. The same principle applies to review responses:
- stay professional,
- stay composed,
- and always think strategically.
A Hypothetical Cautionary Tale
A small law firm owner responds angrily to a 1-star review, accusing the client of lying and publicly discussing details of the case. The result?
- The negative review went viral on social media.
- The firm’s unprofessional response became the real issue—not the original complaint.
- The fallout led to lost potential clients, damage to their reputation, and a potential malpractice claim.
What is the lesson to learn from our hypothetical small firm owner?
Don’t respond to a negative review immediately. Instead, take a deep breath, step away for a day, and come back with a clear, strategic mindset.
Step 2: Address the Concern Professionally
A bad review doesn’t mean you’ve failed—it’s an opportunity to demonstrate professionalism, empathy, and a commitment to client satisfaction.
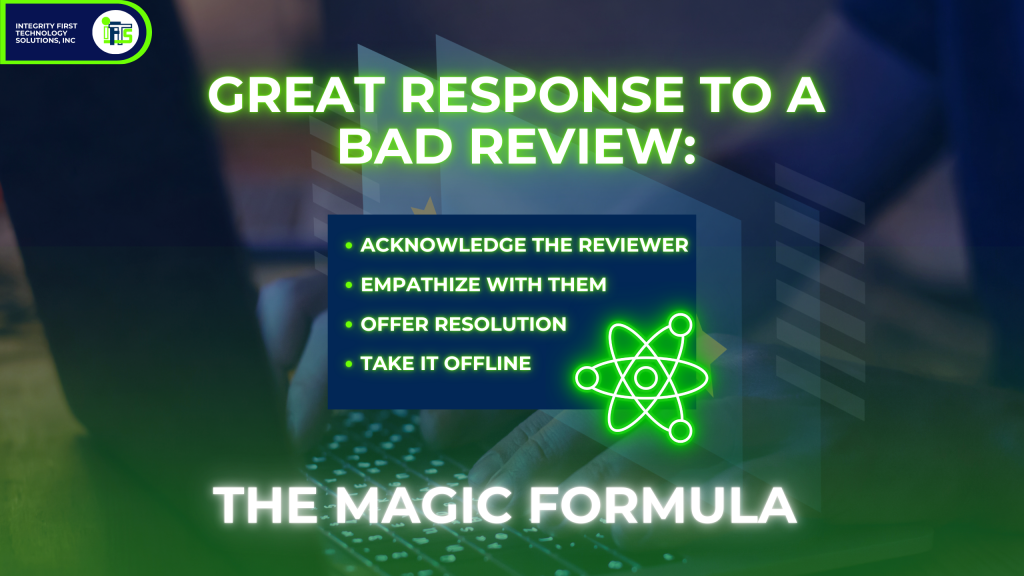
Here’s what you’ve been waiting for – the magic formula for a great response to a bad review:
✅ Acknowledge the reviewer – Recognize the reviewer’s frustration.
✅ Empathize with them – Show that you care about client satisfaction.
✅ Offer Resolution (If Possible) – Provide a way to address their concerns.
✅ Take It Offline – Move the conversation away from public view.
Example Response:
“We appreciate your feedback and are sorry to hear you were unsatisfied. Client satisfaction is our priority, and we’d love the opportunity to address your concerns. Please contact us at [email] or [phone] so we can discuss this further.”
Why does this work?
Well, it does a few things:
- Diffuses the tension: acknowledging their frustration can show you care
- Showcases professionalism: no arguing and no defensive statements
- Takes it offline: stops a public conversation and makes it private
- Reassures potential clients: it shows that you care and take concerns seriously
Step 3: When NOT to Respond Publicly
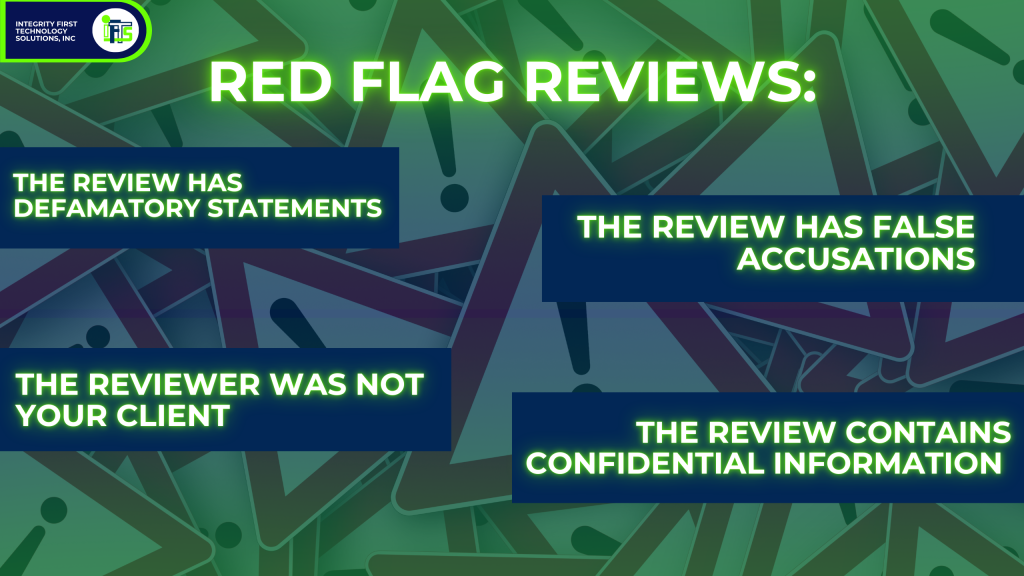
There are reviews that should not have a public response. This is because it is likely to make the situation worse. Here are the red flags that you should look for in a review that should NOT be responded to:
- 🚩The review has defamatory statements
- 🚩The review has false accusations
- 🚩The reviewer was not your client
- 🚩The review contains confidential information that you cannot ethically acknowledge
If any red flags appear, you’ll want to either:
- Report the review to Google for removal
- Respond to the person privately via email or phone
- Consult legal counsel about any type of defamation
As an example:
A law firm client of ours once received a false review from someone who was never a client. Instead of engaging in a public argument, they flagged the review, provided Google with documentation, and had it successfully removed.
Look at Negative Reviews as an Opportunity, Not a Problem
Remember, one bad review will not ruin you or your firm. However, how you handle it can actually help you get MORE clients!
A single bad review won’t ruin your firm. But how you handle it can either build trust or drive clients away. So always stay professional, show empathy and move the conversation offline.
Review all of your firm’s recent reviews and create a strategy for responding!
🔜 Next Up: How to turn your reviews into a powerful marketing tool that attracts high-value clients.
How to Turn Your Reviews Into Marketing Gold
Stop looking at your reviews as client feedback; instead, use them as a tool to help grow your business.
Your reviews are marketing gold.
When using your reviews strategically, you can:
- Enhance your reputation
- Help you attract high-value clients
- Improve your website’s Google ranking
- Build your credibility with potential clients (before they even call you)
It’s similar to word of mouth marketing, but on a larger scale – they are available 24/7 and can influence everyone that is researching your firm.
So, let’s talk about how to use your reviews to help you get more clients!
Get an SEO Boost: How Reviews Help You Rank Higher on Google
The major search engines, like Google and Bing, love to see fresh (new) content.
Did you know that reviews and review responses count as new content?
This means that Google will prioritize the law firms that respond to their reviews. This engagement, along with the actual reviews themselves, will improve your local search ranking
Reviews Help Highlight Success Stories: Show, Don’t Just Tell
Have you ever noticed that most law firm websites say they offer “experienced, dedicated and results-driven” services?
However, your savvy prospects will know that this text is just marketing copy.
How do we convince them easily?
Two words – client testimonials.
Client testimonials allow you to “toot your own horn” without you having to say anything.
So, where exactly do you showcase your best reviews?
- Website: Put the reviews on your homepage, services page, about us page and be sure to have a “Client Testimonials” page on your website, as well
- LinkedIn: Share screenshots of each review you receive and pin your favorite to the top
- Social Media: Use quotes from the review and turn them into engaging graphics – Want a free set of Canva templates for this task and directions on how to use them in 5 minutes? Check out our free templates here!
- Email Footers: Add a great review to your email signature
- Newsletters: Highlight a review in a section of your newsletter

Video Testimonials: The Most Powerful Social Proof
As we have said over and over – written reviews are great!
However, there is a trump card – the video review!
Why?
People trust other people, they want to see faces and form an emotional connection. It’s very authentic. This is why video outperforms text every time.
Now, you may be wondering…How do I get clients to record a great video testimonial?
It is actually pretty easy. Here’s the best way:
- After a successful case, ask them in person
- Offer to record a 30-second video at your office
- Keep the video simple to avoid ethical issues
- Ask them to share how working with your firm helped them
- You can also hire a marketing company to get their reviews
Some people may not want to be on video.
That’s fine, ask to record their voice. Then, use that sound bite and overlay it on a graphic.
Want to know how to do this quickly?
Check out our video on how to put this together in under 10 minutes here.
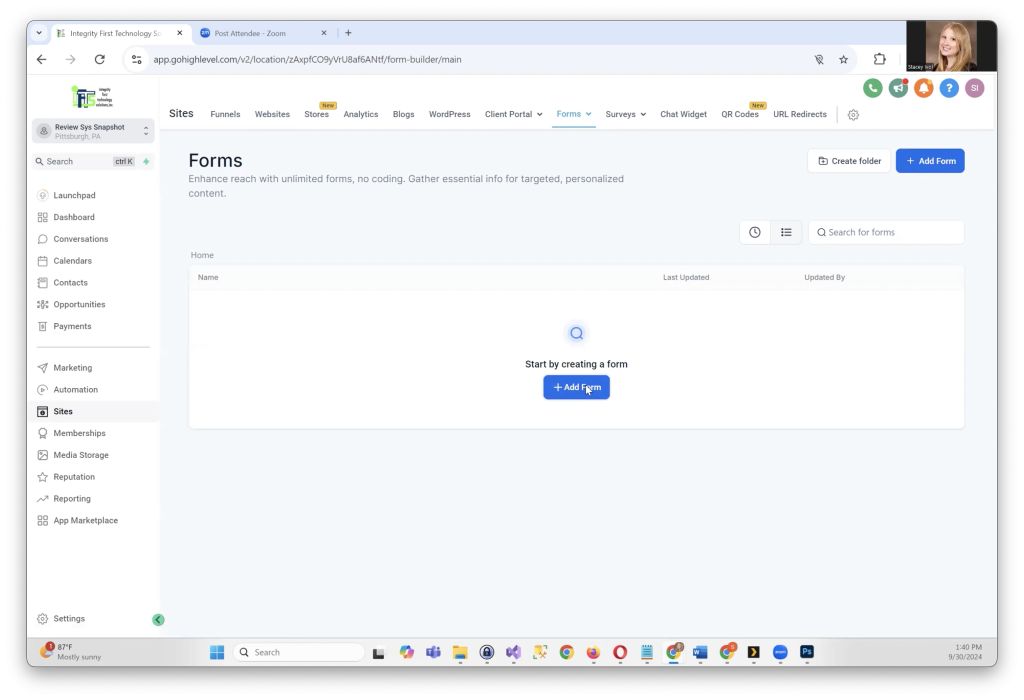
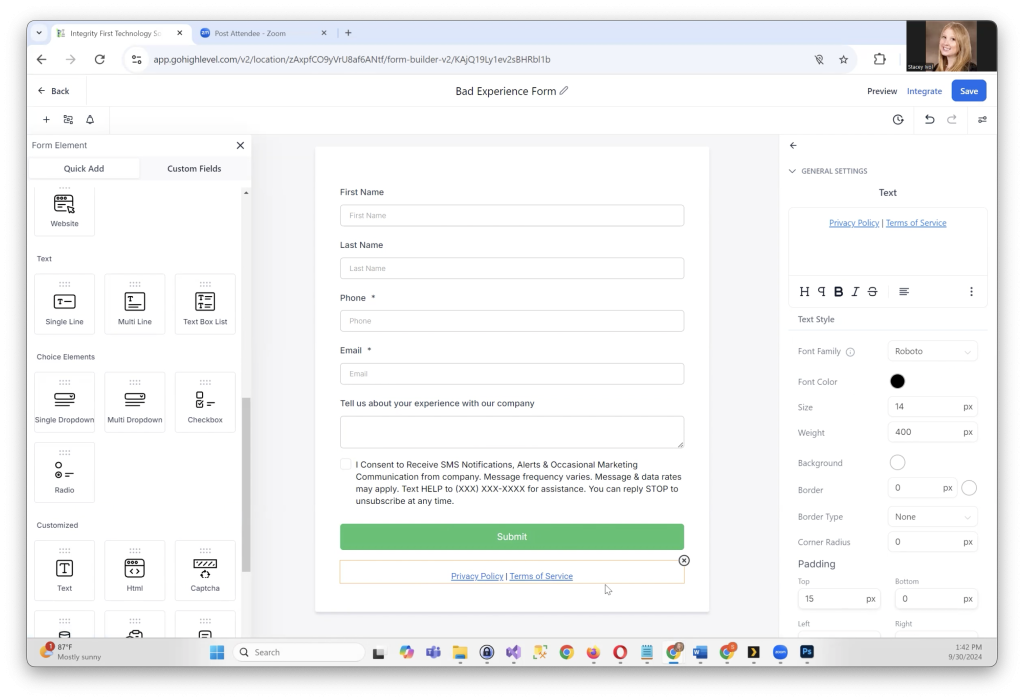
How To Automate the Review Process: Get More Reviews Without Extra Work
The problem that most attorneys have with reviews is that they just don’t ask.
Let’s take care of that and make it so you never have to remember to ask with AUTOMATION!
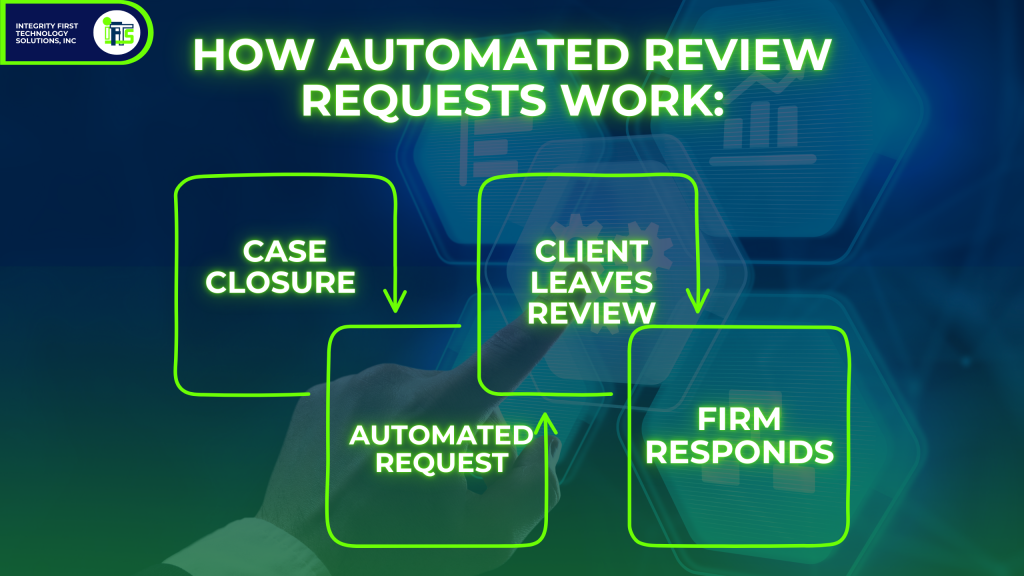
Automation makes this easy. After you close a case, you can send an automatic review request via text message and email. The request should have a link that they can click on and it takes them directly to be able to leave a review. Make it as easy as possible for them.
Here are some tools that you can use for automating review requests:
GoHighLevel – Sends automated review requests via text or email.
Podium – Helps streamline client communication and review gathering.
Birdeye – Manages reviews across multiple platforms.
Make Sure That Reviews Work for Your Firm
Remember, you need to use your reviews as a marketing asset:
- They will boost your SEO and make your firm easy to find
- They showcase your firm’s strengths to potential clients
- They provide credibility and build trust instantly
- They can be automated, so you get more reviews
🔜 Next Up: Conclusion—Bringing it all together and giving your firm a clear action plan for managing and leveraging online reviews.
Your Law Firm’s Online Reputation is in Your Hands
If you get only one thing from this article, it should be this: Online reviews are not just feedback—they are a direct reflection of your firm’s reputation and your ability to attract high-value clients.
- Positive reviews reinforce credibility, build trust, and serve as social proof for prospective clients.
- Negative reviews, when handled strategically, can actually enhance your reputation by showing transparency, responsiveness, and a commitment to client satisfaction.
- Consistently managing reviews gives your firm a competitive edge—boosting your Google ranking, increasing inbound inquiries, and strengthening your brand.
Take Action Now & Own Your Firm’s Reputation
Now that you understand the power of reviews, here’s a checklist to get started:
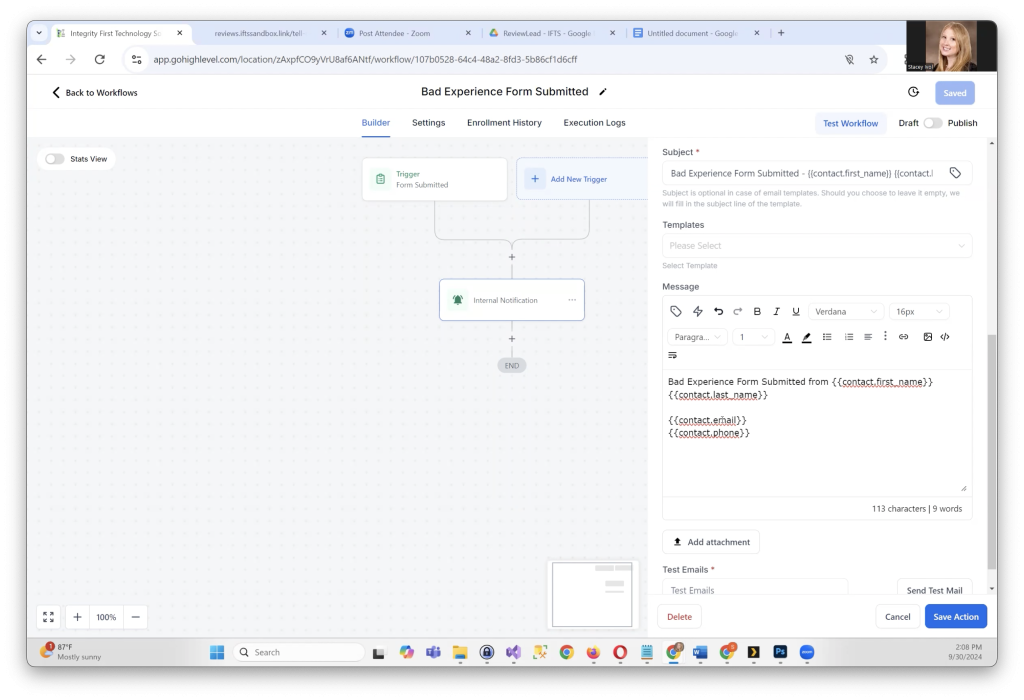
- Monitor Your Reviews: Be sure that you are alerted when there is a new review so you can stay on top of feedback
- Respond Strategically: Follow our formulas to reply with thoughtful responses that showcase your professionalism
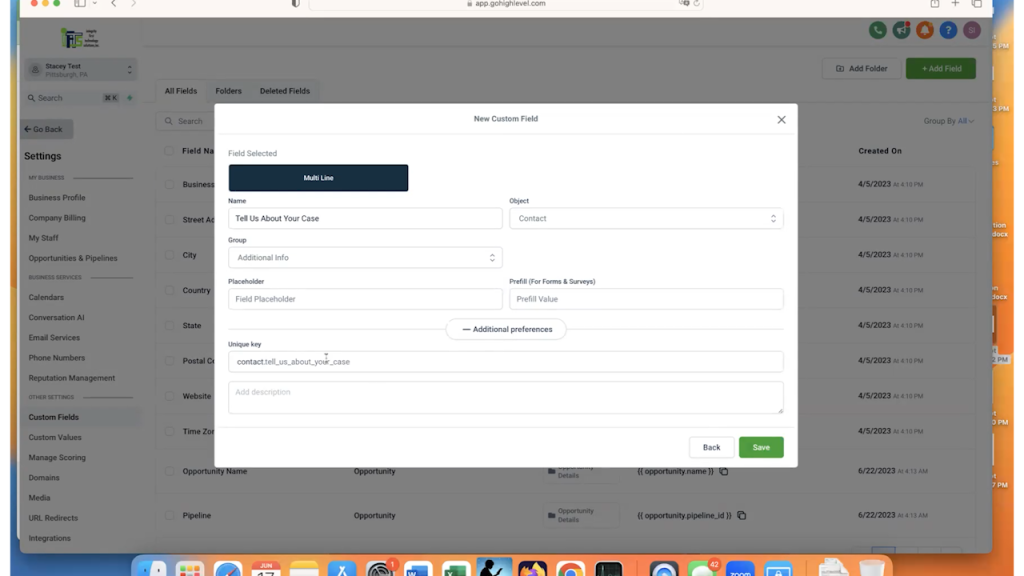
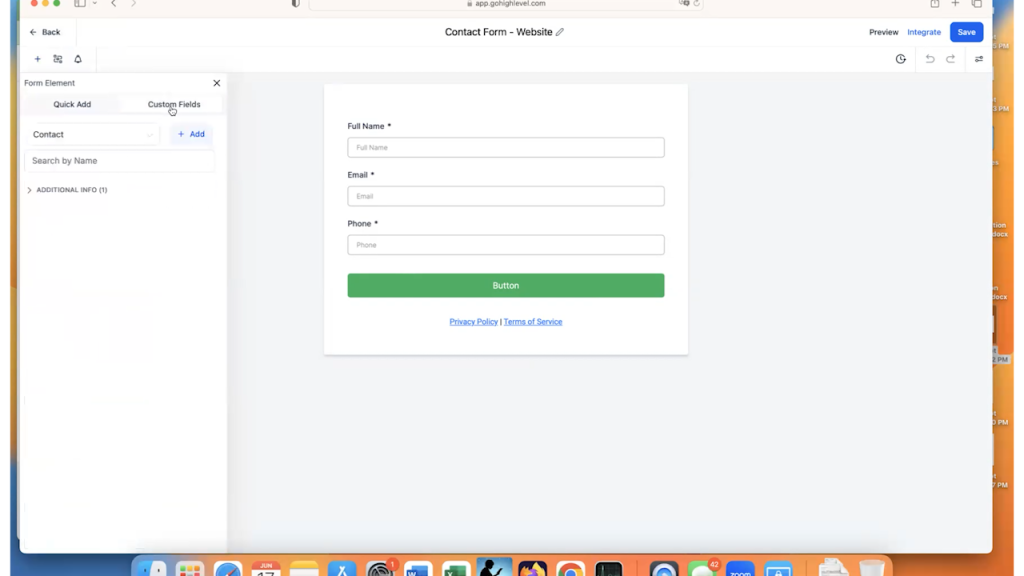
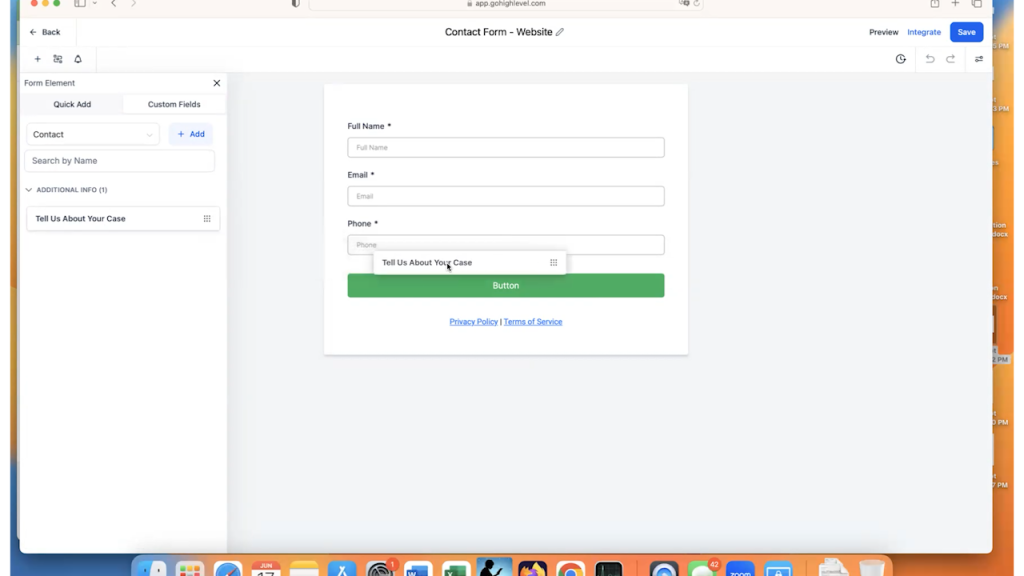
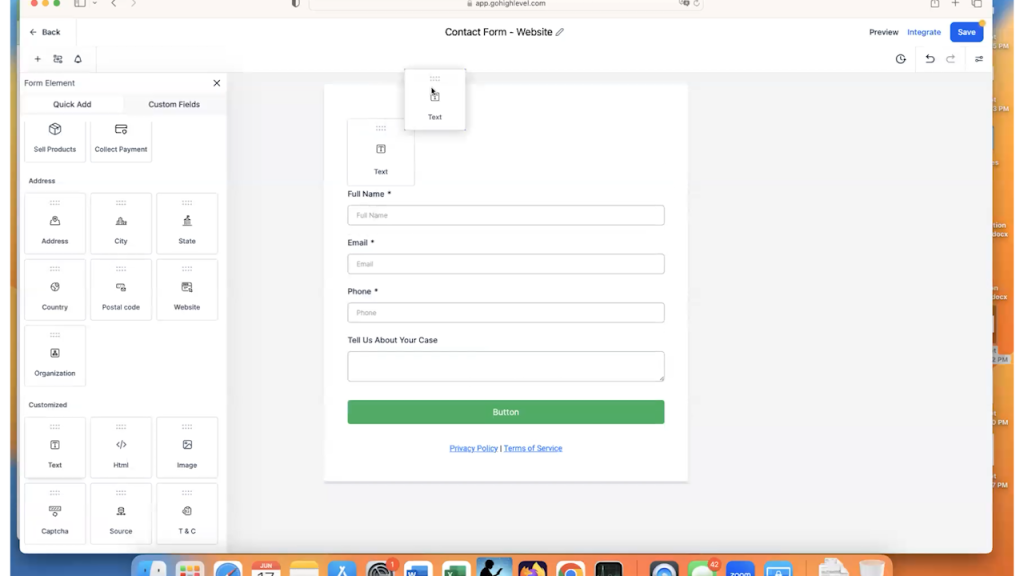
- Set Up Automation: Use a tool like GoHighLevel to collect and manage your reviews on autopilot
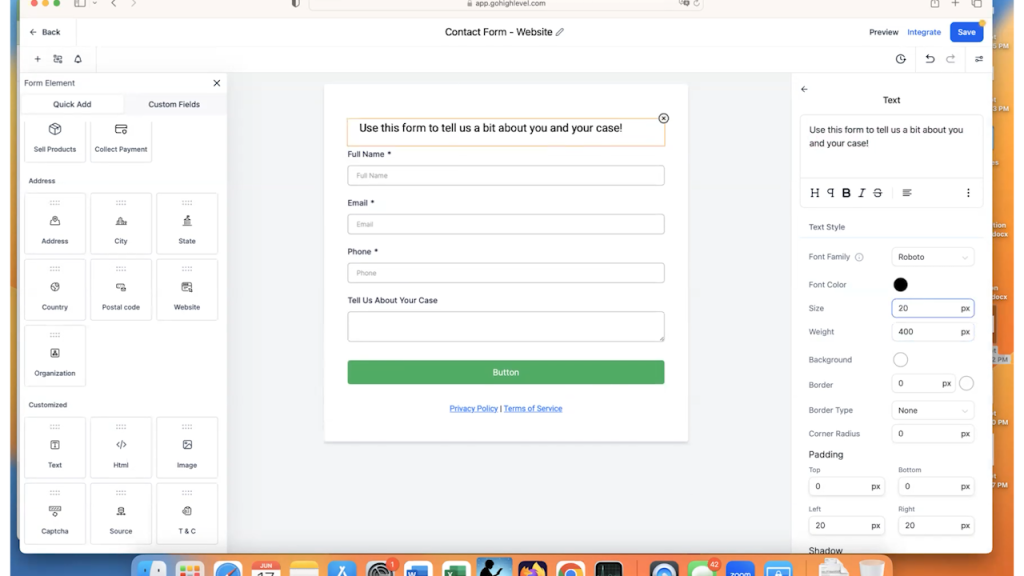
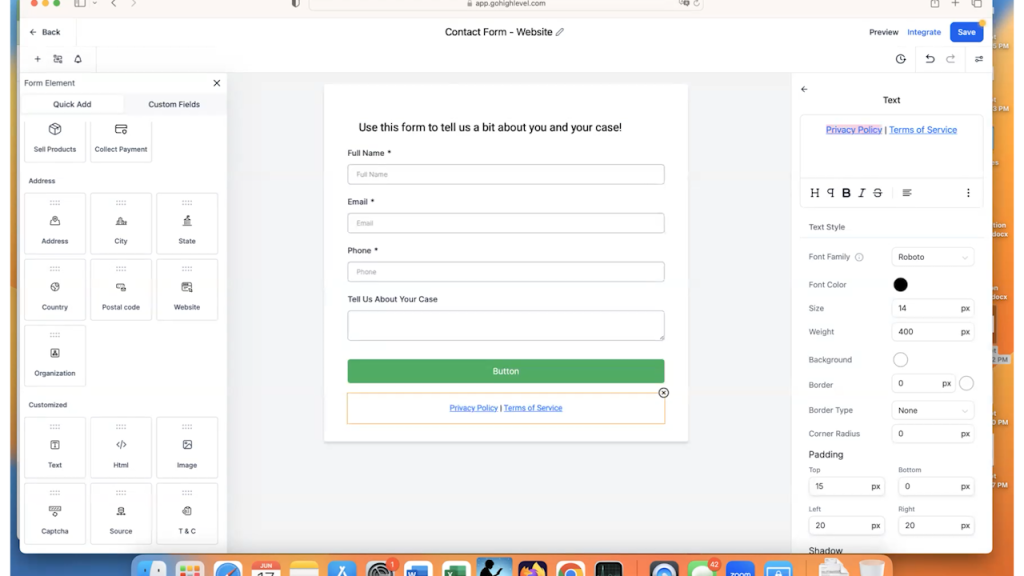
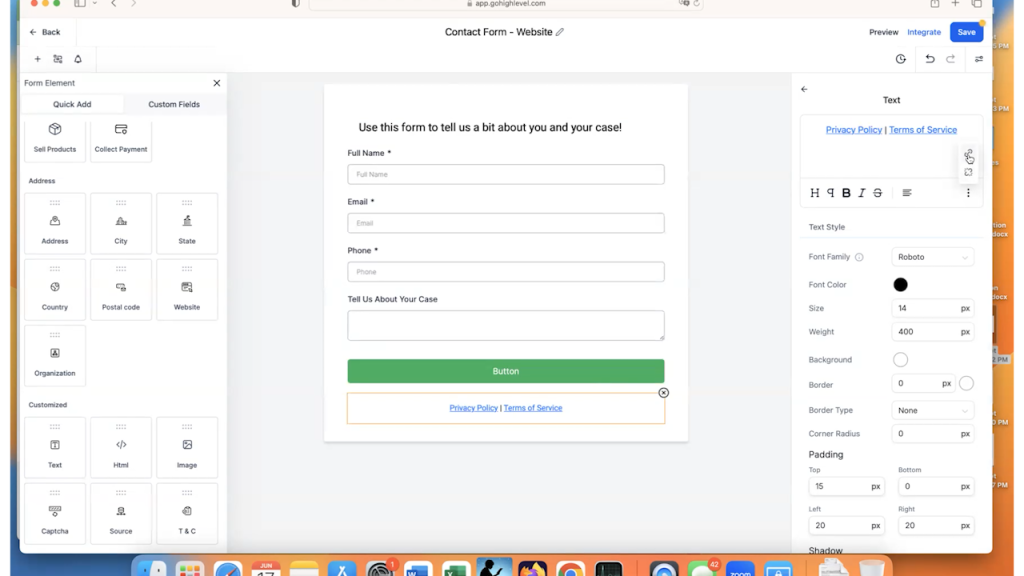
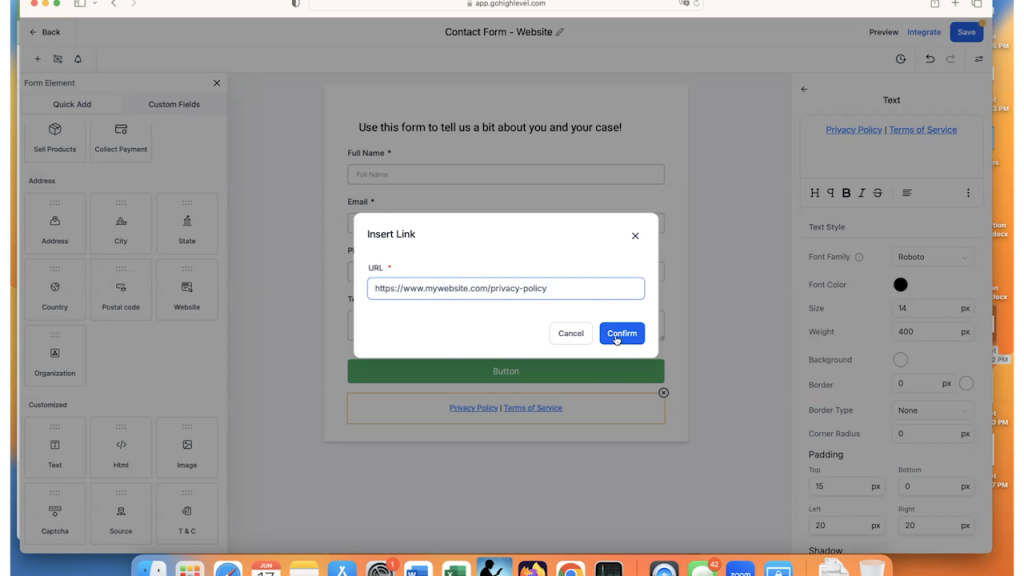
Need Help? Let’s Talk.
Reputation management doesn’t have to be overwhelming.
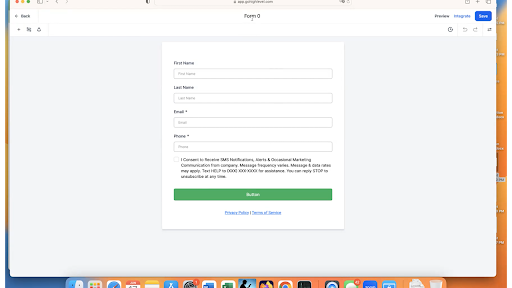
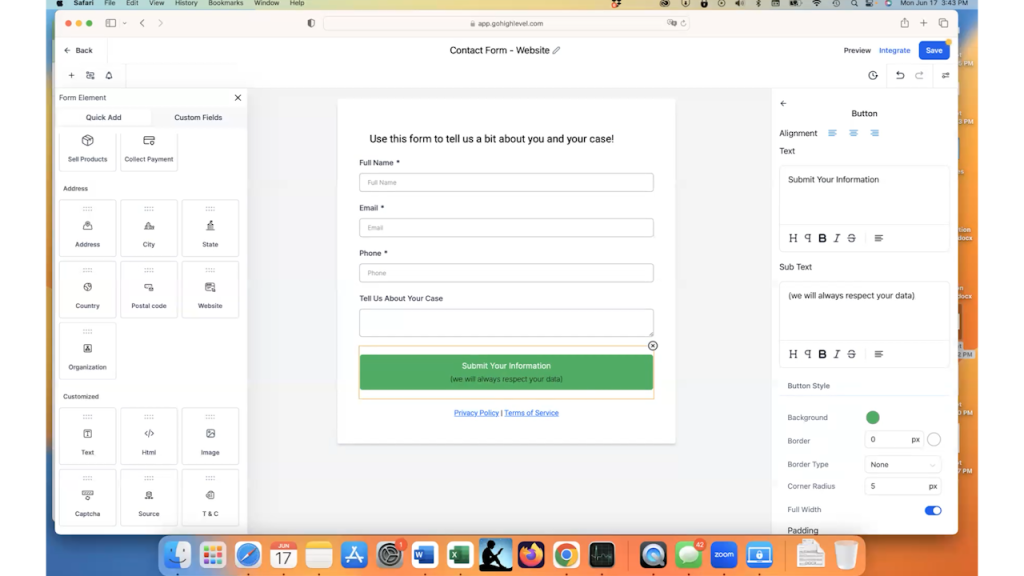
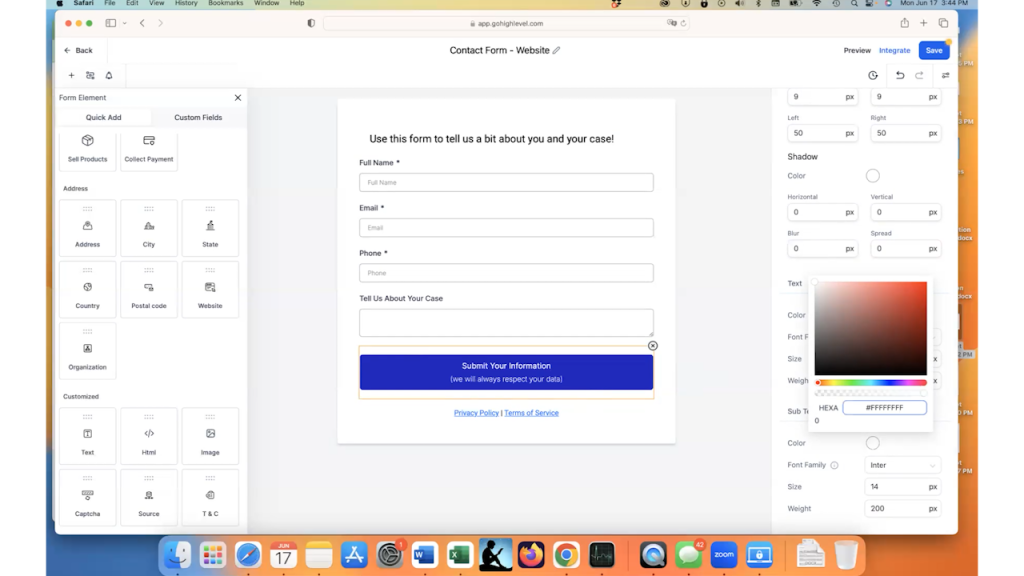
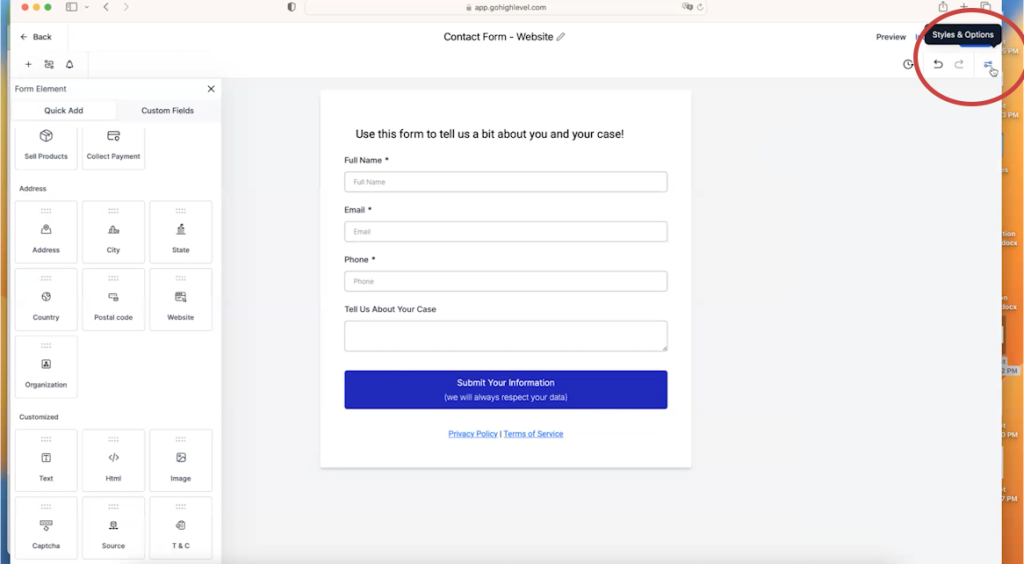
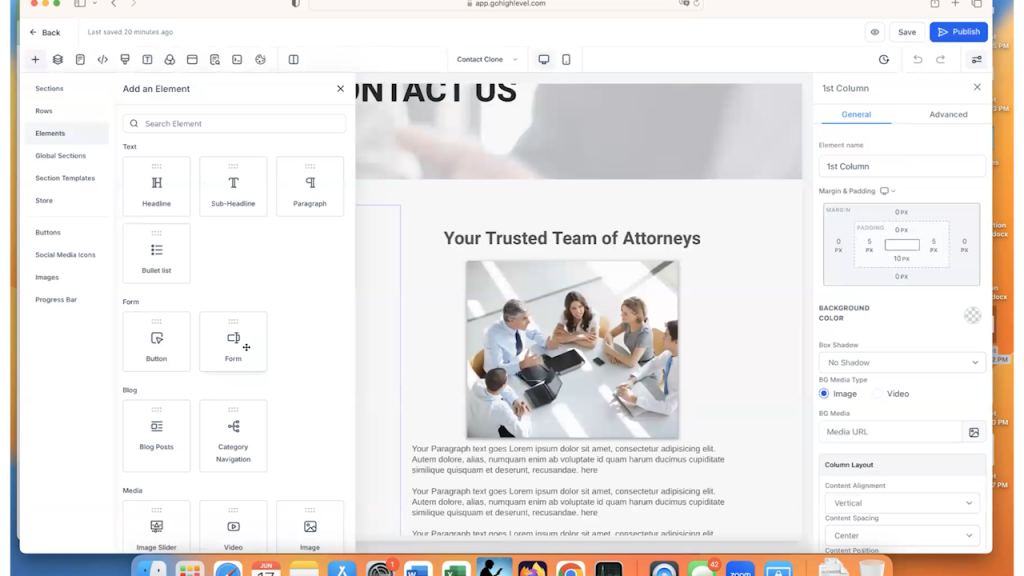
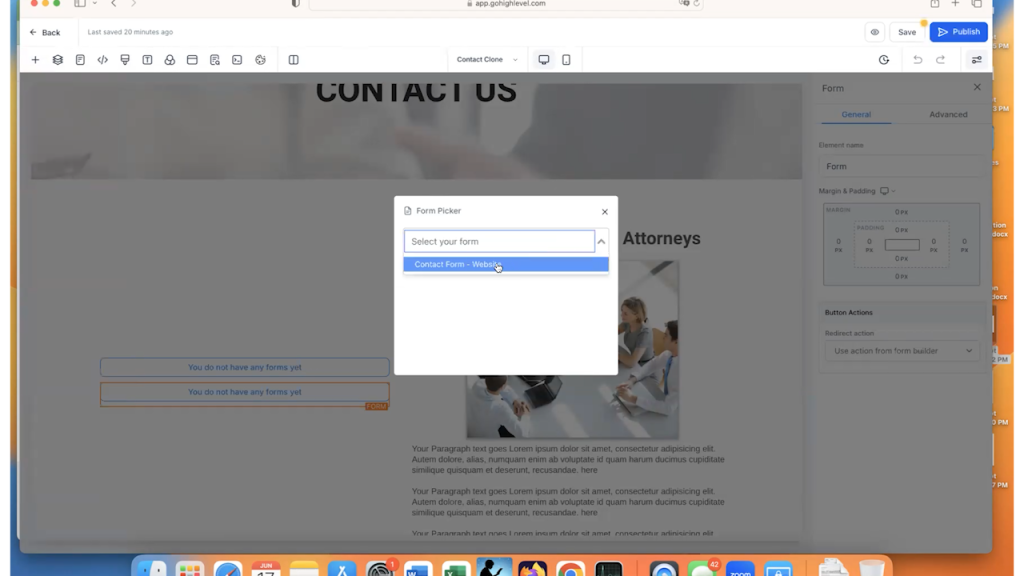
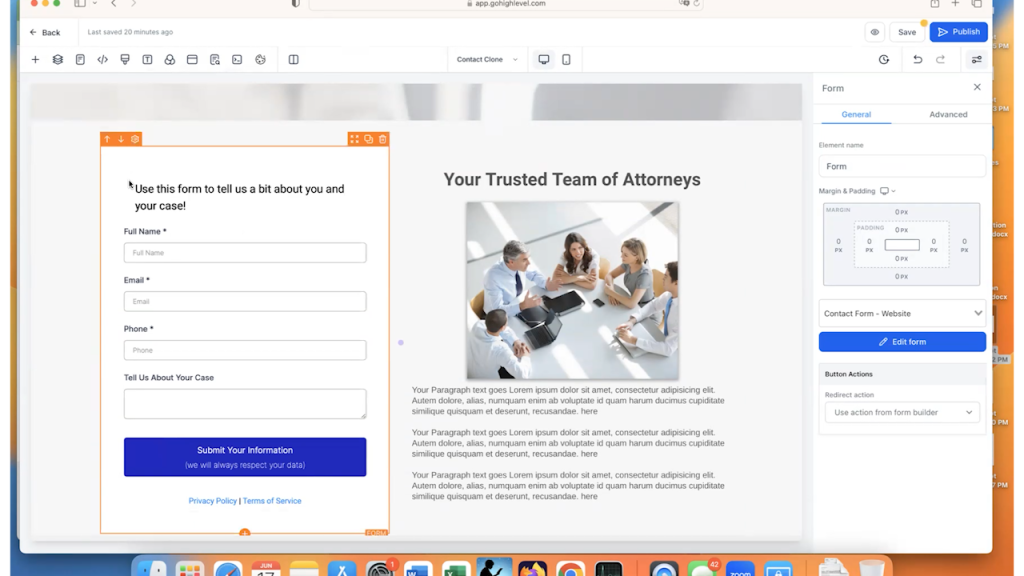
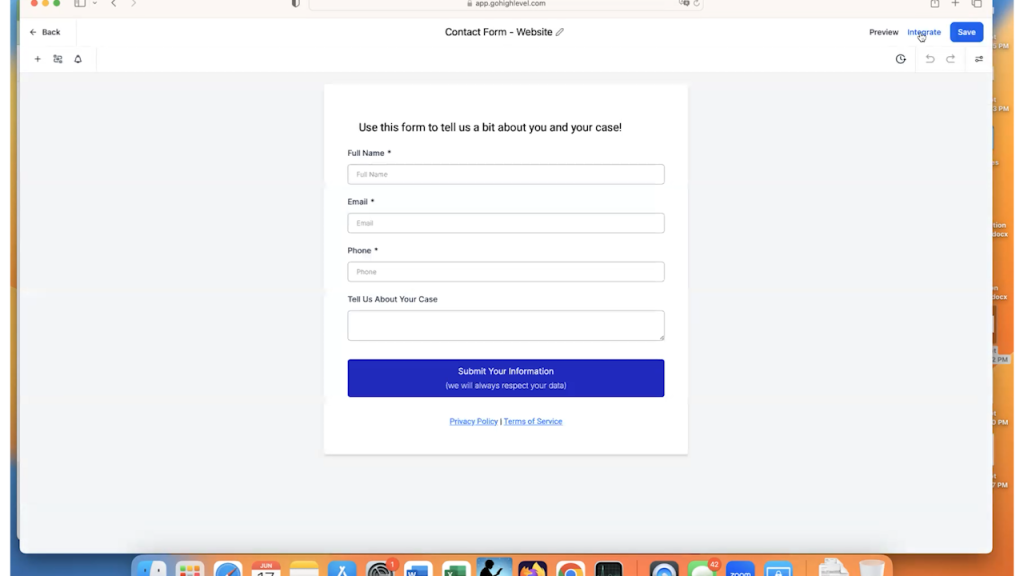
If you want to automate your firm’s review strategy and ensure every review—good or bad—works in your favor, let’s discuss a plan that fits your needs. Complete the form below to set up a 15-minute meeting with us.