Content marketing strategies are evolving rapidly! It seems like we hear about a new AI tool or social media trick every week.
Is your law firm doing everything you can to stay ahead of the curve to remain competitive?
In 2025, the strategies that are successful will embrace dynamic, client-focused personalization. With the rise of AI-generated content and the sheer volume of information online, standing out requires more work than ever before – clarity, authenticity, and a willingness to adapt.
Let’s discuss the best content marketing strategies that are working for law firms right now.
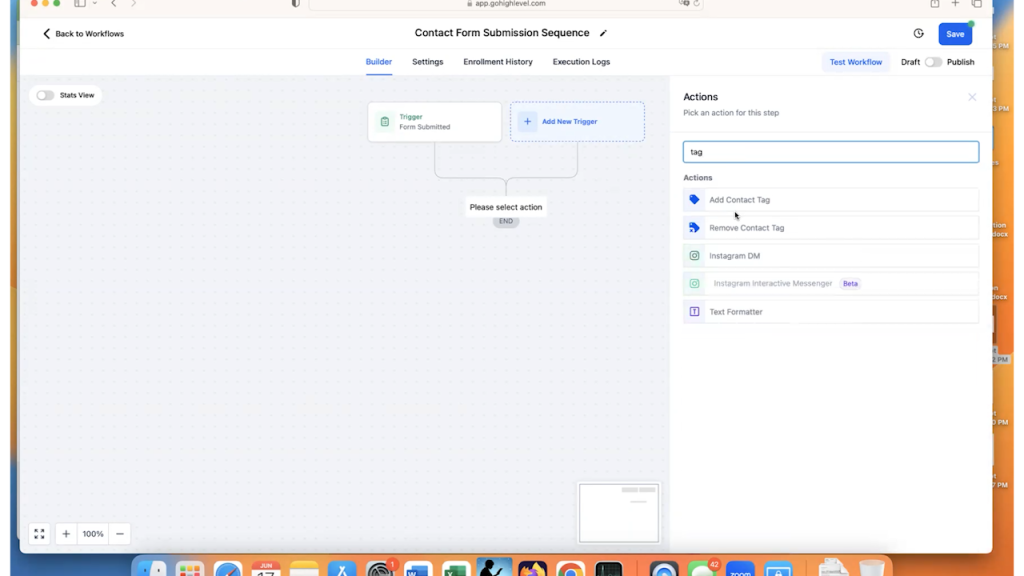
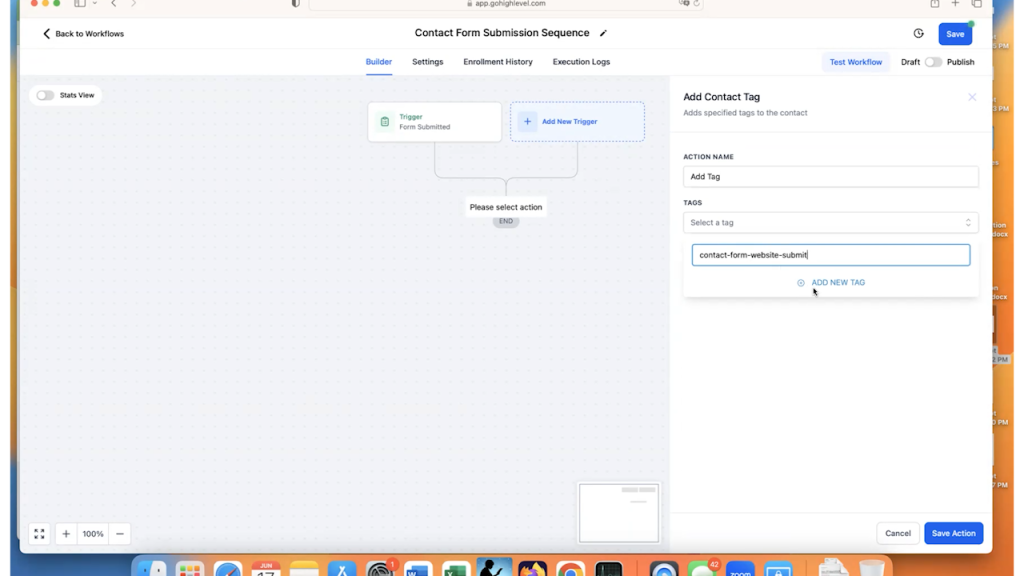
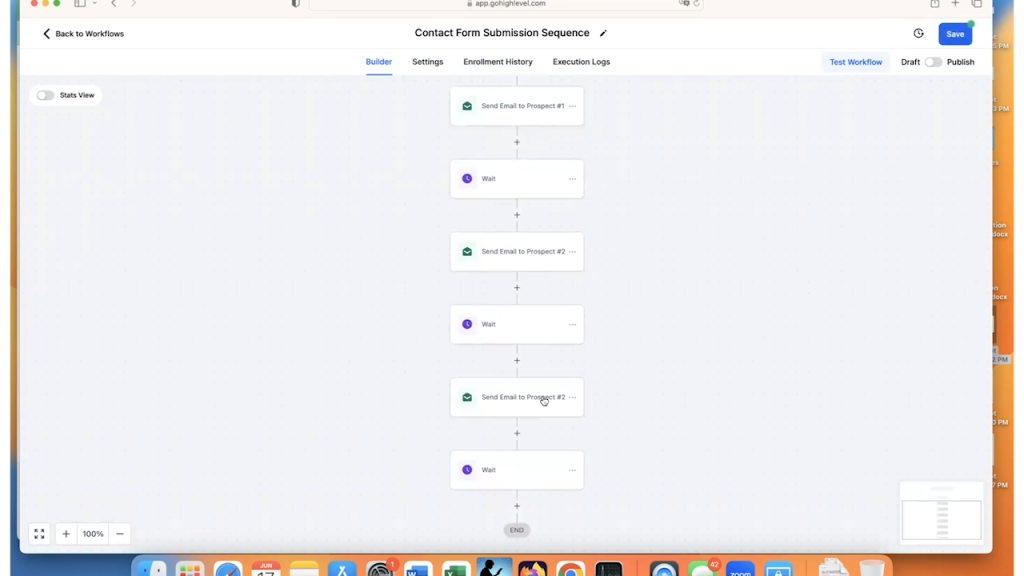
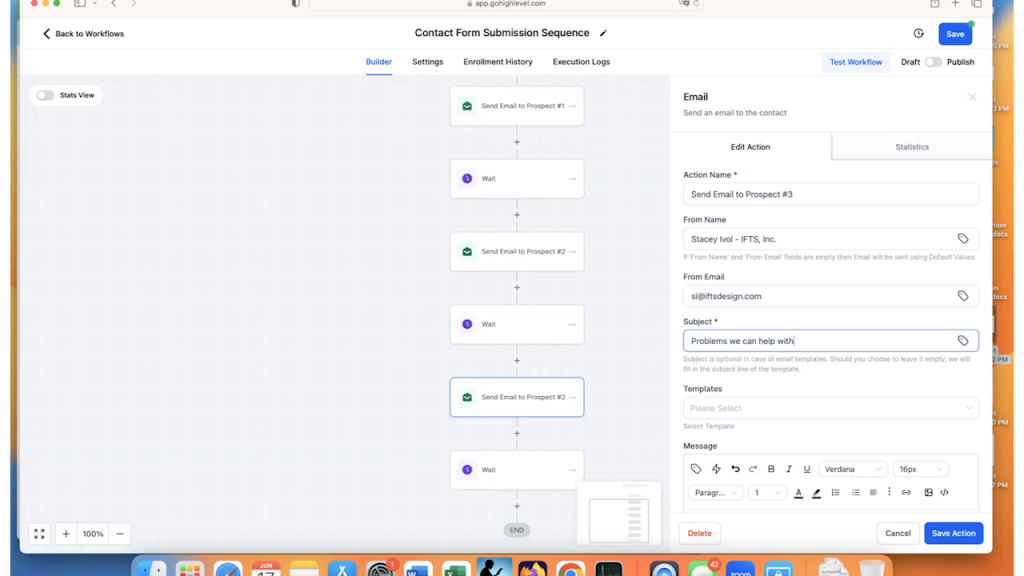
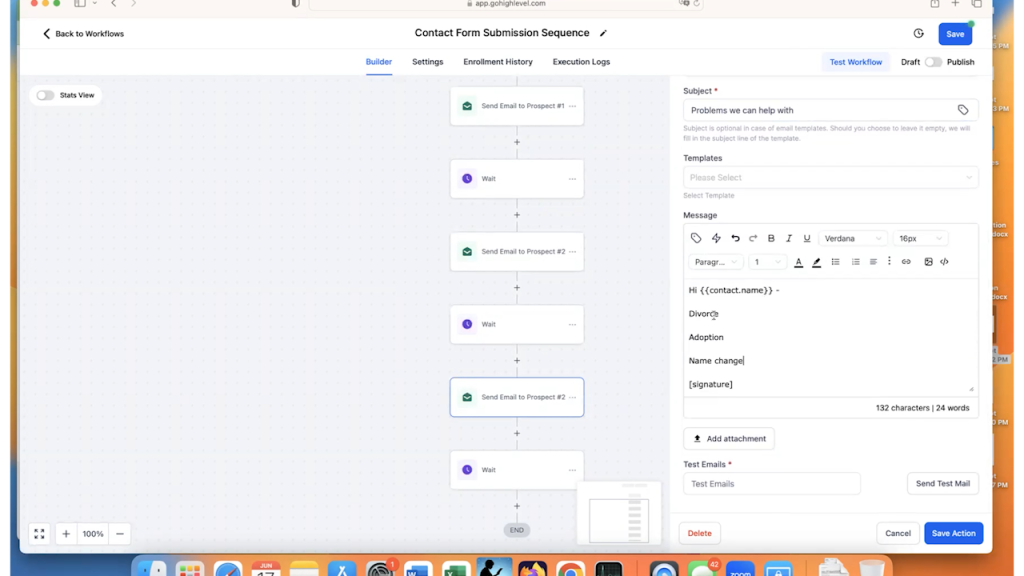
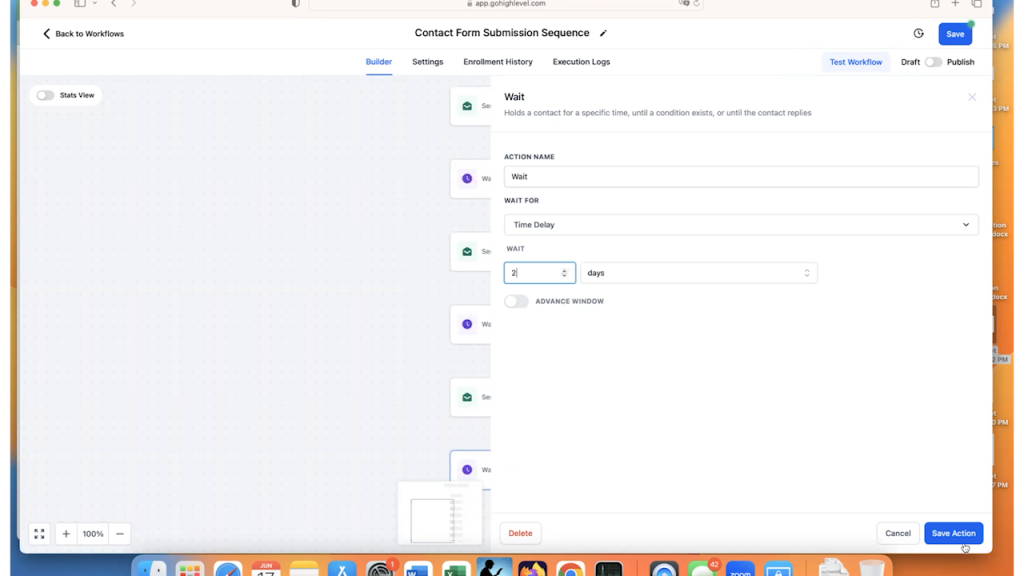
Step 1 - Be Clear About What You Want Your Prospect To Do Next
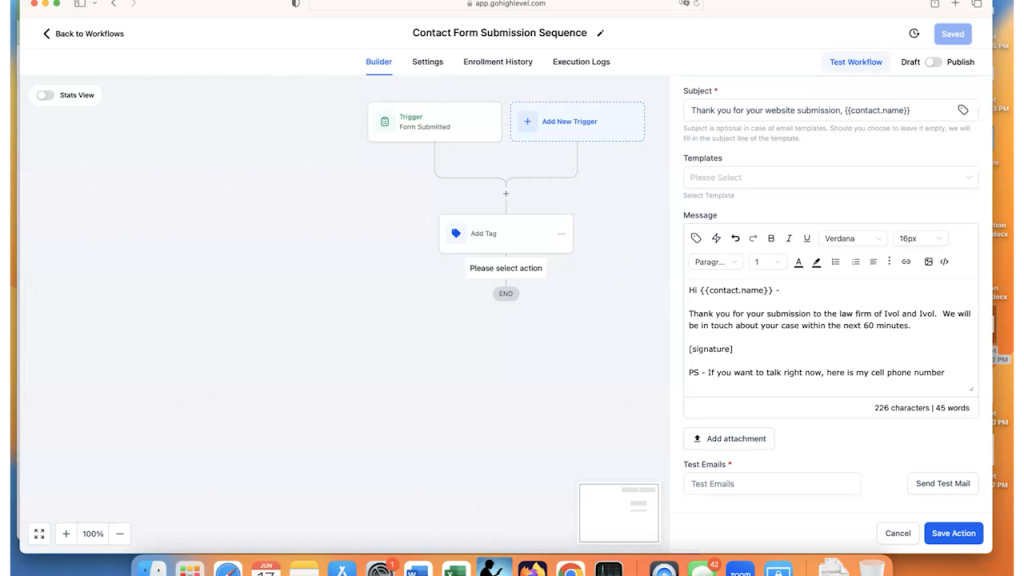
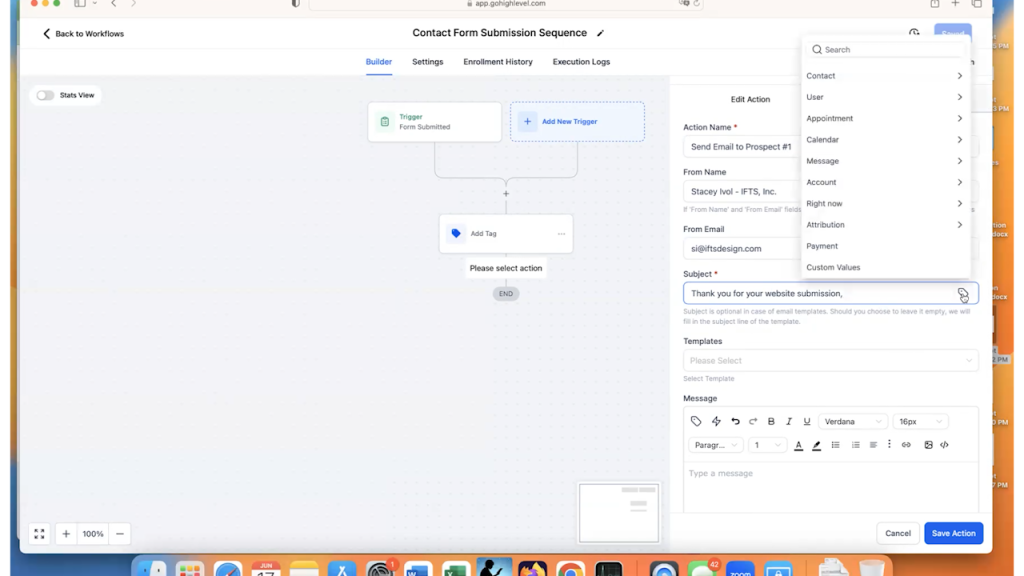
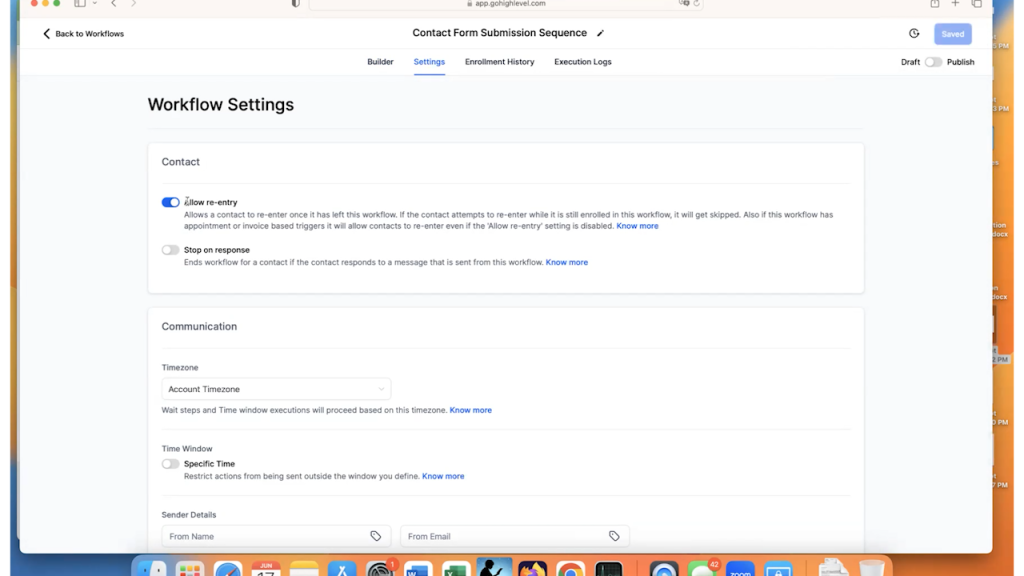
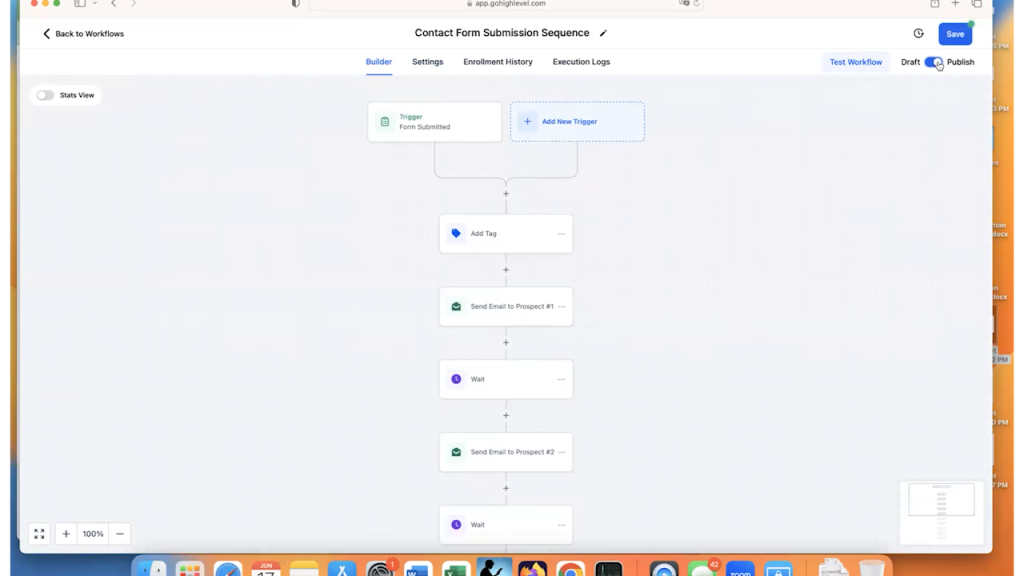
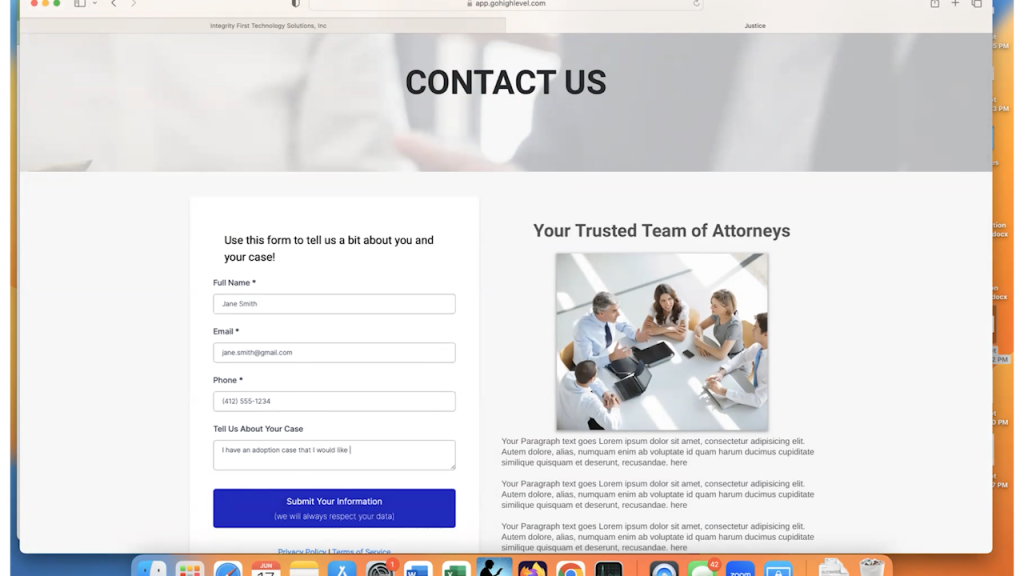
A huge shift that we are seeing with law firms is the importance of your call to action (CTA). Typically, attorneys will put our informative and educational blogs and videos with the hope that people will contact them.
This no longer will work…unless you add a specific CTA.
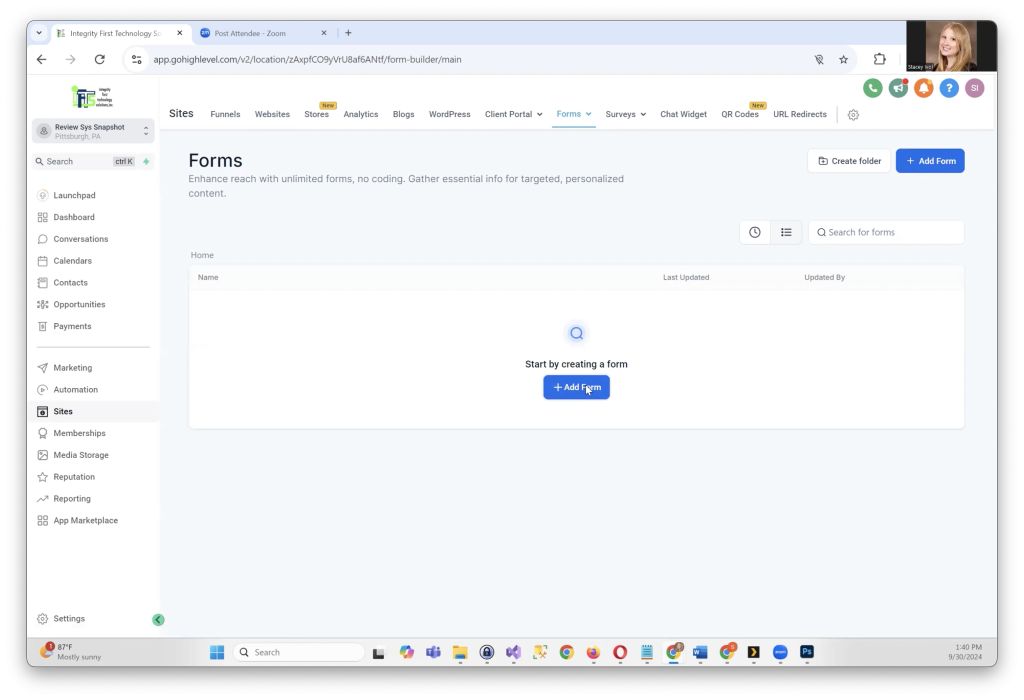
Every piece of content your law firm creates should guide prospects towards a specific next step. These steps can include:
- Scheduling a consultation
- Downloading a helpful guide (pdf) on a specific topic
- Requesting a phone call
- Registering for a webinar on the topic of their choice
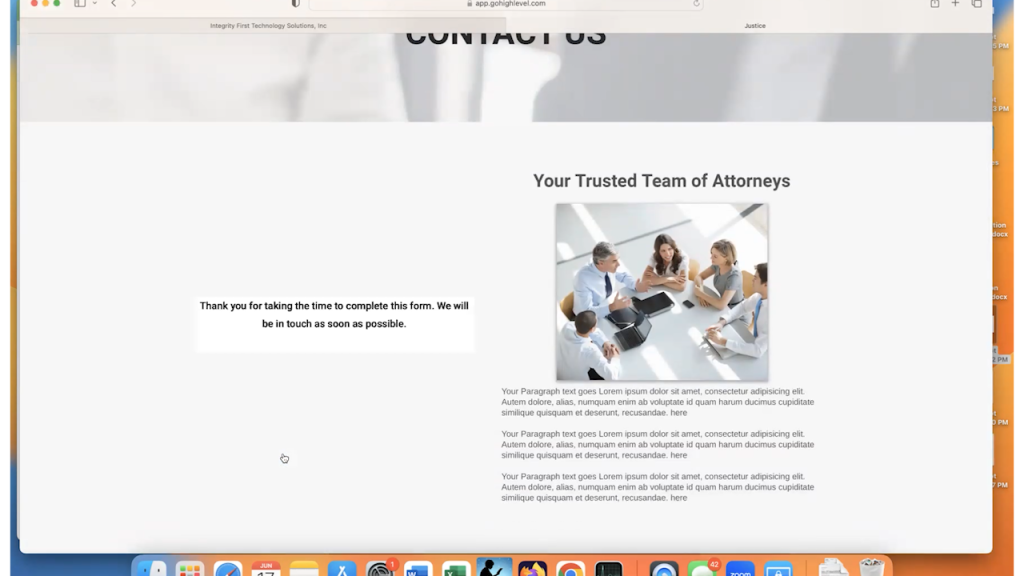
For example, if your firm writes a blog about bankruptcy, a strong CTA may ask readers to download a free “The 5-Step Bankruptcy Plan” pdf or schedule a free 15-minute consultation with the attorney.
When you guide a prospective client through a structured journey on your website (and YouTube channel), you are much more likely to convert readers into clients. This journey is called a “sales funnel” and is now essential to growing your business.
Step 2 – You Need A “Face” For Your Business
The internet has made it so easy to make law firms a “digital-first” world. However, human interaction can be a great difference-maker!
Use your firm’s blog, social media and YouTube channel to educate and build trust. Then, offer a real human interaction to close the deal. Potential clients often like to connect with attorneys face to face before making a legal decision.
A popular way to do this would be to host a live Q&A session weekly using webinar software, like Zoom. This will allow people to interact with the attorneys directly.
As an example, a law firm that specializes in divorce may host a live webinar on “Understanding Custody Agreements” where participants can submit questions in real time.
These sessions allow you to accomplish multiple goals at one time:
- Showcase your expertise
- Build actual connections with potential clients that foster trust
- Get a list of questions that people have about a particular topic, which makes your marketing easy (create videos and blogs that answer each of the questions)
By combining high-quality content with opportunities for face-to-face interaction, your law firm can create a more engaging and client-focused experience.
Step 3 - Create A Shared Place To Keep Content Ideas
Ideas for content for your blog and videos often come from real-life interactions and observations. This not only applies to you, but your paralegals and staff as well.
So, where should you keep all of these ideas?
A shared folder or document usually does the trick!
Create a shared repository where everyone in the office can jot down ideas, stories or inspiration when they happen. A spreadsheet normally works very well for this purpose. It’s even better if this spreadsheet is located in the cloud and can be accessed via mobile device. Another program that can be used easily for this is OneNote or EverNote.
For instance, if an attorney has a unique experience in court or encounters a common client question, they can record it immediately. These notes can later be transformed into blogs, social media posts, or even video scripts.
By having this system in place, no ideas will go unforgotten! It also makes sure that your firm always has a steady stream of new relevant topics that should resonate with their audience.
Step 4 - Personal Branding Is A Must
In 2025, a strong personal brand is more valuable than ever. Clients often choose law firms based on trust, and having a recognizable, authoritative brand helps establish that trust.
Attorneys should focus on building their individual reputations through podcast interviews, media features, and speaking engagements. Winning awards or being quoted in reputable publications not only boosts credibility but also improves SEO for your website.
For example, if a law firm’s managing partner is frequently interviewed on local news about criminal defense cases, it signals expertise to both search engines and prospective clients.
Encourage your team to actively participate on platforms like LinkedIn by sharing insights, engaging with industry news, and showcasing successes.
Step 5 - Keep On Testing
You are never “done” with your content marketing. Because the internet and social media are so dynamic, what it takes to be successful changes all of the time. The most successful law firms experiment with different formats, posting times, and messaging to determine what resonates best with their audience.
For example, test whether short-form videos about legal tips perform better than long-form articles. Experiment with posting blogs on weekdays versus weekends or using different tones in your email campaigns.
Tools like Google Analytics and social media insights available with the social media platforms can help track what’s working and where to pivot. Look at views, clicks, impressions and more to see what’s the best strategy for you.
The key is to remain agile and open to change. Regularly review your content metrics and refine your strategy accordingly.
Step 6 - Refresh Content Regularly
Stale content can kill your website’s engagement (and your SEO).
In 2025, law firms must consistently refresh their content to maintain audience interest. New content also satisfies Google’s SEO algorithms.
However, we don’t have to reinvent the wheel – you just need to repurpose and update the content that you already have created!
For example, any firm that deals in tax law has it easy. If they wrote a blog called “Tax Brackets for 2022”, they can update it with the new numbers for 2025. Not only that, they can point out the differences and offer insights as to why things may have changed this way. Once the update is done, it then gives a reason to share it again with your audience.
An example of something you could repurpose would be if your firm had a video and you turned that into a blog by using the transcript.
Regularly updating your content not only improves its relevance but also signals to search engines that your website is active.
Get the Top 3 Social Media Post Templates for Law Firms to Grow Your Following and Get New Clients
Engage with prospects and save time with your FREE Canva template kit. This kit features the top 3 social media posts for law firms and directions on how to brand them for your own firm in 5 minutes or less.

Enter your email below and get the templates sent directly to your inbox along with an instructional video on how to make personalized edits.
Step 7 – Be Spontaneous!
Being authentic is a powerful tool in your marketing toolbelt…and it’s easy for prospects to see.
Some of the most engaging content comes from spontaneous moments, like an attorney’s reaction to a recent legal development or a quick tip shared after being in court. Encourage your team to create on-the-spot content using their cell phones.
For instance, a real estate lawyer might record a short video explaining the implications of a new zoning law while walking through a recently rezoned neighborhood. This type of unpolished, real-time content often resonates more with audiences because it feels genuine and relatable.
Content marketing in 2025 requires law firms to be intentional, innovative, and client centered. By focusing on clear calls to action, human interaction, personal branding, and agility, your law firm can not only attract more clients but also establish long-term trust and authority.
Remember, the online landscape is constantly evolving and it’s hard to hit a moving target.
Regularly review your strategies, adapt to new trends, and always prioritize the needs of your clients. With these approaches, your firm can position itself as a leader in the competitive legal market.
In the spirit of this article, here is our CTA – If you need help creating a 2025 content marketing strategy, please complete the form below. IFTS specializes in helping law firms get more clients using videos, blogs, social media and more!