If you’re like most attorneys, you know your website should be helping you attract new clients — but you’re not sure what content actually works.
The truth is, your potential clients aren’t searching for your name first. They’re searching for answers to their legal problems.
They’re typing things like:
- “Do I need a will in Georgia?”
- “How long does a DUI stay on your record?”
- “What happens if I miss a custody hearing?”
If your website provides clear, local, and trustworthy answers to those questions, you gain their attention and earn their trust — and that leads directly to new consultations.
In this post, I’ll walk you through how to build a content system that turns search traffic into signed clients — using:
- Service pages
- Blog posts
- FAQs
- And short-form video, powered by AI
Let’s get into it.
1. Create One Service Page Per Practice Area
Many law firms still rely on a single “Practice Areas” page — a big list of everything they do. That approach is outdated and bad for SEO.
Instead, create a dedicated page for each legal service you offer, such as:
- /dui-defense
- /child-custody
- /estate-planning
- /probate-litigation
Each page should be built around one primary keyword like “estate planning lawyer in Pittsburgh.” Include:
- A clear headline that mentions your service and location
- A plain-English explanation of the service
- Mentions of your city or county
- Internal links to related blog posts and FAQs
- A bold call to action (CTA), like “Schedule a Free Consultation Today”
Done right, these pages become your website’s most valuable asset — working 24/7 to rank in search, build trust, and convert visitors into leads.
2. Write Blog Posts That Answer Real Questions
Your blog is not a press release section. It’s a place to answer your potential clients’ most pressing legal questions.
Here’s what to write about:
- Client questions you hear again and again during consultations
- Recent law changes in your practice area or state
- Step-by-step guides like “How to Prepare for a Custody Hearing”
- Case studies or anonymized examples of how you helped someone
- Myths vs. truths about common legal processes
- “What to do if…” posts, like “What to do if you’re served divorce papers”
Keep it simple and conversational. Break your posts into sections with headings. Use internal links to your related service pages. And always end with a clear CTA.
Even just one or two well-written blog posts per month can dramatically improve your visibility and trust factor.
3. Build Topic-Specific FAQ Pages
FAQs aren’t just for saving your receptionist’s time — they’re powerful SEO tools and trust-builders.
Instead of one massive FAQ page, break them into topic-specific pages like:
- DUI Defense FAQs
- Estate Planning FAQs
- Family Law FAQs in [Your County]
Use plain language and keep answers short. If possible, add FAQ schema markup to improve your chances of getting featured in Google’s “People Also Ask” or rich results.
And don’t forget to link out to relevant blog posts or service pages when a question deserves a deeper explanation.
When someone lands on your FAQ page and finds the exact answer they were looking for, they’re already one step closer to booking a consultation.
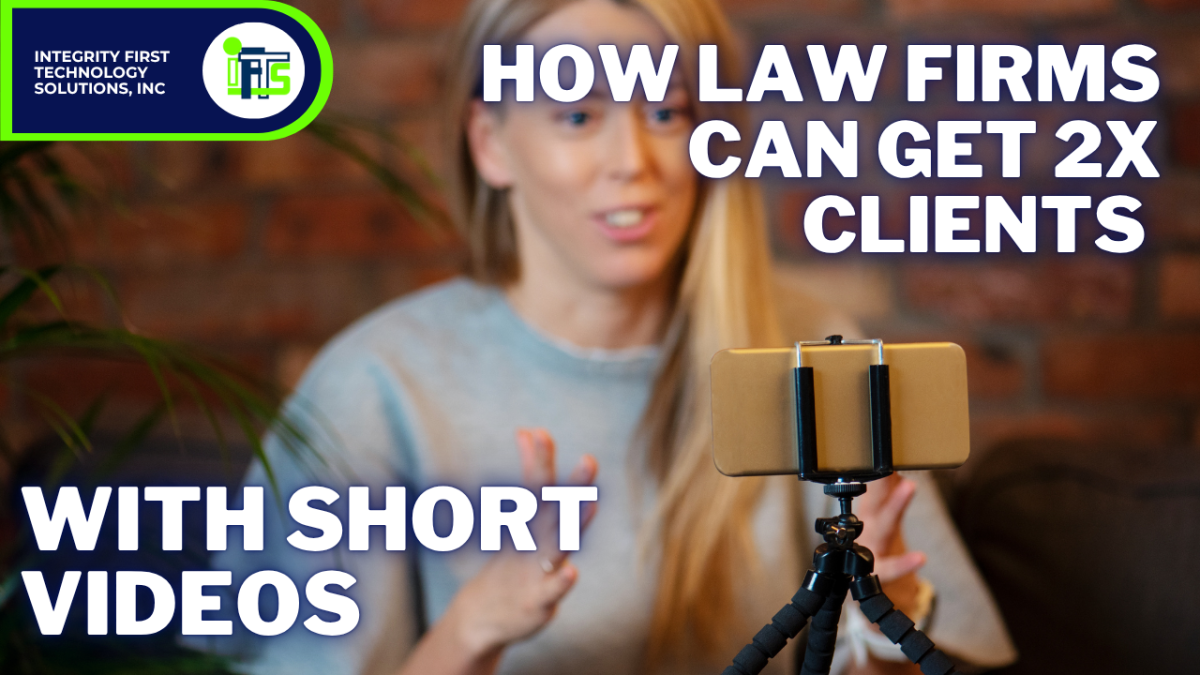
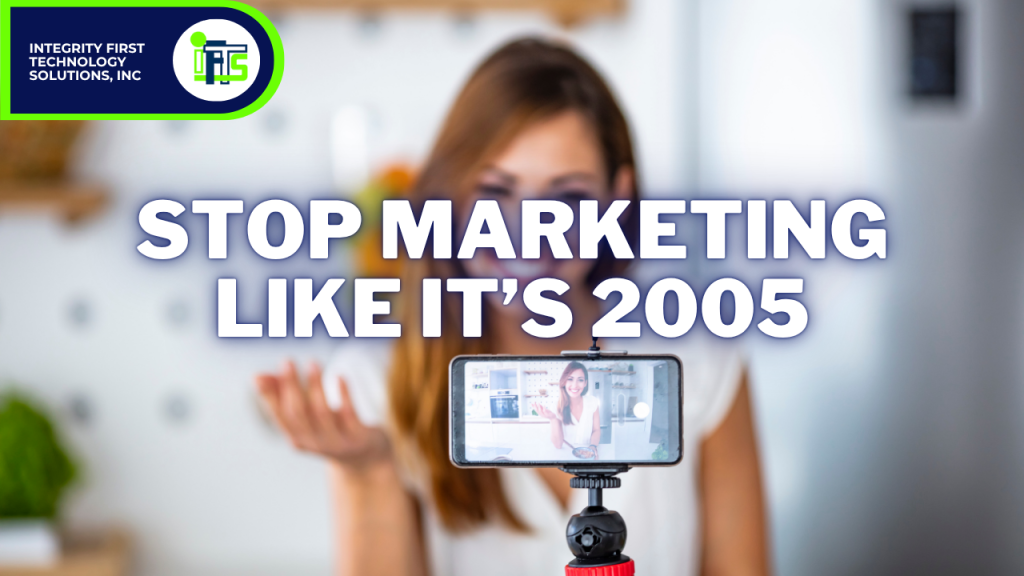
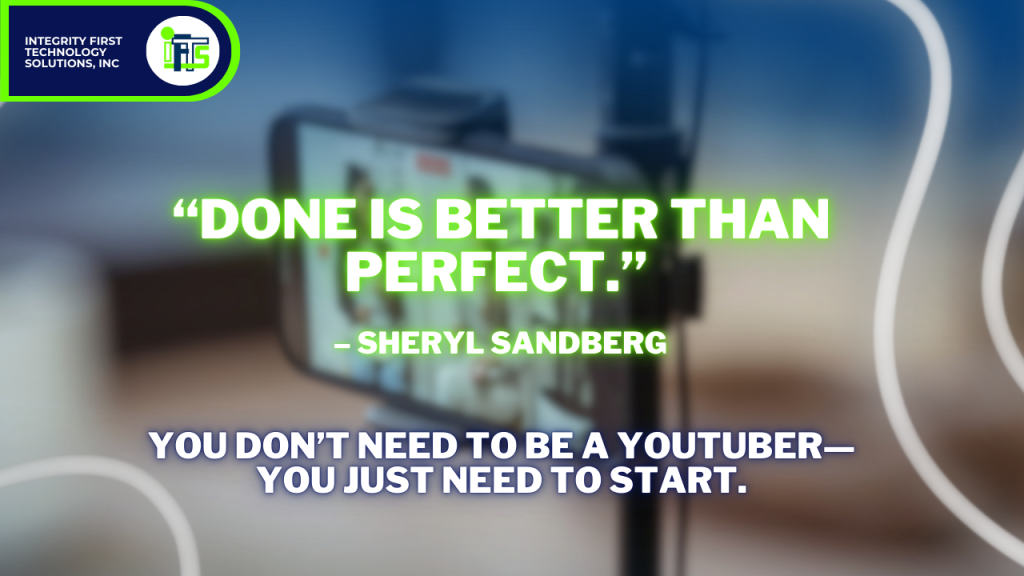
4. Turn Written Content Into Video (With Help from AI)
People love video — especially when it’s short, simple, and informative.
The good news? You don’t need a studio or hours of prep to make it happen.
Start by using a blog post or FAQ you’ve already written. Then:
- Use AI to help turn it into a short video script
- Record yourself answering the question (even just with your phone)
- Post the video to YouTube, your blog, Instagram, and your Google Business Profile
- Embed it wherever it fits on your website
For example, one short video like:
“Do I need a lawyer for probate in Pennsylvania?”
Can be repurposed into:
- A YouTube video
- A Facebook Reel
- An FAQ answer
- A blog with transcript
- A GBP post
With just a few pieces of reusable content, you’ll start standing out in a market where most attorneys still haven’t tried video at all.
Final Thoughts: Don’t Overcomplicate It
You don’t need a complicated funnel or a massive content calendar to succeed.
Just focus on these four content assets:
- Dedicated service pages that clearly explain what you do
- Blog posts that answer real client questions
- FAQ pages that build trust and authority
- Short videos, powered by AI, that scale your message across platforms
This simple system can turn your website from a static brochure into a true marketing engine.
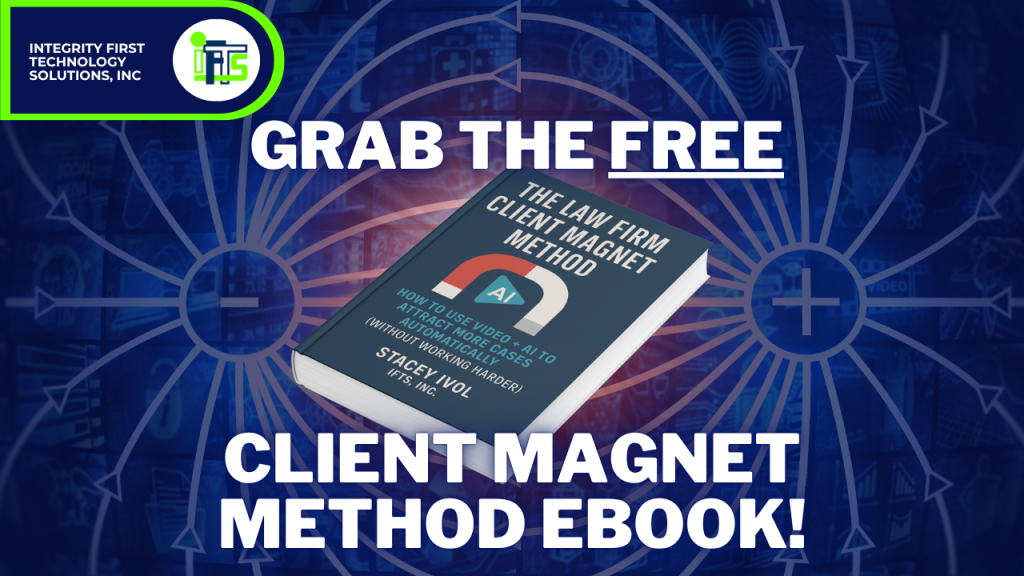
Want a Shortcut?
If you’d like a step-by-step guide to implement this, download your free copy of our book, First in Search, First in Court.
It’s packed with checklists, templates, and strategies we use to help law firms outrank the competition and consistently book new clients.