Has this happened to your firm?
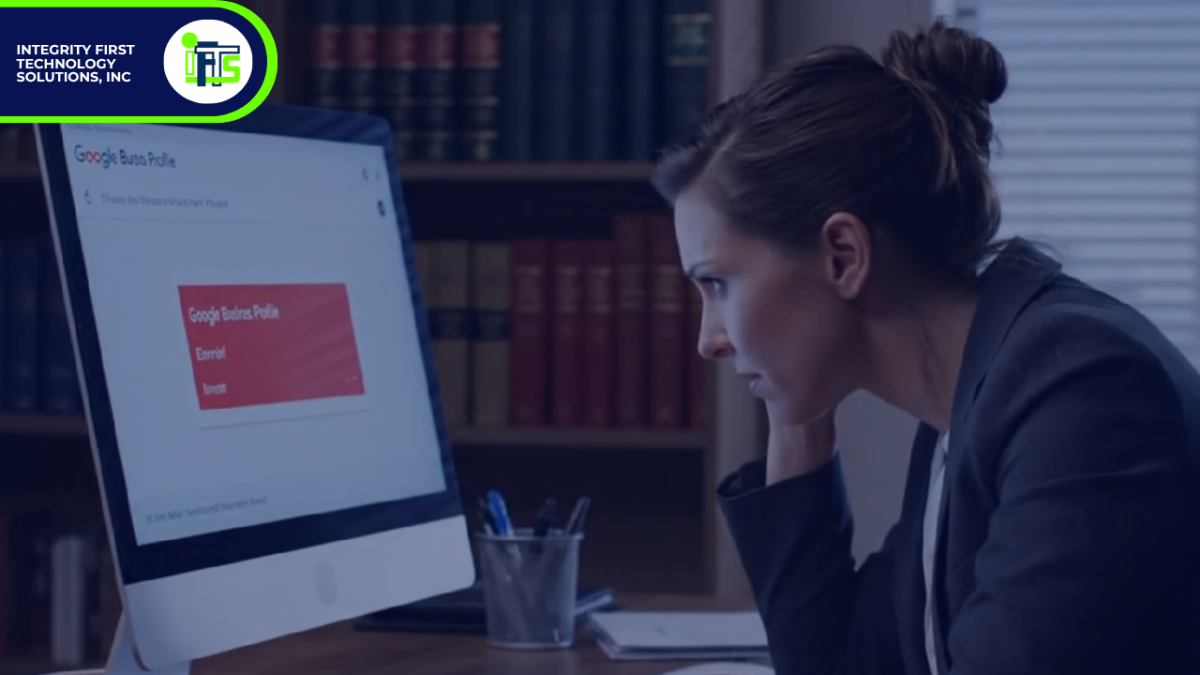
You’ve submitted your law firm’s information to Google, followed the steps to create your Business Profile, and waited patiently for approval—only to be met with another rejection.
Does it sound all too familiar?
You’re not alone. Many small and mid-sized law firms struggle to get through Google’s verification process, especially if they don’t have an in-house marketing team to handle the details…and the process just keeps getting more complicated each year.
But here’s the truth that no one likes to hear: Google’s verification system isn’t random – It’s designed to weed out fake listings and ensure only legitimate businesses show up in search results.
And while that’s a good thing for consumers, it can be frustrating when you know your firm is real—but still get denied.
Want to hear the good news?
You can absolutely get verified, and we are going to show you how.
After helping tons of businesses navigate this exact issue, we’ve identified the three most important things Google looks for—and how you can easily provide them, without needing a marketing degree (or a visit to a psychic).
Let’s break down exactly how to pass Google’s verification on your first (or next) try—and finally start showing up where your future clients are searching.
Why Does Google Verification Matter for Law Firms?
If you’re running a small or mid-sized law firm, especially one without a marketing department, Google Business verification might seem like a minor administrative task. But in reality, it’s the gatekeeper to one of your most powerful local marketing tools.
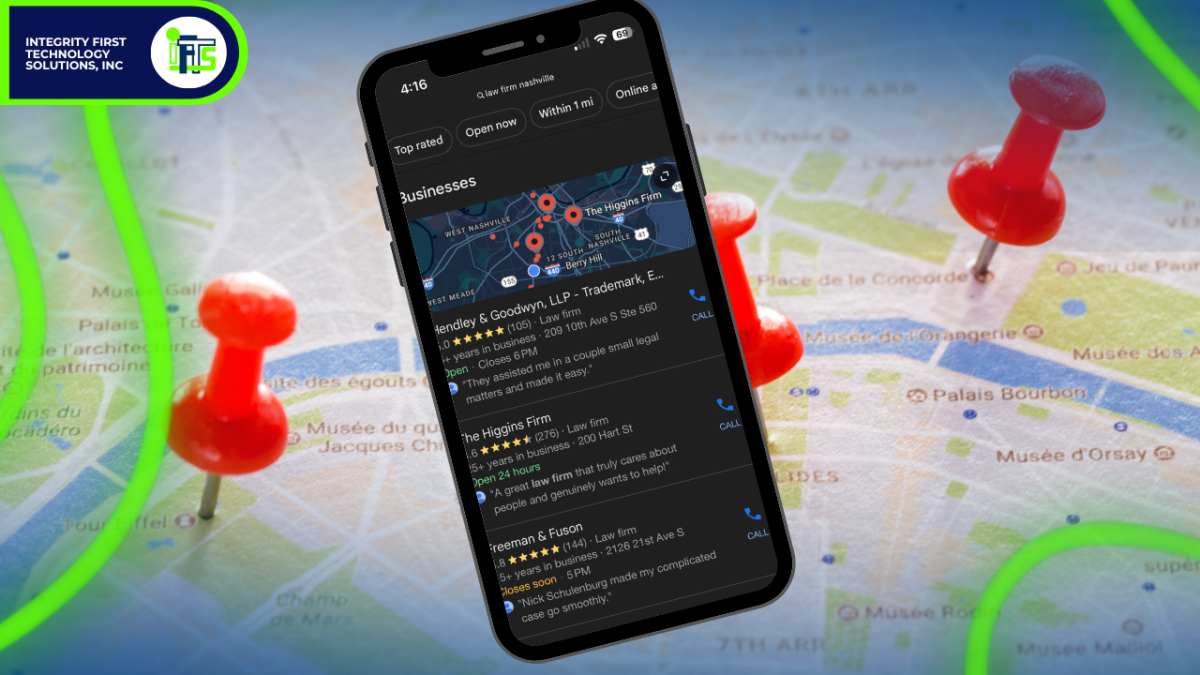
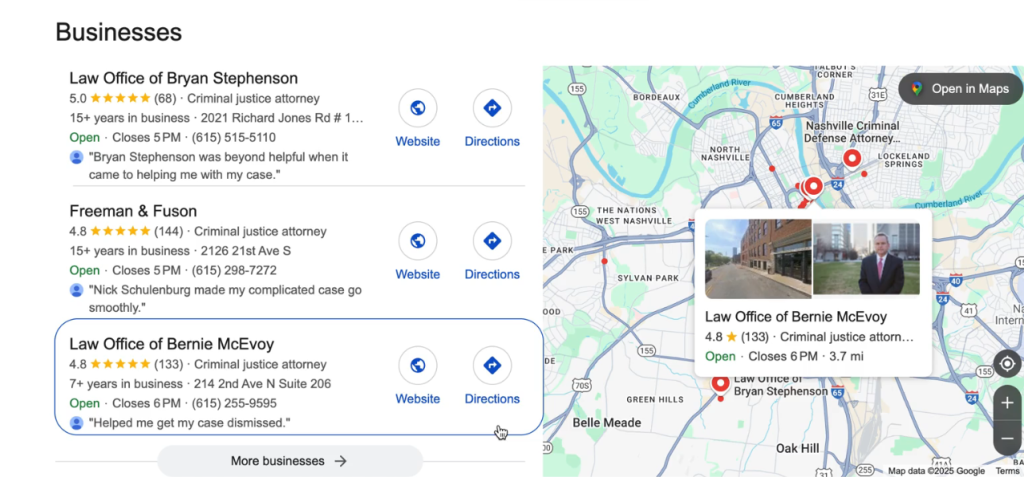
Once your firm is verified, it becomes eligible to appear in Google Maps and the coveted “local pack” of search results—that set of three to five firms that shows up when someone searches for phrases like “family lawyer near me” or “estate planning attorney in [your city].”
Without verification, your firm won’t appear there, no matter how great your website or reviews are.
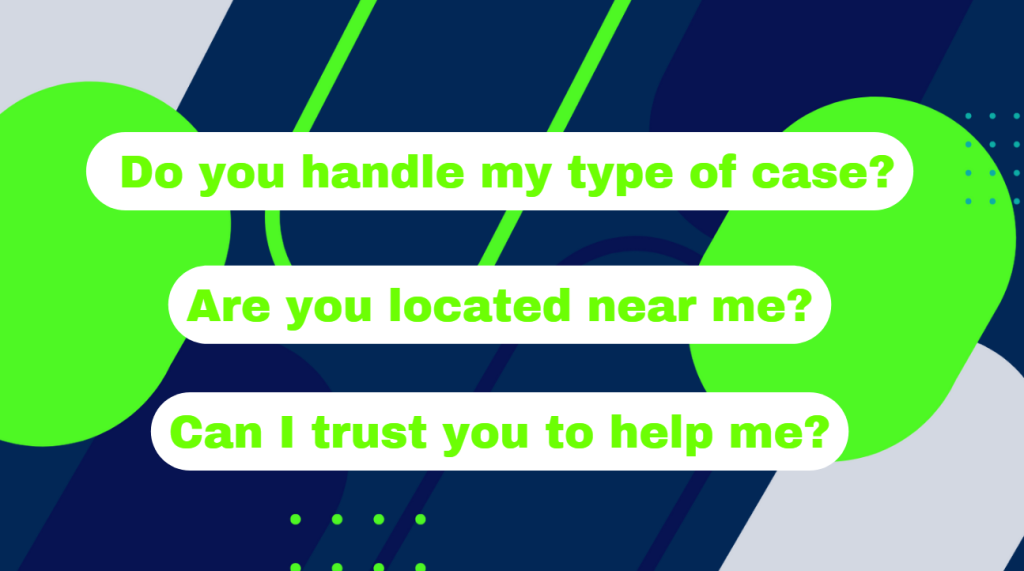
For law firms, where trust and proximity matter, being seen in local search is critical. Clients often look for someone nearby, and they trust Google to recommend reputable professionals. If your profile isn’t verified, you’re effectively invisible to those potential clients.
Verification also signals credibility—not just to Google, but to the people searching for legal help. A verified business is seen as legitimate, established, and worth considering.
The problem? Many law firms operate out of shared office spaces, coworking setups, or less traditional environments, which can trigger red flags in Google’s system. That’s why understanding exactly what Google is looking for—and how to show it—is key to getting through the process successfully.
Up next: the first (and most overlooked) requirement that trips up law firms—signage.
Verification Pillar 1 – Signage: The Non-Negotiable
If there’s one thing Google will not compromise on, it’s this: your law firm must have visible, permanent signage at the location listed on your Google Business Profile.
Yes, even if you’re in a shared office, coworking space, or executive suite.
Google uses signage as physical proof that your business exists and operates at the listed address. Without it, you’ll likely be stuck in a loop of rejections—even if everything else checks out.
What Counts as Acceptable Signage For Google Verification?
- A door sign with your firm’s full name
- A plaque or panel on a directory inside the building
- A mounted sign near your office entrance
- A vinyl sticker on a glass door or window (if it looks permanent and professional)
- You can even use an Etsy retailer to create a sign for you
Most importantly, the business name must match exactly what’s listed on your Google Business Profile. If your GBP says “Anderson & Wells Legal Group, LLC” but your door sign just says “Anderson & Wells,” that inconsistency could get you flagged.
For Firms in Shared or Virtual Spaces:
- If you’re using a shared office suite, make sure your firm’s name is listed on the suite directory or signage board.
- If you’re in a coworking space like Regus or WeWork, see if you can get your firm’s name on a door placard or even a branded nameplate at reception.
- Virtual offices are generally not allowed unless you have exclusive access to the space and permanent signage.
The Good News:
You don’t need a $1,000 custom sign. A $75–$150 professionally printed plaque or door decal from a local sign shop or online printer like Vistaprint is usually enough—as long as it looks permanent and is clearly visible in person or on video.
Google’s goal is simple: to prevent fake listings and ensure customers can find your business in the real world. With signage in place, you’re one-third of the way to verification.
Verification Pillar 2 – Matching Legal Documentation
Even with perfect signage, Google still wants to verify that your firm is legally established and operating at the location you’ve provided. That’s where documentation comes in—and it’s where many law firms slip up.
What Documents Should You Have Ready To Verify Your Firm? [h3]
At minimum, Google typically wants to see:
- Company formation documents or a DBA (Doing Business As) certificate
- Proof of address, such as:
- A utility bill in your firm’s name (internet, gas, electric)
- A signed lease or sublease agreement listing your firm as the tenant
- A business bank statement with the correct address
The name and address on these documents must match your Google Business Profile exactly.
Here Is Where Most Law Firms Get Tripped Up:
Let’s say your Google profile says:
“Smith & Blackwell LLP, 123 Main Street, Suite 400, Pittsburgh, PA”
That means your documentation needs to say:
“Smith & Blackwell LLP” (not just “Smith & Blackwell”)
“123 Main Street, Suite 400” (not “123 Main St., Ste. 400” or “123 Main Street #400”)
Google can and will reject listings for tiny differences in spelling, abbreviations, or punctuation.
Tips to Make Sure Everything Matches:
- When updating your GBP, copy/paste the address from your business documents to avoid discrepancies.
- Double-check for suite numbers, commas, abbreviations like “St.” vs “Street,” etc.
- If your business recently moved, make sure you’ve updated your address everywhere—bank accounts, utilities, lease agreements—before attempting verification.
- If your firm is listed under your personal name in utilities or banking, update it to your law firm’s name where possible. Google wants to see business-to-business alignment.
Bonus Tip:
If you’re missing any of the stronger documents above, here is how you can add some extra credibility:
- Branded invoices
- Letterhead
- Legal correspondence that include your firm’s name and address
This documentation is Google’s way of cross-referencing your online presence with real-world operations. It’s not about bureaucracy—it’s about building trust.
Verification Pillar 3 – Video Verification Walk-Through

Once your signage and documentation are in order, there’s one final hurdle—video verification. This step is Google’s way of virtually “walking through” your office to confirm everything lines up.
For law firms, this is often the most intimidating step—especially if you’re operating without a marketing team. But with a little preparation, it’s completely manageable.
What Happens During Video Verification?
Google may prompt you to either:
- Record a video and upload it, or
- Join a live video call with a Google representative
In both cases, they’ll want you to walk through your office and show specific items that prove you’re a legitimate, operational business at the listed location.
What to Show in Your Video:
- Your signage – Start outside or at your suite door to clearly show your firm’s name on a sign or directory
- Reception or entry area – Even if it’s modest, show desks, chairs, or any welcoming space
- Workspaces – Computers, desks, phones, bookshelves, or any area where legal work happens
- Industry-specific materials – Law books, filing cabinets, client files (blurred if necessary), or your legal diplomas on the wall
- Branded items – Business cards, letterhead, firm-branded mugs, brochures, etc.
- Legal software or systems – A quick glimpse at your practice management dashboard, if appropriate
Pro Tips for Law Firms:
- Clean and organize your space before the video. Clutter looks unprofessional.
- Check lighting – Make sure the area is well-lit so all signage and materials are visible.
- Have your documents ready – In some cases, they may ask to see your lease or utility bill in the video.
- Practice once before recording – Do a dry run to make sure your walkthrough is smooth and that you have everything that you need.
This process may seem tedious, but contrary to popular opinion, Google isn’t trying to trip you up—they just want to see that your firm is operating at the listed address and offering real services. A strong walkthrough is often the final key to unlocking verification.
What to Avoid – Common Mistakes That Get Law Firms Rejected
Even experienced attorneys can stumble over the little details that lead to rejection. Here are the most common pitfalls we’ve seen (and helped law firms fix):
No Visible Signage
This is the most frequent reason for rejection. A taped-up paper sign or nothing at all simply won’t pass. Google needs to see permanent, professional signage with your exact firm name.
Inconsistent Business Name or Address
Minor differences like “Main St.” vs “Main Street” or “LLP” vs nothing can result in an automatic rejection. Your Google Business Profile, legal docs, and video must all match down to the last comma.
Using a Virtual Office or PO Box
Google wants to verify real businesses operating at physical locations. If you’re using a PO box, mailbox service, or virtual office without dedicated access and signage, it will likely be flagged.
Empty or Inactive-Looking Office in Video
If your walkthrough looks like a vacant room or storage space, it won’t inspire confidence. Make sure your video shows signs of an active, working law firm.
Unfinished Google Business Profile
Even before you verify, your profile should include:
- Correct hours of operation
- Service areas or specialties (e.g. family law, estate planning)
- A description of your firm
- Photos of your office, logo, or attorneys
- Website and phone number
Get Verified and Get Found
Google’s verification process might feel like a hassle—especially for law firms without a full-time marketing team—but it’s not just a bureaucratic hoop to jump through. It’s a necessary step to getting your firm seen by potential clients searching for legal help in your area.
With the right preparation, you can pass verification the first time:
- Clear, permanent signage with your exact business name
- Legally matching documentation with no inconsistencies
- A video walk-through that shows you’re a real, operating law firm
Skip just one of these, and you may be stuck in verification limbo. Nail all three, and you’ll unlock one of the most powerful tools in local SEO—visibility in Google Maps, local pack rankings, and increased trust from searchers.
Ready to Make Google Business Verification Easy?
At IFTS, we help law firms like yours get verified, ranked, and visible—without the tech headaches.
Download our free “Google Verification Checklist for Law Firms” to make sure you’re covered step-by-step. Or, if you want help getting this done fast, book a free strategy call and we’ll walk you through the process.
Don’t let a failed verification keep your firm hidden. Get the visibility—and clients—you deserve.
PS – After you are verified, you will want to optimize your profile – check out this free book for a step-by-step guide