fbpx

Setting Up Google Analytics in WordPress

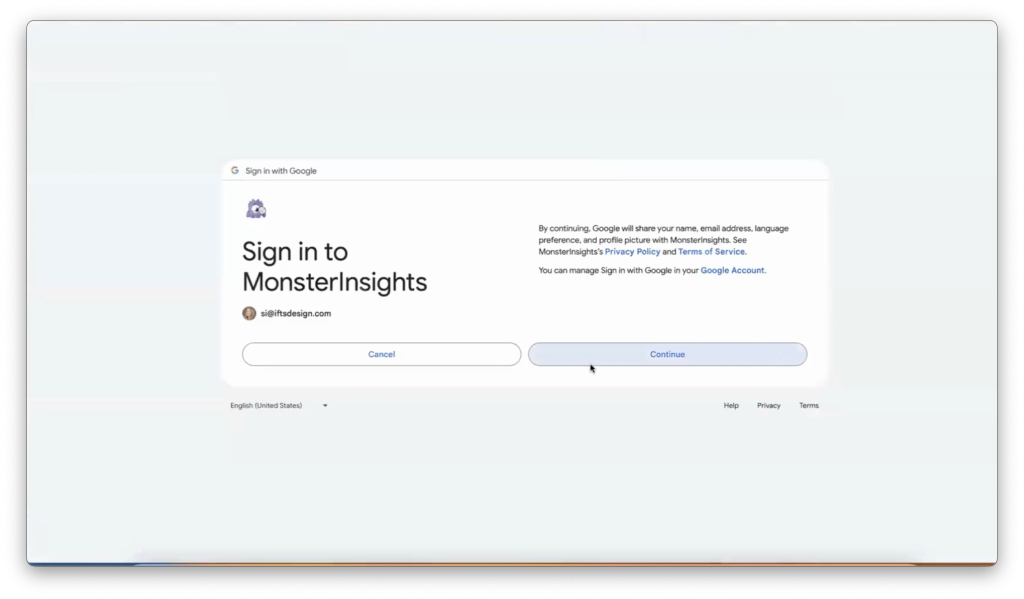
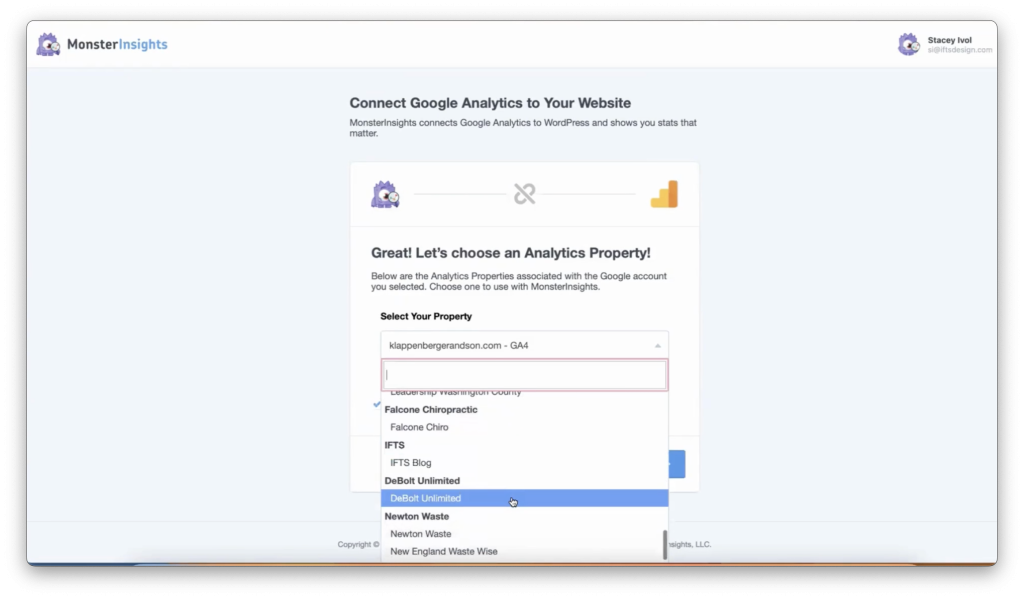
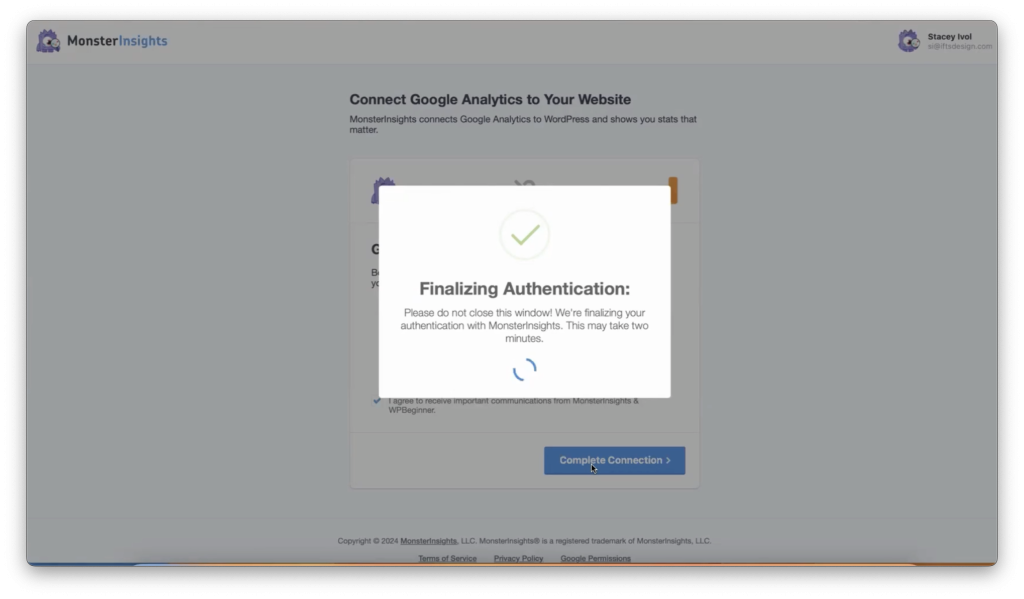
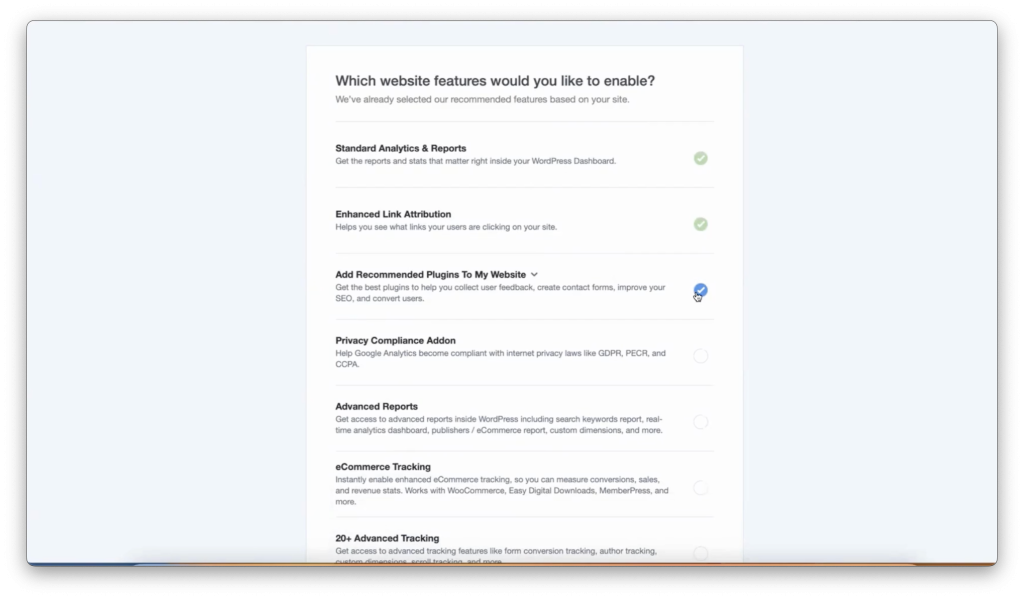
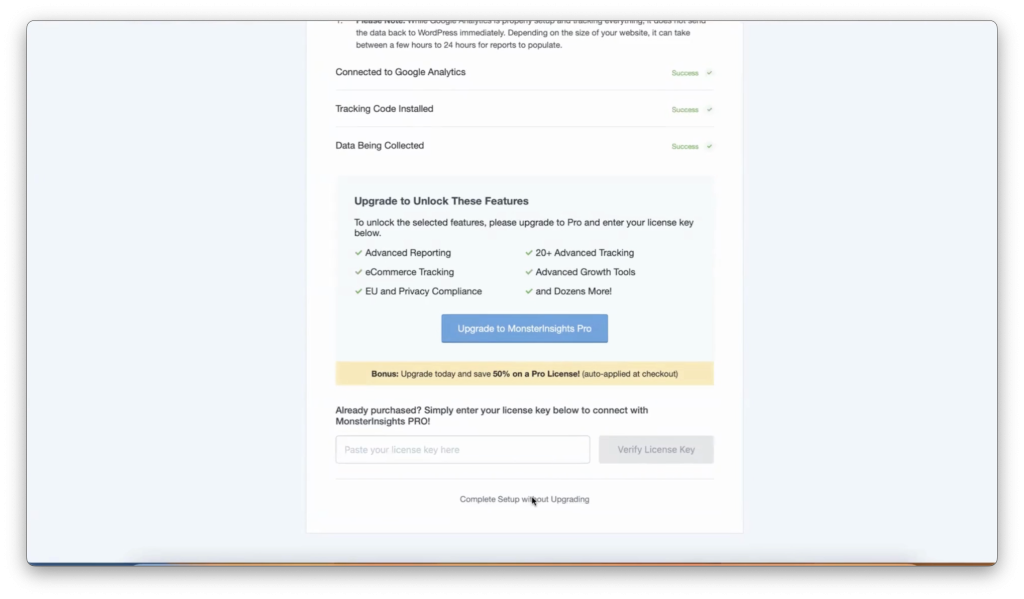
Are you ready to jump into the world of data-driven insights for your WordPress website?

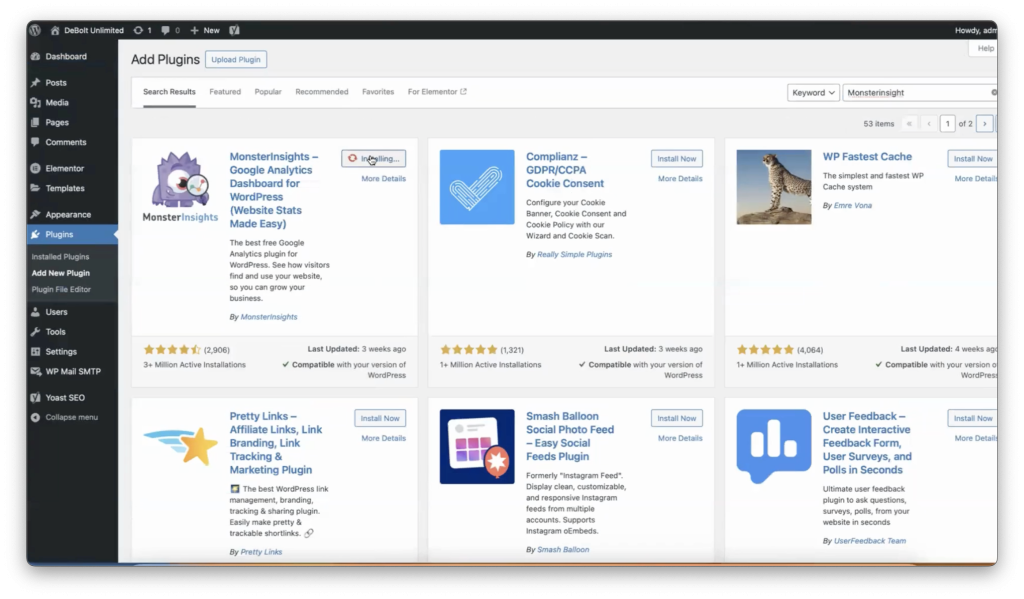
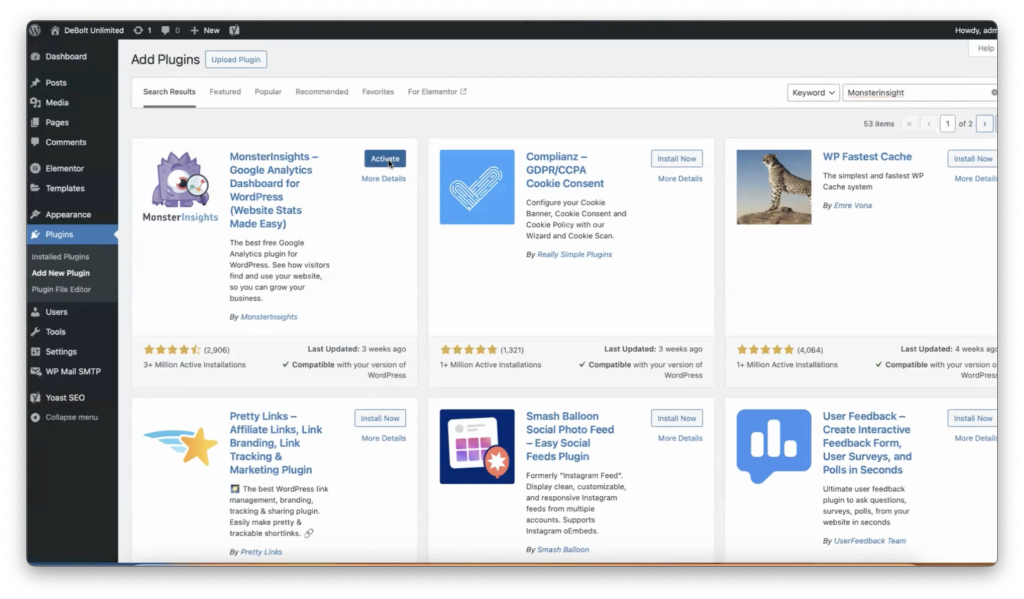
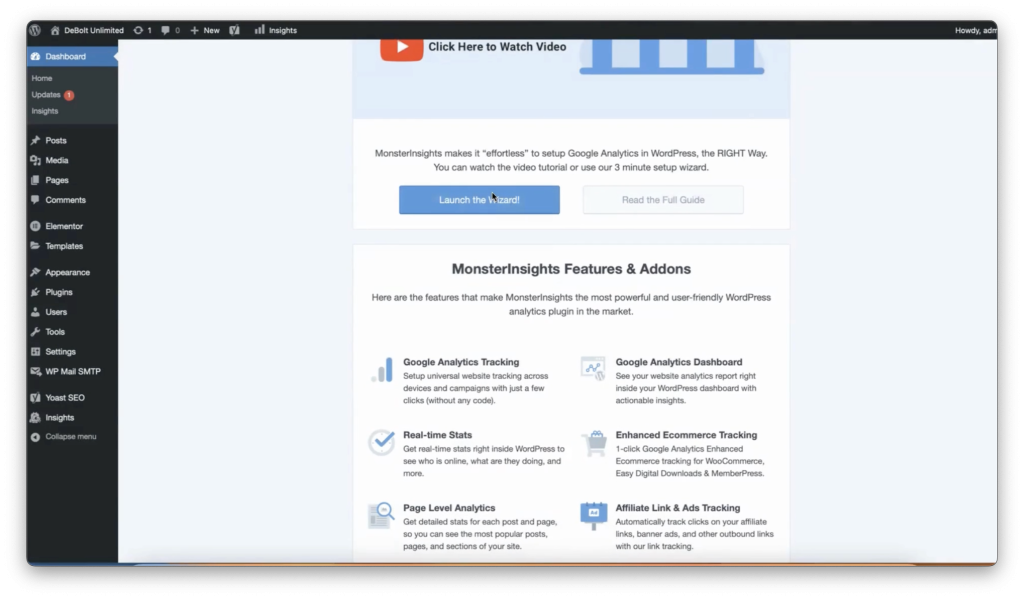
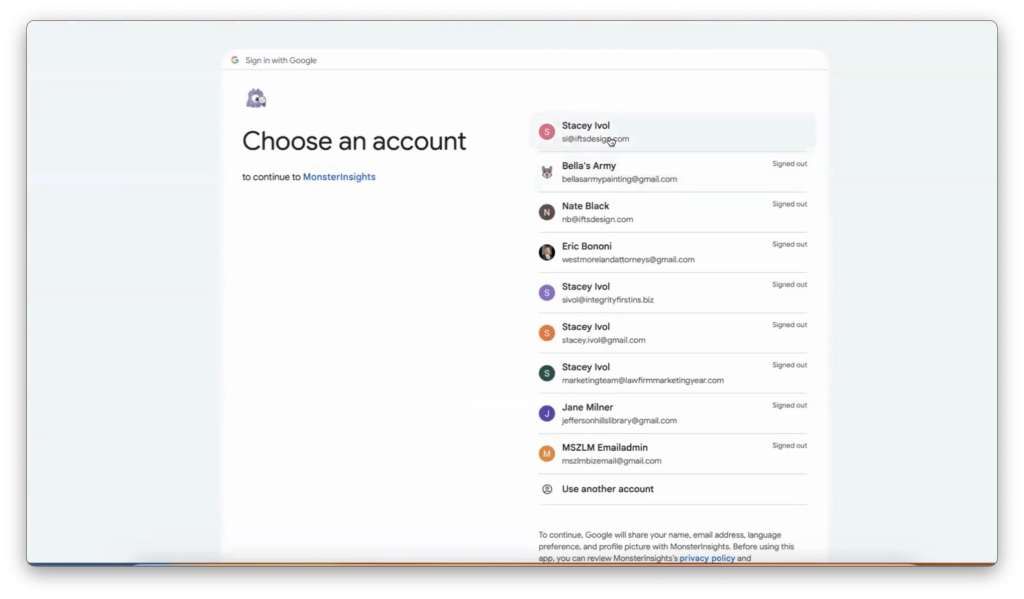
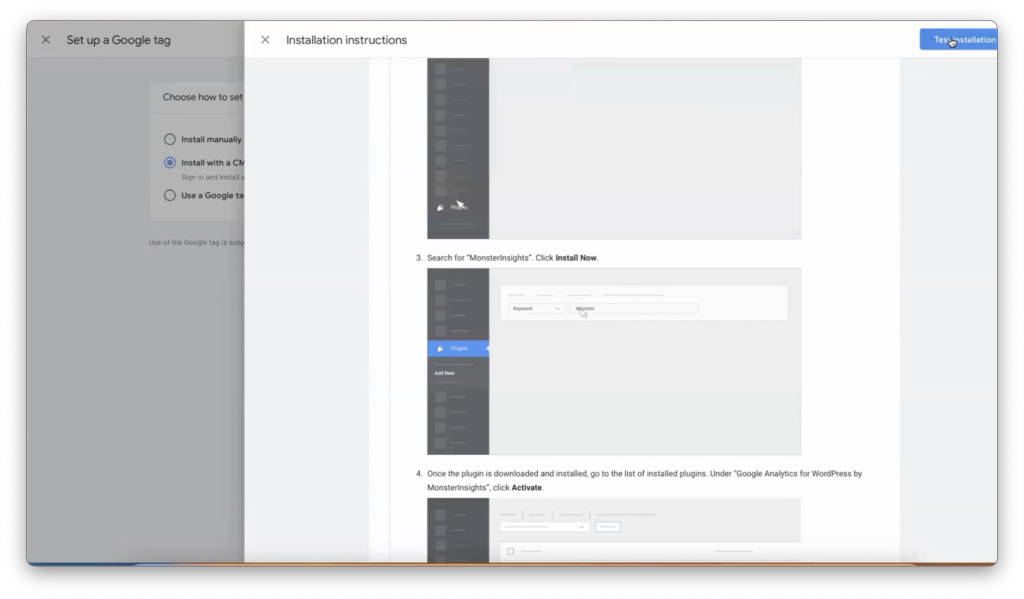
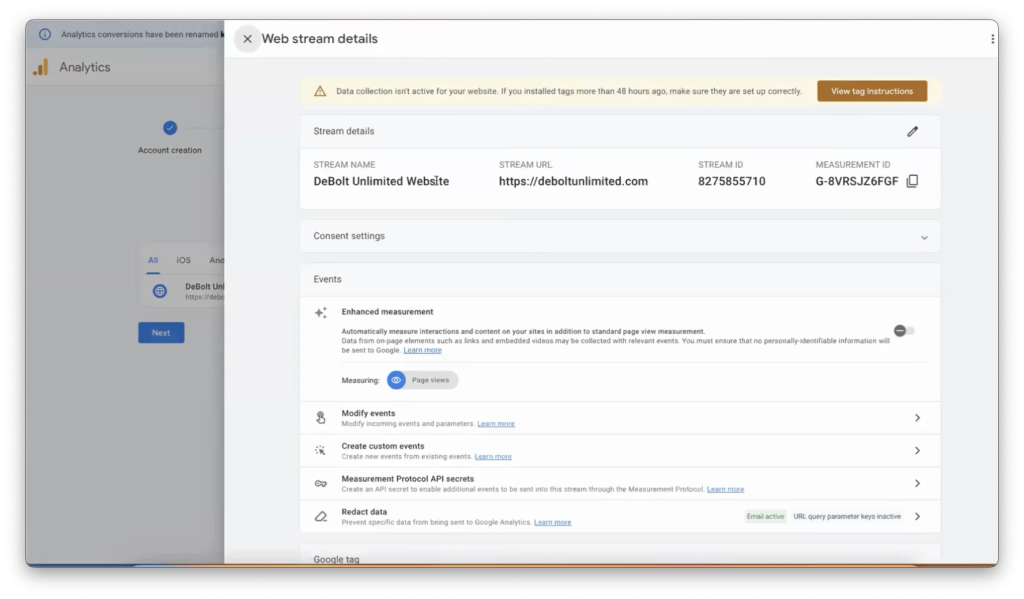
Google Analytics is an essential tool that helps you understand your audience and optimize your site. Today, we’ll walk you through the process of setting up Google Analytics on your WordPress site using the Monster Insights plugin. Let’s get started!

Step 1: Sign In to Google Analytics​

Head over to Google Analytics and sign in with your Google account.

Step 2: Create a New Account

In the admin settings, click on “Create” and then select “Account.” Here, you will create a new account for your client or project.

Fill in the account name. You can name it after your website or client. Decide whether to share data with Google by checking or unchecking the options. For this example, we will opt out of data sharing but you can adjust these settings later.

Step 3: Set Up Property Details

Next, you will need to provide details for the new property.

  1. Property Name: Enter your client’s name again for the property name.
  2. Time Zone: Select the appropriate time zone (e.g., Eastern Standard Time for New York).
  3. Currency: Choose the relevant currency (e.g., US Dollar).

Click “Next” to proceed.

Step 4: Business Details

Provide information about the business.

  1. Business Category: Select the category that best describes your client’s business.
  2. Business Size: Specify the size of the business.

Business Objectives: Choose the primary objectives for using Google Analytics. For this example, we will select “Examine the user behavior.”

Click “Create” to finalize the setup.

Step 5: Accept Terms of Service

Review and accept the Google Analytics Terms of Service to proceed.

Step 6: Choose a Platform

To start collecting data, select the platform you will be using. For this guide, we will focus on setting up a property for the web.

For the platform, choose “Web.”

Open your WordPress site in a new tab, copy the homepage URL, and paste it into the setup form in Google Analytics. Make sure to remove the “http://” or “https://”.

Name your data stream “client name” and then “website.”

Click on Create Stream and continue.

If you click on show more options, you can select install with a CMS or website builder and then click next.

Install Monster Insights Plugin

To easily connect Google Analytics to your WordPress site, we’ll use the Monster Insights plugin. 

In your WordPress dashboard, go to Plugins > Add New. 

Search for “Monster Insights” and install the plugin.

Once installed, click on Activate.

After activation, click on Launch Setup Wizard to start the setup process.

Connect Monster Insights to Google Analytics

Choose Website Category: Select the category that best describes your website (e.g., Business).

Connect to Google: Click on Connect Monster Insights and sign in with your Google account.

Allow Access: Allow Monster Insights to access your Google Analytics data.

Select Property: Choose the Google Analytics property you created earlier.

Complete Connection: Click on Complete Connection and save and continue.

Finalize Setup

Monster Insights will guide you through the final setup steps.

Disable Unwanted Plugins: If you do not want Monster Insights to install recommended plugins, uncheck those options.

Complete Setup: Click on Complete Setup Without Upgrading.

Verify Google Analytics Connection

Finally, let’s make sure everything is connected properly!

Test Installation: Go back to Google Analytics, click on Admin, and navigate to Data Streams under your property. Select your data stream and click Test Installation.

Verify Tag: If the tag is correctly installed, Google Analytics will confirm that it has detected the tag.

And that’s it! Your WordPress site is now connected to Google Analytics, and you can start collecting valuable data to optimize your website. Happy analyzing!

Need more help? Email Stacey Ivol at si@iftsdesign.com or call IFTS, Inc. at 412.715.6266 and I’ll be happy to assist you with any questions!