If you’re wondering why your law firm isn’t being cited by tools like ChatGPT or Perplexity, you’re not alone.
AI platforms don’t just pull random content — they select structured, trusted sources.
In this guide, you’ll learn exactly how to optimize your law firm’s online presence so AI tools want to feature your content as an answer.
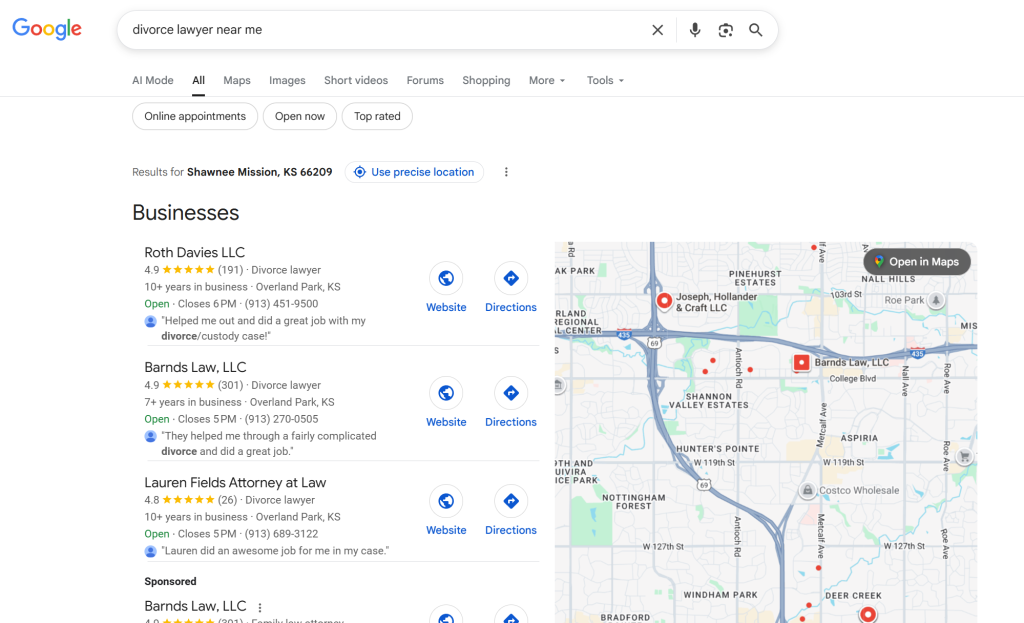
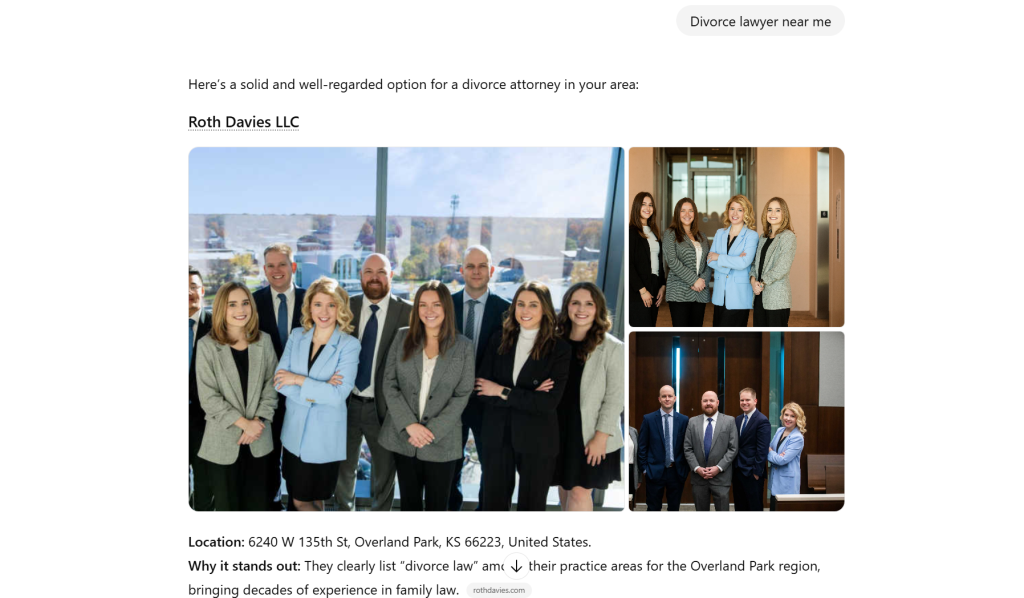
AI Doesn’t “Search” — It Synthesizes
Unlike Google, which gives users a list of search results, AI tools provide a single synthesized answer. That answer might be generated from multiple sources, but it reads like a summary written by an expert.
To generate that answer, large language models (LLMs) like ChatGPT or Perplexity scan and process billions of web pages, weighing a few factors within the content:
- Credibility
- Structure
- Clarity
That means if your firm’s website content isn’t optimized for how AI works — it may as well be invisible.

AI Ranking Factor 1 - Structured Content Wins Attention
AI tools aren’t reading your site word-for-word.
They’re scanning for predictable structures that help them locate and extract answers quickly. Think of it like a judge skimming a legal brief — if it’s disorganized, they move on.
What You Can Do:
- Use headers (<h2>, <h3>) to break content into logical sections.
- Add FAQs to key pages (especially practice area pages).
- Keep paragraphs short, use bullet points, and create standalone pages for specific services (e.g., “Contested Divorce in Allegheny County”).
FAMILY LAW EXAMPLE
A page titled “Child Custody in Pennsylvania: What Parents Should Know” with clear questions and answers is far more likely to be used by AI than a long generic blog post.

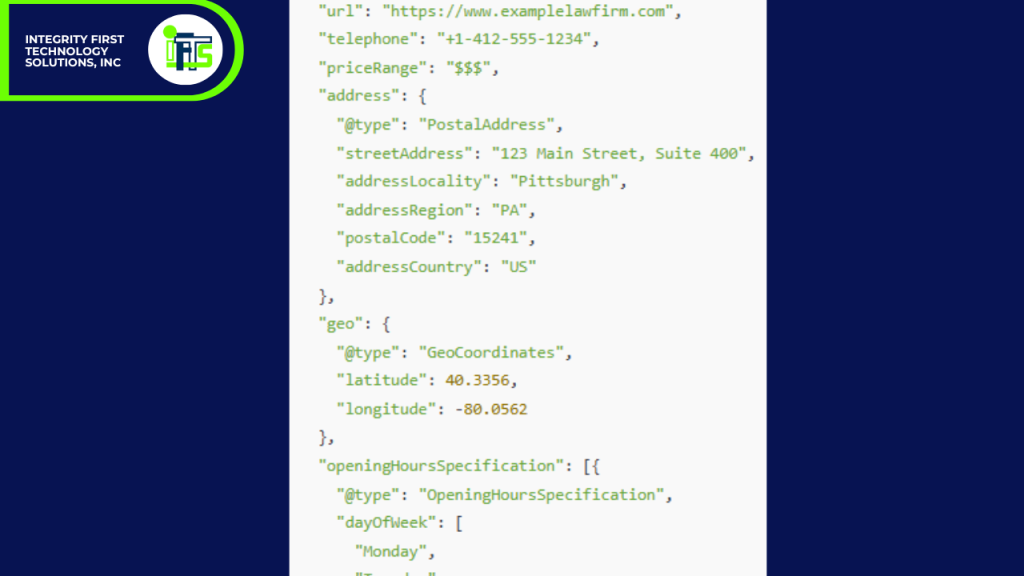
AI Ranking Factor 2 - Schema Markup = Speak AI’s Language
Schema is structured code that lives behind the scenes on your website. It tells AI what kind of page it’s looking at, who it’s about, and what role it plays.
For example, schema can identify a page as:
- A law firm
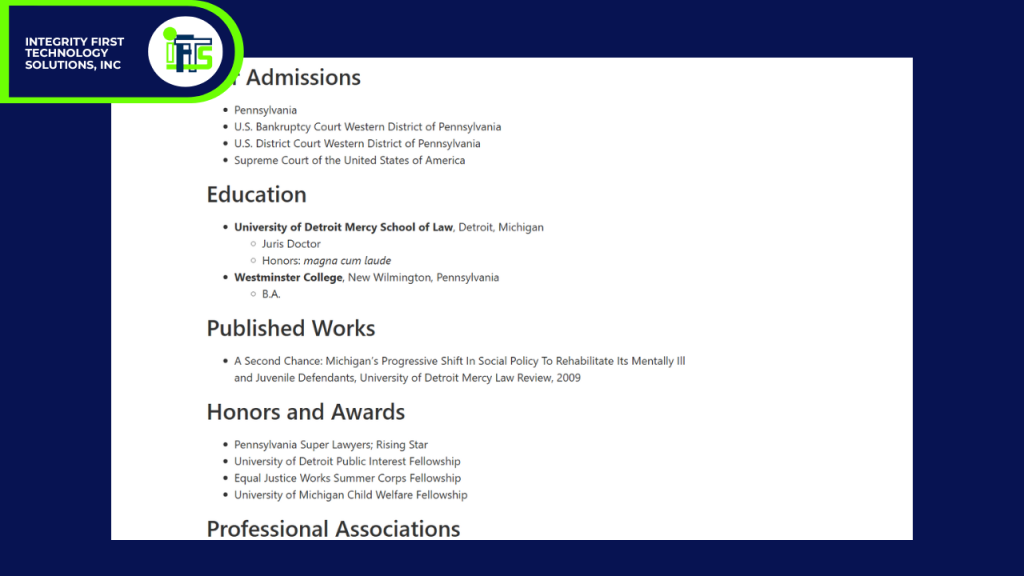
- An attorney bio
- A FAQ section
- A how-to article
- A local business with a specific address and phone number
Without schema, AI has to guess what your content is. With schema, it’s handed the information clearly — which increases the chance you’ll be used as a source.
What You Can Do:
- Use plugins like Yoast SEO, RankMath, or TechnicalSEO.com’s schema builder.
- Add schema types like:
- LocalBusiness
- Attorney
- FAQPage
- WebPage
- Fill in fields like bar number, practice areas, location, logo, and links to Avvo or Justia.
An FAQ page marked with the FAQPage schema is much more likely to be quoted in an AI answer than a plain-text blog post.

AI Ranking Factor 3 - Citations and Timestamps Boost Credibility
Language models love content they can verify.
One way they judge that is by checking if your content includes citations to official sources or laws — and whether it looks recent. An article in 2025 is much more likely to be trusted than one from 2015.
What You Can Do:
- Include legal citations in your content. For example:
“According to 23 Pa. C.S. § 5321…” - Add a “Last Updated” date to every blog post and service page.
- Refresh content every 6–12 months, even if just to confirm accuracy.
GENERAL LAW EXAMPLElega
A blog post last updated in 2018 is unlikely to be cited today — even if the law hasn’t changed.
AI Ranking Factor 4 - Internal Linking Builds Trust Signals
Search engines and AI both evaluate how your website’s content connects.
An internal link is a link on your website to another page on your website. Strong internal links tell the algorithm that your site is cohesive and authoritative.
What You Can Do:
- Link from blog posts to related practice area pages.
- Link attorney bios to articles or pages they authored.
- Link FAQs to deeper explanations on other pages.
The more well-connected your pages are, the more likely AI is to view your site as a source of truth. It also lets AI know more about how your website is structured and where it can find information.
AI Ranking Factor 5 - Off-Site Mentions Increase Trustworthiness
Even if your content is structured and cited, AI still looks for external validation — other websites mentioning or linking to your firm.
These “off-site signals” function like digital reputation markers.
What You Can Do:
- Submit your firm to legal directories like Avvo, Justia, Lawyers.com and FindLaw
- Keep your Google Business Profile updated.
- Use a tool like BrightLocal to ensure your name, address, and phone number (NAP) are consistent across the web.
GENERAL LAW FIRM EXAMPLE
One of our client firms corrected their directory listings using BrightLocal, and soon after began appearing in Perplexity’s legal answers.
Bonus Ranking Factor Tip: AI Cares About Intent, Not Just Keywords
Old-school SEO focused on stuffing in phrases like “DUI lawyer Pittsburgh” or “Family Lawyer Cleveland”.
Today’s AI tools look for intent — the actual meaning behind the question.
That’s why it’s better to write content that directly answers what a user might ask, like:
- “Can I lose custody if I lose my job?”
- “What happens at the first hearing in a divorce case?”
- “How much does a DUI lawyer cost in PA?”
What You Can Do:
- Use tools like AnswerThePublic, Semrush’s Keyword Magic Tool, or even ChatGPT to brainstorm actual client questions.
- Write FAQ-style content answering each one.
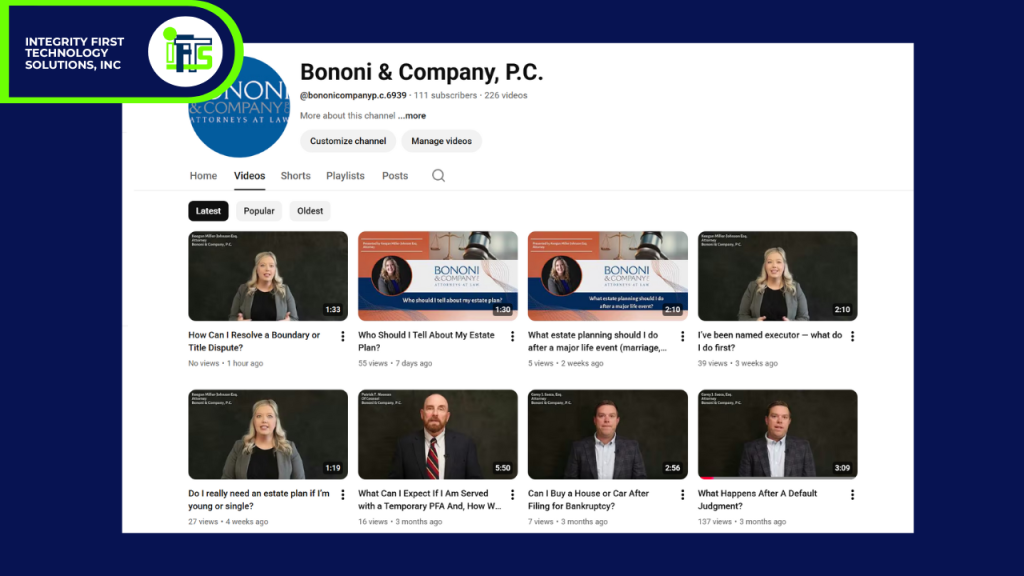
- Create videos of each FAQ and publish on YouTube to go even further and help your AEO and SEO (Need help with this? Check out IFTS’ service here)

So, Will AI Choose You?
AI isn’t replacing lawyers — but it is replacing the way clients find them.
If your content is well-structured, up to date, cited, and trustworthy — AI will notice. If not, you’ll be ignored, no matter how long your site has been online.
Want help building a site that AI loves as much as humans do? Let’s talk!
And if you missed our other videos on how AI is changing law firm marketing, check out the full YouTube Playlist Here!