
It is important to whitelist an email address so that important emails don’t end up in the spam or junk folder.
Gmail, Google’s email service, makes it quick and simple to put an email address on a whitelist. By adding an email address to the whitelist, you can ensure that all emails from that address will be delivered to your inbox.
Be aware, whitelisting an email address in Gmail does not guarantee that all emails from that address will be delivered to your inbox. Gmail’s spam filter is constantly evolving and may still mark some emails as spam. However, whitelisting an email address can significantly increase the chances of receiving those important emails.
Understanding Whitelisting
Whitelisting is a way of allowing emails from certain senders to get through spam filters and reach your mailbox directly. This is useful if you want to make sure that emails from individuals you know and trust always reach you, even if they contain potentially spam-like information.
When you whitelist an email address, you are telling your email provider that you trust that sender and want to receive their emails. This is really important for businesses that rely on email for communication with clients or customers, as important emails can sometimes be miss marked as spam and never reach their intended recipient.
Just remember, whitelisting doesn’t stop spam. Even if you have whitelisted some senders, hackers and scammers can still send emails through. It can, however, be a good approach to prevent unintentional rejection of those important client emails.
You can whitelist an email address in Google by adding the sender’s email address to your Contacts list or by creating a filter that allows their emails to bypass the spam filter. By doing so, you can relax knowing that emails from that source always arrive in your mailbox, even if they include potentially spam-like content.
Accessing Your Google Account Settings

To whitelist an email address in Google, you need to access your Google account settings. Here’s how:
- Open your web browser and go to Google.
- Click on the “Sign in” button located at the top-right corner of the page.
- Enter your Google account email address and password, then click on the “Sign in” button.
Once you are signed in, click on the “Google apps” button located at the top-right corner of the page.
From the drop-down menu, click on the “Gmail” icon.
You are now in your Gmail account inbox and ready to start whitelisting emails.
Creating a New Contact

The fastest way to whitelist an email address in Gmail is by simply adding the sender to your contact list.
To do this, go to your inbox and hover over an email from the person whose email address you wish to add to your whitelist. When a person + icon appears in the top-right corner of the new tab, click and select “Add [sender] to Contacts.” This will add the sender’s email address to your contacts list and allow you to receive emails from them.
Navigating to the Filters and Blocked Addresses Tab

The other way to prevent emails from being sent to spam is to go to the Filters and Blocked Addresses tab in your Gmail settings following these quick steps:
- In your Gmail inbox, click on the gear icon located at the top-right corner of the page.
- From the drop-down menu, click on “Settings” and select “See All Settings”.
- Click on the “Filters and Blocked Addresses” tab, which is located near the top of the page.
You will now see your Gmail account settings page, where you can whitelist an email address through filters.
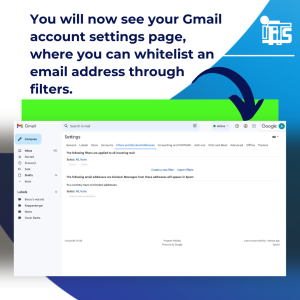
Overall, navigating to the Filters and Blocked Addresses tab in Google is a straightforward process that can help users better manage their email. Now, you are ready to create a new filter.
Creating a New Filter

Instead of just creating a new contact, you can create a new filter for keeping essential emails. By following these simple steps, users can ensure that important messages are never missed or marked as spam.
Entering the Desired Email Address
Now that you are in the “Filters and Blocked Addresses” tab, click on the “Create a new filter” tab.
In the “From” field, enter the email address that you want to whitelist. If you want to whitelist multiple email addresses, separate them with a comma, and continue to add to your list.
Selecting the Right Criteria
Once you have entered the desired email address, you can select the guidelines for the filter. You can choose to apply the filter to all incoming emails, or you can specify certain criteria such as keywords, subject lines, or attachment types.
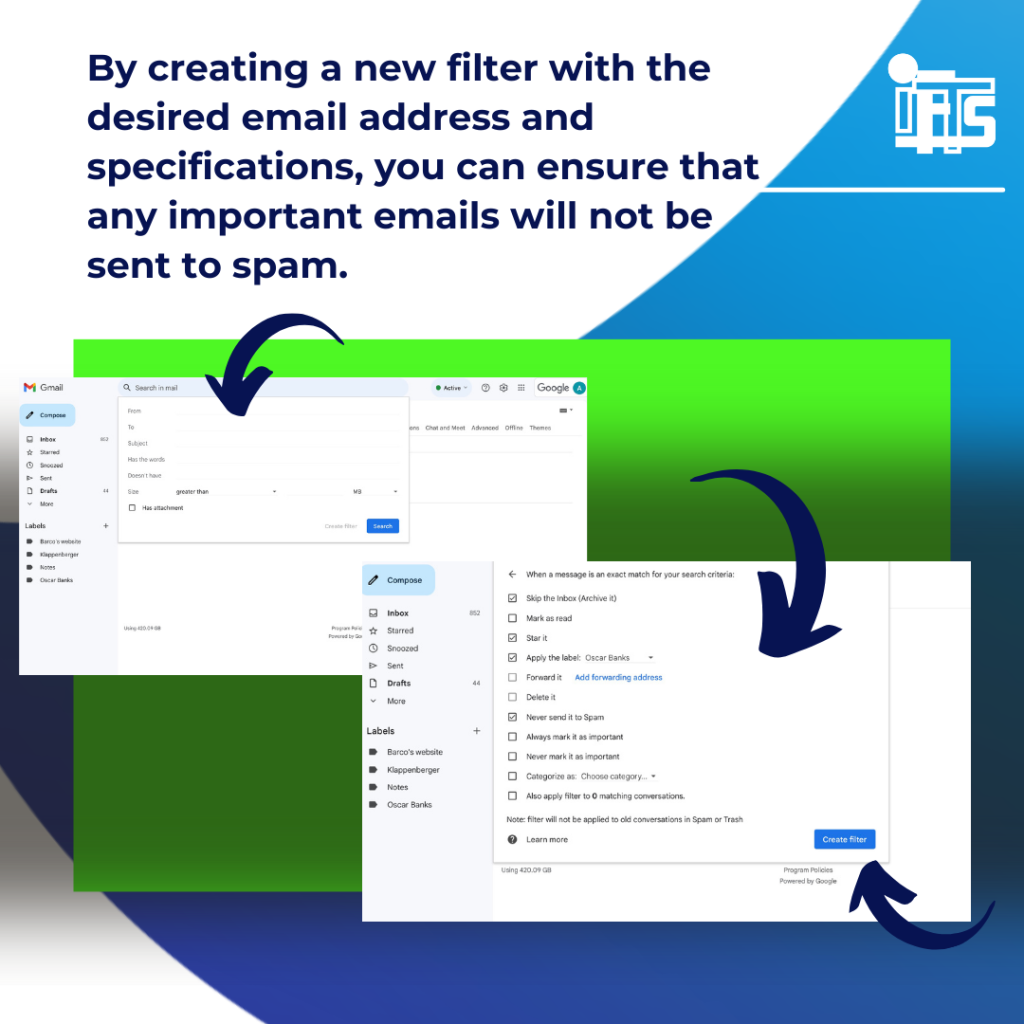
For example, if you only want to whitelist emails from a certain sender with a specific subject line, you can enter those standards in the appropriate fields. You can also choose what action to take with the emails that meet the filter criteria, such as marking them as important or archiving them.
By creating a new filter with the desired email address and specifications, you can ensure that any important emails will not be sent to spam.
Choosing the Never Send to Spam Option
Now that you’ve created a new filter with the email address and criteria, you can also simply check the box “Never send it to Spam” without needing to select any other parameters.
Saving the Filter
After selecting the “Never send it to Spam ” option, or other criteria, click on the “Create filter” button to save the filter. This will ensure that all future emails from the whitelisted email address are delivered to the inbox.
We hope you have a better understanding of how whitelisting an email address in Google is an easy process that can help increase the likelihood that important emails from important clients are not missed.
Again, we want to point out that whitelisting an email address does not guarantee that all emails from that address will be delivered to the inbox, but it is a great step to take.
Need more help?
Let us handle the important marketing details so you can focus on running a successful painting company! Email si@iftsdesign.com to find out more!