For years, law firm marketing followed a familiar playbook.
Rank on page one.
Get into the map pack.
Collect more reviews.
And for a long time, that worked.
But today, something fundamental has changed…and I’m pretty sure you know why, AI.
When a potential client asks AI a question like “Who’s the best estate planning attorney near me?”, AI isn’t scrolling through search results or comparing ten websites.
ChatGPT, Grok, Google Gemini – they all do the same thing – choose one answer, maybe two.
That shift has major implications for law firms — especially those still relying on traditional SEO strategies alone.
In the video above, I break down exactly how this works and what law firms need to change. Below, I’ll expand on how AI makes these decisions and what you can do to increase the chances that your firm is recommended.
AI Is No Longer Ranking Law Firms — It’s Choosing Them
Traditional search engines were built around rankings.
AI systems work differently.
AI doesn’t:
- Scroll through pages
- Compare dozens of firms
- Evaluate keyword density the way Google used to
Instead, AI predicts the best answer based on trust and confidence signals.
That’s why a law firm can have:
- A professional website
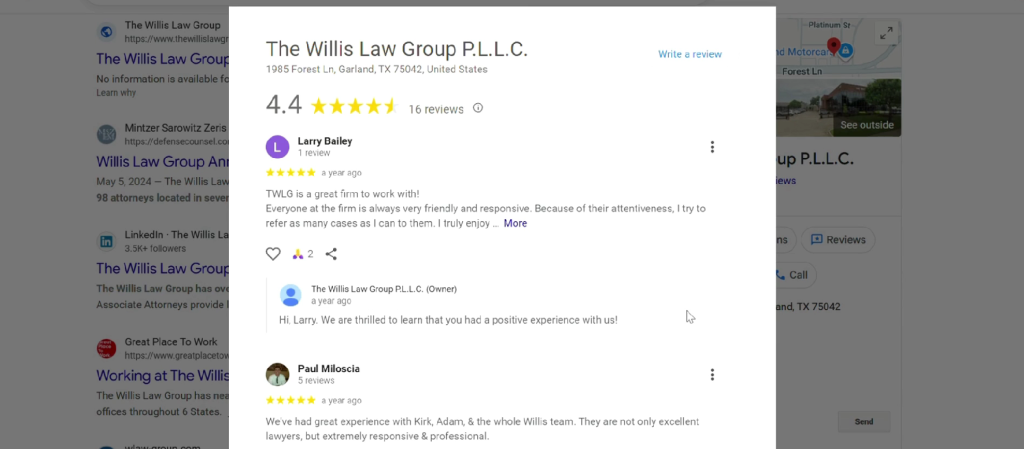
- Strong Google reviews
- Solid SEO fundamentals
…and still never be recommended.
If AI doesn’t clearly understand your firm, it won’t confidently suggest it — even if you’re an excellent attorney.
(If this sounds familiar, you may also want to read our guide on AI marketing for law firms.)
How AI Decides Which Law Firms to Recommend
When AI evaluates whether to recommend a law firm, it looks for patterns that indicate clarity, reliability, and expertise.
In simple terms, AI looks for three core trust signals — what I call the three Cs.
Clarity
Does your firm clearly explain:
- What you do
- Who you help
- How you help them
And does it do so in plain language?
Many law firm websites rely heavily on legal jargon and vague descriptions. While that may sound professional, it often creates confusion — for both people and AI.
Clarity helps AI immediately understand your role and relevance…without it, your firm becomes harder to recommend.
(We cover this in more detail in our post on answer-based law firm websites.)
Consistency
AI doesn’t rely on just one source.
It evaluates your:
- Website
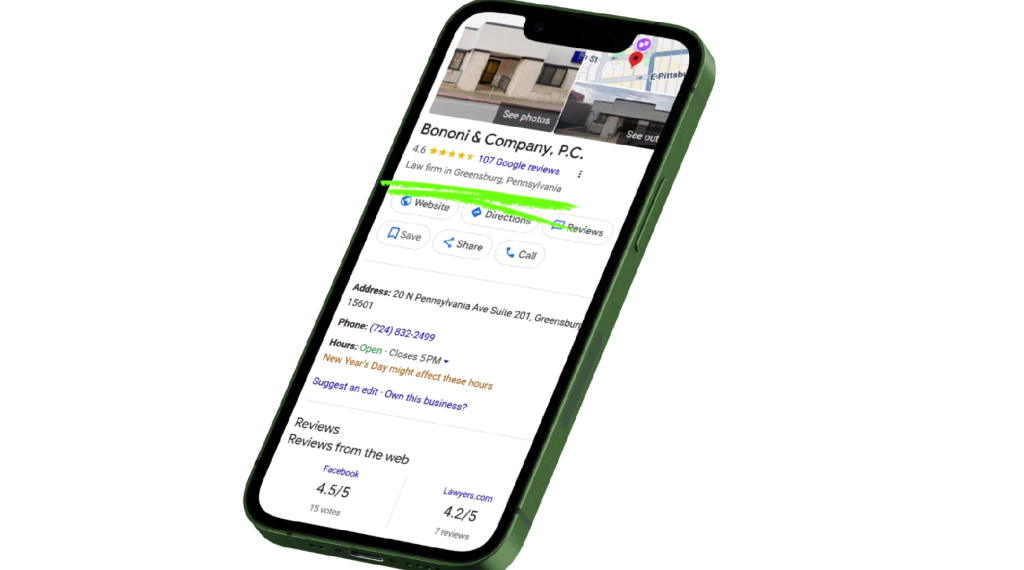
- Google Business Profile
- Content and blogs
- Videos
- Other online mentions
If your practice areas, messaging, or positioning vary across platforms, AI loses confidence.
Consistency signals stability and reliability — both of which are critical for AI-driven recommendations.
(You can also review our checklist for law firm online consistency.)
Credibility
In our experience, this is where most law firms struggle.
AI no longer takes your word for it just because you say you’re experienced.
It looks for evidence.
Credibility comes from:
- Clear explanations of legal concepts
- Direct answers to client questions
- Content that demonstrates knowledge, not just marketing claims
Older law firm websites were built for keywords…AI expects proof of expertise.
Why Most Law Firm Websites Are Falling Behind With AI
Many law firm websites haven’t meaningfully changed in years.
They still rely on:
- Long, generic practice area pages
- Keyword-stuffed content
- Minimal explanation of process or outcomes
The problem is simple: AI doesn’t assume expertise anymore — it evaluates it.
If your website doesn’t clearly explain what you know and how you help, AI has no reason to recommend your firm.
What AI Trusts Today When It Comes To Law Firms
Based on current AI behavior, four trust signals consistently matter most.
#1 – Structured Information
AI favors content that is organized and clearly defined.
This includes:
- Distinct practice areas
- Clearly labeled services
- Obvious page purpose
Structured content helps AI understand and categorize your firm accurately.
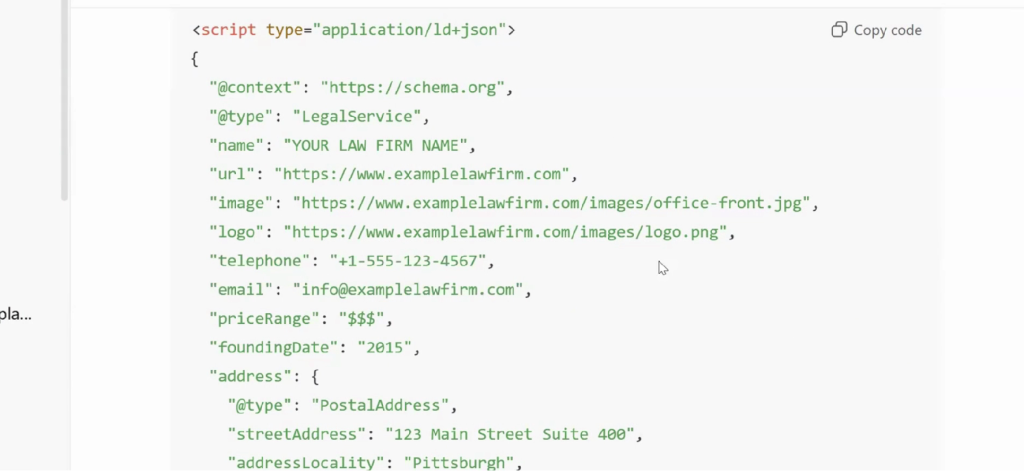
(Proper structure also supports law firm schema and entity signals.)
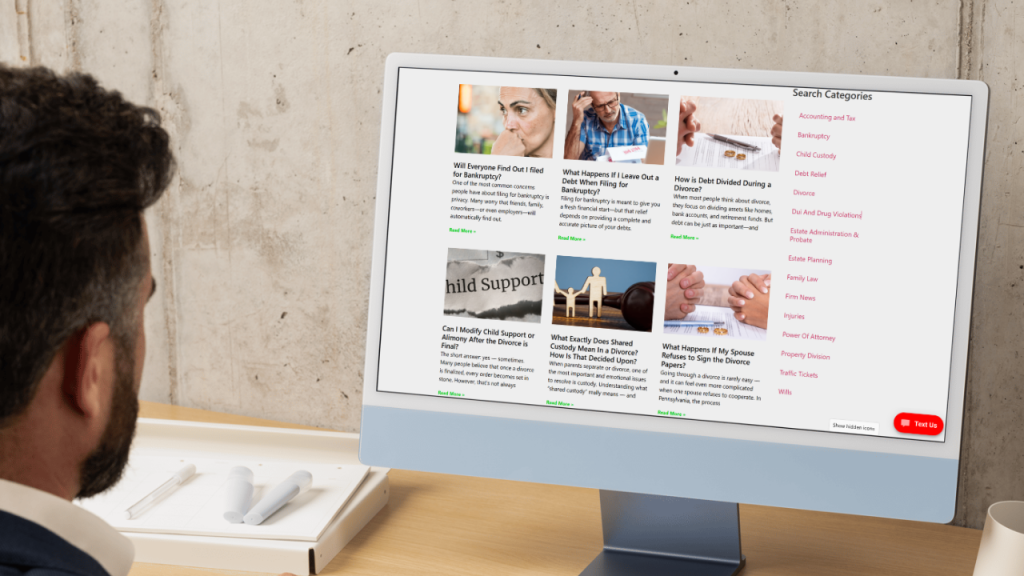
#2 – Direct Answers
AI rewards content that answers real client questions directly.
Not vague marketing language.
Not legal theory.
Clear, practical answers that match how people naturally ask questions.
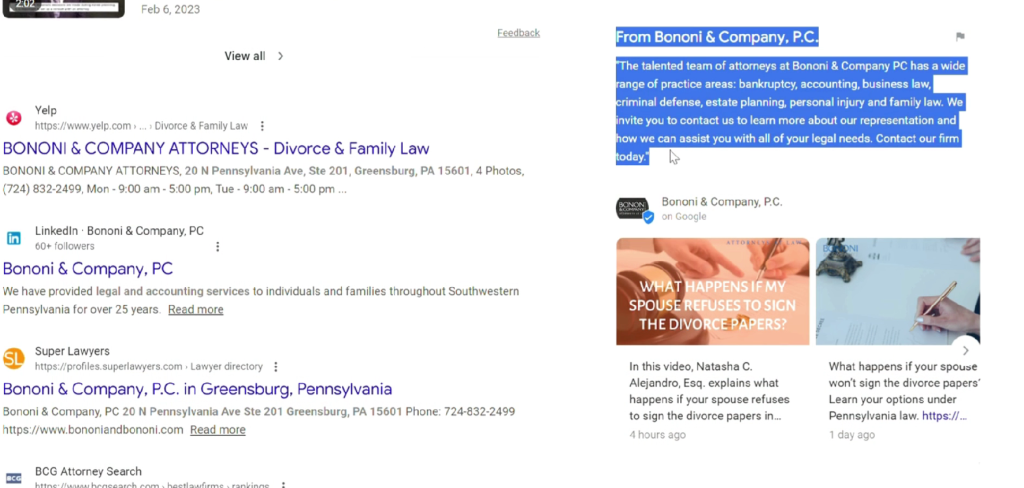
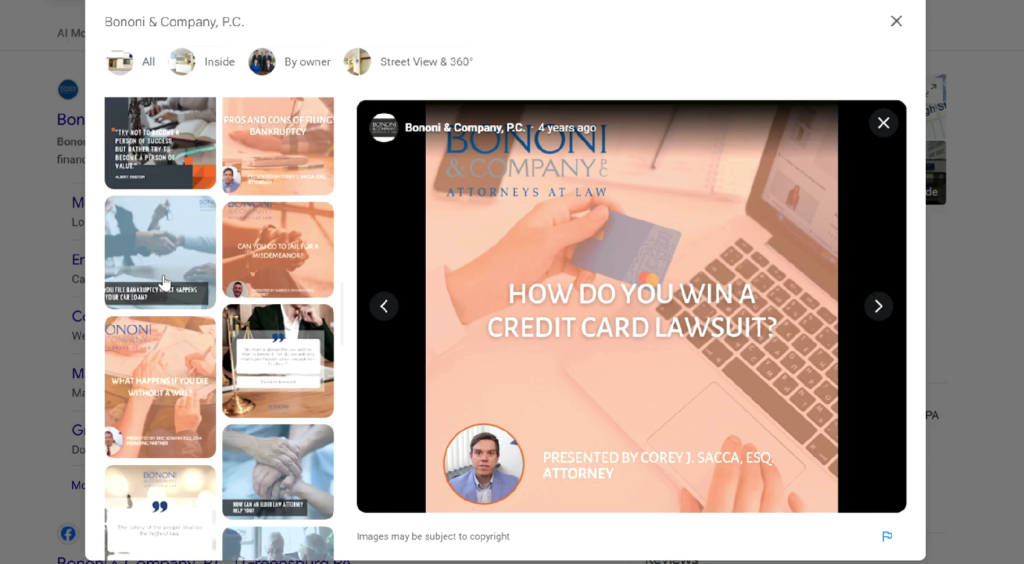
#3 – Video Content
Video is one of the strongest trust signals available today.
Video proves:
- A real attorney exists
- Complex topics can be explained clearly
- Authority goes beyond text on a page
This is why we strongly encourage video marketing for law firms as part of any AI-ready strategy.
#4 – Entity Signals
AI connects the dots between:
- Your firm
- Your attorneys
- Your practice areas
- Your geographic location
When those relationships are clear and consistent, AI can confidently understand who you are and when to recommend you.
What Law Firms Should Fix First
If you want AI to recommend your firm, these are the most important areas to address.
Build Your Website for Answers, Not Rankings
Your website should focus on answering real client questions in clear language — not chasing keywords.
Think about what clients actually ask you during consultations and build content around those answers.
Add Short, Explanatory Attorney Videos
You don’t need studio-level production.
Short videos explaining:
- What it’s like to work with your firm
- Common legal questions
- How specific cases are handled
These videos build trust with both AI and potential clients.
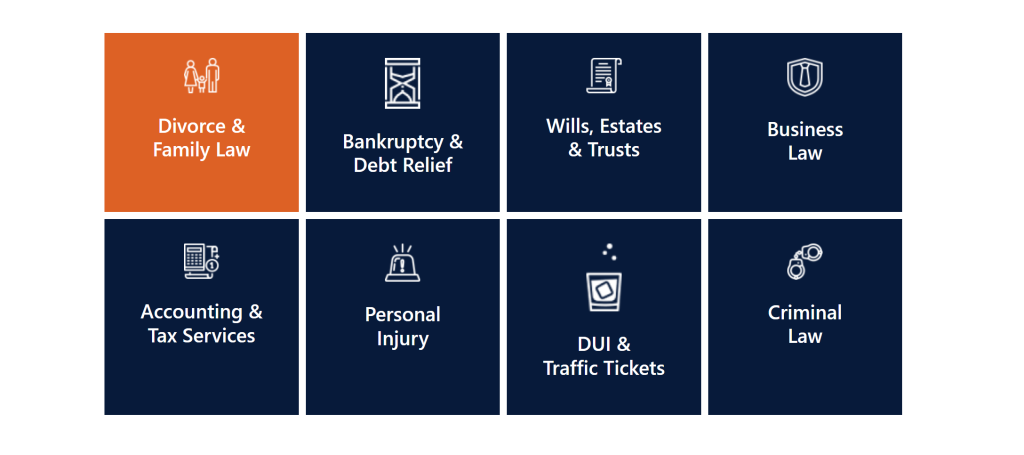
Clearly Define Each Practice Area
Each practice area should have its own page explaining exactly how you help with that type of case.
Avoid vague wording. Specificity matters.
Match Client Language
Listen to how clients describe their situations.
Use their words — not legal jargon — in your content and videos.
This improves clarity, trust, and AI understanding.
Keep Messaging Consistent Everywhere
Your:
- Name
- Address
- Phone number
- Practice areas
- Positioning
should match everywhere AI looks.
Consistency builds confidence — and AI rewards it.
So, Where Should You Start?
AI-driven search isn’t coming — it’s already here.
The law firms that succeed won’t be the ones doing more marketing.
They’ll be the ones doing the right marketing.
Watch the video above to see exactly how AI evaluates law firms.
If you’re not sure whether your firm would be recommended by AI today, that’s normal.
This is exactly what we help law firms evaluate and fix — often using assets they already have.
Schedule a free consultation here to get help implementing these 5 suggestions: https://iftsdesign.com/get-more-clients