How to Make Professional AI Headshots at Home (Step-by-Step)

Want a polished, confident headshot for your website or LinkedIn—without a studio, getting dressed up, or perfect lighting?

In this guide, I’ll walk you through creating professional-looking AI headshots at home using the app Gio (iOS;  $39.99/year), plus pro tips for natural results.

What you’ll need

  • A smartphone (rear camera preferred)

  • A plain wall or simple background

  • Soft, even light (a bright window works great)

  • Geo app installed and logged in

  • Optional: a helper or tripod; otherwise use the phone’s timer

You don’t need to dress up or do full hair/makeup. We’ll handle styling and polish inside the app.

Step-by-step tutorial

1) Prep your space

  • Stand 2–4 feet from a plain wall.
  • Face a window for soft, even light; avoid mixed overhead lighting.
  • Remove wall clutter (hooks, frames) so the background is clean.

2) Frame the photo correctly

  • Composition: chest-up, with a bit of space above your head.


  • Camera at eye level, held straight (no tilt).


  • Keep the frame not too wide—we don’t want a full-body shot.


3) Take your base photo

  • Relax your shoulders; slight smile or neutral expression.

  • Snap several options (different angles: straight on, slight turn).

If solo, use a 10-second timer and prop the phone at eye level.

4) Import into Gio

Open Gio → click styles→ select your best chest-up photo.

5) Crop before styling

  • Use Geo’s crop tool to frame just below the chest to a little above your head.

  • Center your eyes roughly in the upper third of the frame.

6) Choose a style

  • Tap Styles. You’ll see categories (e.g., Office, Doctor, Realtor, etc.).

  • For a classic business look, try Office → Blazer or a button-up.

    • Some styles add clothing only (no background). That’s normal—we’ll add a backdrop next.

Turtlenecks often hide neck artifacts, which can look more natural.

7) Generate & review

  • Let Gio process (typically quick or 1-3 minutes max).

Check hairline, neckline, and edges of clothing. If anything looks off, try a nearby style or let it regenerate.

8) Add a professional background

  • Go to Backgrounds → choose an office or studio look.

Aim for believable depth of field (slight blur behind you). This instantly elevates realism.

9) Retouch lightly (less is more)

  • Open Retouch → Skin:

    • Set skin smoothing ~40–50%. Enough to polish, not plastic.

  • Teeth/Lips:

    • Small amounts of teeth whitening or a slight lip lift can help; avoid extremes.

Rule of thumb: if you can see the edit, it’s probably too much.

10) Match lighting & color

  • Use Adjustments:

    • Tweak brightness/contrast so your face matches the background exposure.

    • Slight warmth can add a healthy tone; avoid orange.

If AI clothing looks overly crisp, add a touch of blur or reduce sharpness to mimic a real photo.

11) Optional: brand-style filters

  • Light filters can add mood or consistency with your website/Instagram.

Keep it subtle; you’re going for timeless, not trendy.

12) Export for each platform

  • Save as a standard image to your camera roll.

  • Crop for platforms:

    • LinkedIn: square (1:1), face centered, shoulders visible.

Website bio: vertical (3:4 or 4:5) with a bit more breathing room.

Working with less-than-perfect photos (mature skin & low light)

If your only photo is slightly blurry, dim, or shows fine lines, you can still get a great result.

  1. Add a clean background first—this often fixes the overall feel.

  2. Fine lines: keep smoothing under 50% to preserve texture.

  3. Eye bag reduction: you can push this higher than other retouches and still look natural.

  4. Chin/angle tools: use sparingly to correct camera distortion (don’t reshape your face).

  5. Makeup: The makeup options are minimal on Gio but offer a touch of color. I go with the natural look at about 50% and it adds light definition to eyes/lips without looking “done.”

If sharpening highlights wrinkles, back it down and rely on gentle blur + contrast balancing instead.

Quick do’s & don’ts

Do

  • Shoot chest-up against a plain wall with window light.

  • Keep edits subtle and consistent across all variations you export.

  • Choose backgrounds that fit your industry (law, tech, healthcare, creative).

Don’t

  • Over-smooth skin or over-whiten teeth.

  • Use busy or trendy backgrounds that will date the image.

Save only one version—export a LinkedIn crop and a website crop.

FAQs

Do I need to dress up?
No. Wear anything—Gio can add a blazer, button-up, or sweater later.

What if my photo is a bit blurry?
You can still get a professional result by pairing gentle retouching with a clean, well-lit background.

How many styles should I try?
Test 2–4. Keep one formal (blazer), one business-casual (button-up), and one relaxed (sweater) for different uses.

Will people be able to tell it’s AI?
If you keep retouching subtle and match lighting/contrast to the background, most viewers will simply see a clean, professional portrait.

Done-for-you option (fast, affordable, hands-off)

If you’d rather skip the tweaking and subscriptions, we offer a Virtual Headshot Service for $79:

  • 3 professionally edited headshots to choose from

  • Custom social media graphic for LinkedIn/website

  • 24-hour turnaround

It’s quick, effortless, and you never have to leave your office.

Get your Virtual Headshots 

How to Turn Your Law Firm’s Website Into a Client-Generating Machine with Content and Video

If you’re like most attorneys, you know your website should be helping you attract new clients — but you’re not sure what content actually works.

The truth is, your potential clients aren’t searching for your name first. They’re searching for answers to their legal problems.

They’re typing things like:

  • “Do I need a will in Georgia?”
  • “How long does a DUI stay on your record?”
  • “What happens if I miss a custody hearing?”

If your website provides clear, local, and trustworthy answers to those questions, you gain their attention and earn their trust — and that leads directly to new consultations.

In this post, I’ll walk you through how to build a content system that turns search traffic into signed clients — using:

Let’s get into it.

1. Create One Service Page Per Practice Area

Many law firms still rely on a single “Practice Areas” page — a big list of everything they do. That approach is outdated and bad for SEO.

Instead, create a dedicated page for each legal service you offer, such as:

  • /dui-defense
  • /child-custody
  • /estate-planning
  • /probate-litigation

Each page should be built around one primary keyword like “estate planning lawyer in Pittsburgh.” Include:

  • A clear headline that mentions your service and location
  • A plain-English explanation of the service
  • Mentions of your city or county
  • Internal links to related blog posts and FAQs
  • A bold call to action (CTA), like “Schedule a Free Consultation Today”

Done right, these pages become your website’s most valuable asset — working 24/7 to rank in search, build trust, and convert visitors into leads.

2. Write Blog Posts That Answer Real Questions

Your blog is not a press release section. It’s a place to answer your potential clients’ most pressing legal questions.

Here’s what to write about:

  • Client questions you hear again and again during consultations
  • Recent law changes in your practice area or state
  • Step-by-step guides like “How to Prepare for a Custody Hearing”
  • Case studies or anonymized examples of how you helped someone
  • Myths vs. truths about common legal processes
  • “What to do if…” posts, like “What to do if you’re served divorce papers”

Keep it simple and conversational. Break your posts into sections with headings. Use internal links to your related service pages. And always end with a clear CTA.

Even just one or two well-written blog posts per month can dramatically improve your visibility and trust factor.

3. Build Topic-Specific FAQ Pages

FAQs aren’t just for saving your receptionist’s time — they’re powerful SEO tools and trust-builders.

Instead of one massive FAQ page, break them into topic-specific pages like:

  • DUI Defense FAQs
  • Estate Planning FAQs
  • Family Law FAQs in [Your County]

Use plain language and keep answers short. If possible, add FAQ schema markup to improve your chances of getting featured in Google’s “People Also Ask” or rich results.

And don’t forget to link out to relevant blog posts or service pages when a question deserves a deeper explanation.

When someone lands on your FAQ page and finds the exact answer they were looking for, they’re already one step closer to booking a consultation.

4. Turn Written Content Into Video (With Help from AI)

People love video — especially when it’s short, simple, and informative.

The good news? You don’t need a studio or hours of prep to make it happen.

Start by using a blog post or FAQ you’ve already written. Then:

  • Use AI to help turn it into a short video script
  • Record yourself answering the question (even just with your phone)
  • Post the video to YouTube, your blog, Instagram, and your Google Business Profile
  • Embed it wherever it fits on your website

For example, one short video like:
“Do I need a lawyer for probate in Pennsylvania?”
Can be repurposed into:

  • A YouTube video
  • A Facebook Reel
  • An FAQ answer
  • A blog with transcript
  • A GBP post

With just a few pieces of reusable content, you’ll start standing out in a market where most attorneys still haven’t tried video at all.

Final Thoughts: Don’t Overcomplicate It

You don’t need a complicated funnel or a massive content calendar to succeed.

Just focus on these four content assets:

  • Dedicated service pages that clearly explain what you do
  • Blog posts that answer real client questions
  • FAQ pages that build trust and authority
  • Short videos, powered by AI, that scale your message across platforms

This simple system can turn your website from a static brochure into a true marketing engine.

Want a Shortcut?

If you’d like a step-by-step guide to implement this, download your free copy of our book, First in Search, First in Court.

It’s packed with checklists, templates, and strategies we use to help law firms outrank the competition and consistently book new clients.

Turn ChatGPT Research Into Clients: Marketing Playbook + Lead Magnet Strategy for Law Firms (Part 2)

In Part 1, we showed you how to use ChatGPT’s Deep Research Mode to understand your clients and create content that actually connects.

But what comes next?

Today, we’re taking that insight and turning it into two powerful marketing tools your law firm can start using immediately:

  • ✅ A Marketing Playbook that keeps your messaging sharp and consistent


  • ✅ A Lead Magnet that actually converts visitors into qualified leads


And the best part?

We’ve already built a free AI-Powered Marketing Playbook Template for you—so you can skip the hard part and get started right away. 

Step 1: Build Your Law Firm’s Marketing Playbook

Your Marketing Playbook is your firm’s secret weapon.

It’s not just a document—it’s a strategy hub that ensures everything you publish is aligned, intentional, and conversion-ready. It includes:

  • Your ideal client avatar

  • Key pain points and common objections

  • The exact words your clients use and respond to

  • Your brand voice—so every piece of content sounds like you

With a Playbook in place, there’s no more guessing when it’s time to write a blog post, record a video, or run a paid ad. You’re consistent—and clear—everywhere.

🔍 Try This Prompt:

“Create a marketing playbook for a [type of law firm] in [city]. Use real client language from forums, reviews, and social media to identify pain points, objections, and messaging themes. Include the client avatars that we discussed already.”

In the past, you’d hire a branding agency to put this together. Now, you can get 80% of the way there with ChatGPT—and finish it with your own insights.

And yes—our free template includes a plug-and-play version of this prompt.

Step 2: Create a Lead Magnet That Converts

Once you’ve nailed your messaging, it’s time to attract leads—and that’s where your lead magnet comes in.

A lead magnet is a free resource (like a checklist, guide, or short video series) that you offer in exchange for a potential client’s contact info. When done well, it can increase your lead generation by up to 55%.

Unfortunately, most law firms miss the mark by offering something vague like:

“The 5 Legal Mistakes to Avoid”

Let’s be real—no one’s downloading that anymore.

✨ ChatGPT to the Rescue

Here’s a powerful prompt to create an irresistible lead magnet for your ideal client:

“Based on your deep research into [practice area], what kind of lead magnet would my ideal client find irresistible—and how should I position it to align with my legal services?”

For example, if you’re an estate planning attorney, ChatGPT might suggest:

“A guide to avoiding probate without spending a fortune.”

It’s specific, emotionally resonant, and naturally leads to your service.

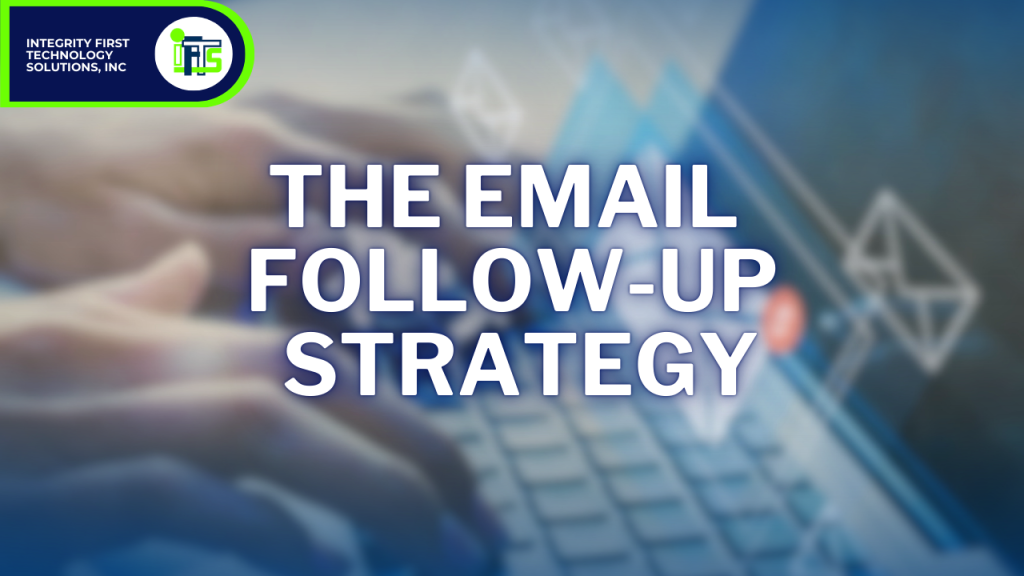
📬 Then Follow Up With:

Once someone downloads your lead magnet, don’t let the conversation end there. Send them:

  • A short welcome email

  • A personal story or case study

  • An invitation to book a consultation

And yes—our Playbook Template includes a structure for that email sequence too.

Recap: Your Law Firm’s 3-Step AI Marketing System

  1. Use ChatGPT’s Deep Research Mode to uncover what your clients actually care about

  2. Build a Marketing Playbook to guide everything you say

  3. Create a Lead Magnet that speaks to real pain points and drives real conversions

Download the Free AI-Powered Marketing Playbook Template

Inside, you’ll get:

  • Pre-written ChatGPT prompts


  • Fill-in-the-blank frameworks


  • A lead magnet brainstorming tool


  • And more—all tailored for law firms


Click here to download the free template!