
Adding a second website to an existing Google Analytics property is a common task for many digital marketers and website owners. Whether you’re managing multiple sites for a client or expanding your online presence, the good news is that you can easily track multiple websites under the same Google Analytics account.
In this comprehensive guide, we’ll walk you through the step-by-step process of adding a second website to your Google Analytics property, ensuring all your data is accurately tracked and easily accessible.
Why You Might Need to Add a Second Website to Google Analytics
Before diving into the how-to, it’s important to understand why adding a second website to your Google Analytics property might be beneficial. By consolidating your websites under a single Google Analytics account, you can:
- Streamline Data Management: Monitor multiple sites without switching between accounts.
- Comprehensive Reporting: Compare performance metrics across different websites from a single dashboard.
- Centralized Data: Simplify the process of analyzing traffic sources, user behavior, and conversion rates across all your sites.
Getting Started: Preparing to Add a Second Website
Let’s assume you already have a Google Analytics property set up for your main website. Now, with the launch of a second website, you’ll want to ensure both sites are tracked under the same account. This makes it easier to manage and compare data across multiple properties.
Step 1: Creating a New Google Analytics Property
The first step in adding a second website is to create a new property within your existing Google Analytics account. Follow these instructions:
1. Access the Admin Section:
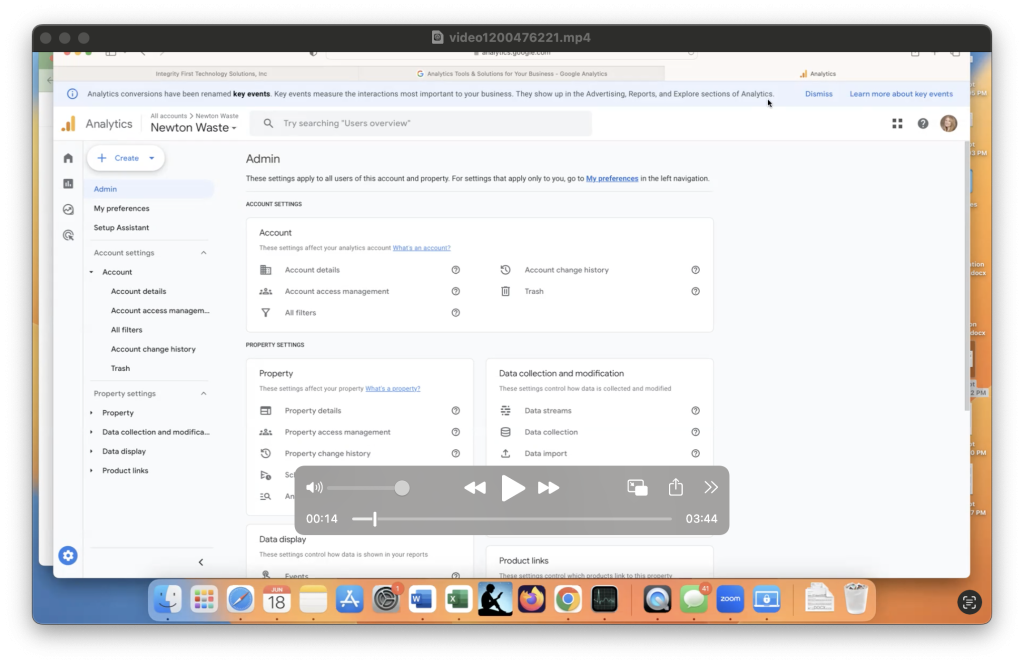
Log in to your Google Analytics account and navigate to the Admin section, located at the bottom-left of the screen.
2. Create a New Property:
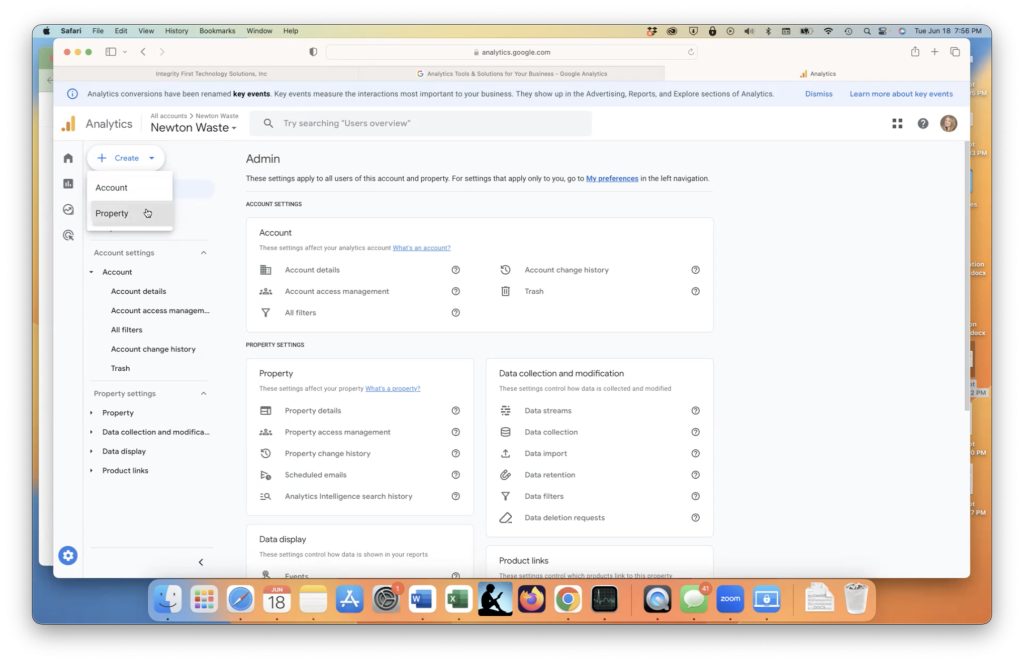
Under the “Property” column, click on the “Create Property” button.
3. Enter Website Details:
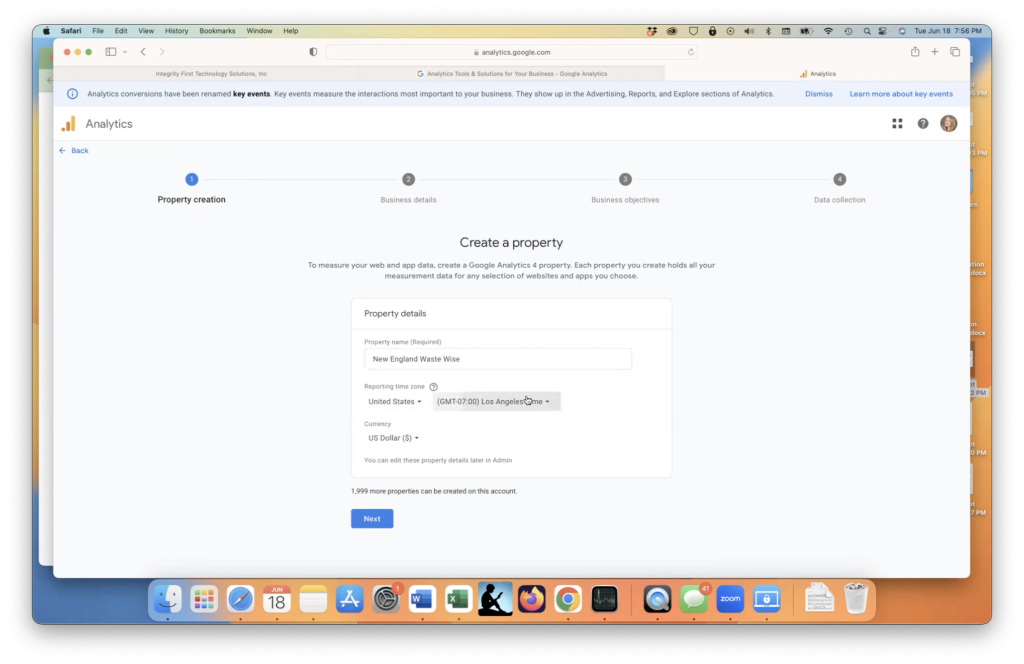
Provide the necessary information for your new website, including the website name, timezone, industry category, and business size. This information helps Google Analytics tailor reports and insights specific to your industry.
4. Choose Business Objectives:
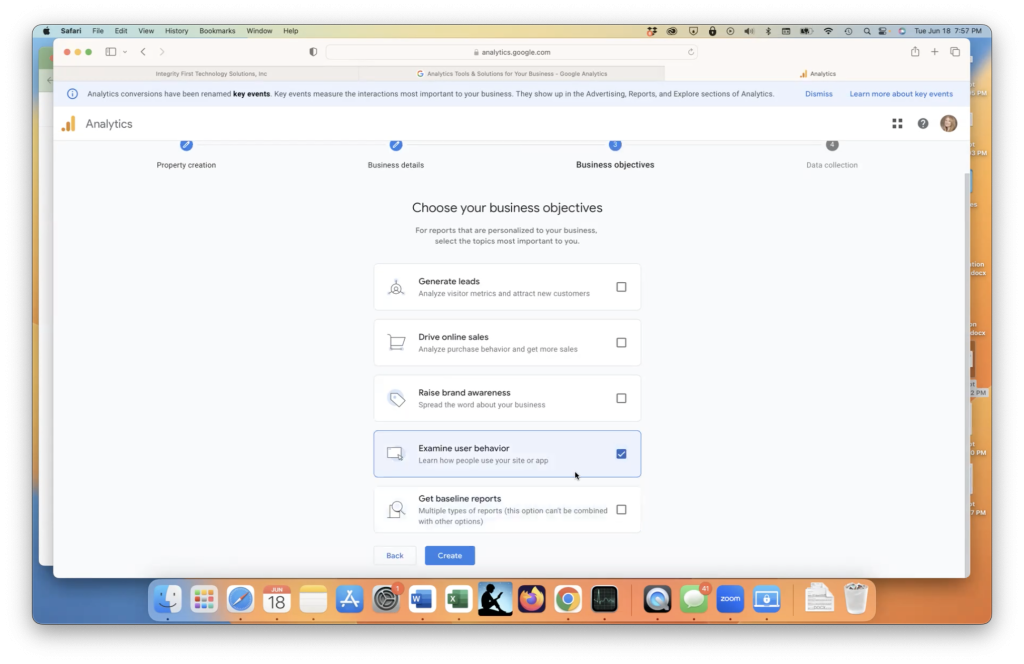
For this example, we chose to receive reports that examine user behavior on how they use the website.
5. Data Sharing Settings:
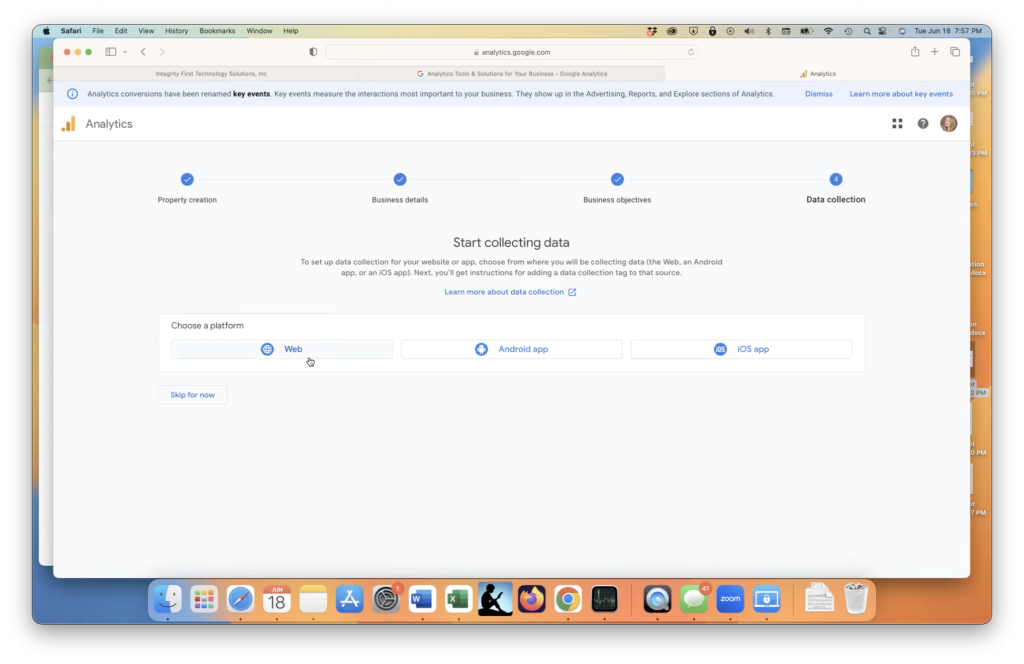
Choose the appropriate data sharing settings. These settings determine how your data is shared with Google and other services.
6. Set Up the Data Stream and Finalize the Setup:
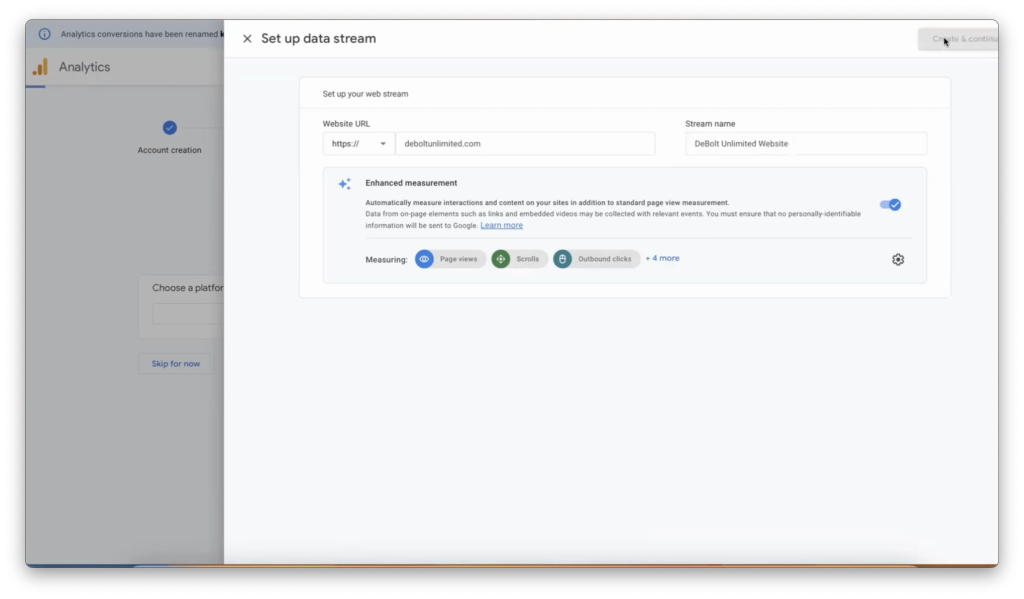
Obtain the URL of your client’s homepage from Go HighLevel. Navigate to Sites > Websites, and copy the homepage URL.
Remove the “https://” prefix and paste the URL into the provided field. Name the property using your client’s name plus the word “website.”
Click “Create” to complete the setup process for the new property.
Step 2: Installing the Google Analytics Tracking Code on the Second Website
With your new property created, the next step is to install the Google Analytics tracking code on your second website. This code is essential for tracking visitor data and activity on your site.
1. Locate the Tracking Code:

In your new property, navigate to the “Tracking Info” section and copy the tracking code snippet provided by Google Analytics.
2. Insert the Code into Your Website:

Access the backend settings of your second website. Paste the tracking code into the header section of your site, just before the closing </head> tag.
In this case, we are accessing the website using GoHighLevel.
- Go to Go HighLevel: Navigate to your client’s website settings in Go HighLevel.
- Paste Tracking Code: In the main website settings, paste the tracking code into the “Head Tracking Code” section.
- Save Changes: Click “Save” to apply the changes.
Step 3: Verifying the Installation of the Tracking Code
To ensure that your Google Analytics tracking code is working correctly on the second website, it’s crucial to verify the installation.
1. Test the Tracking Installation:
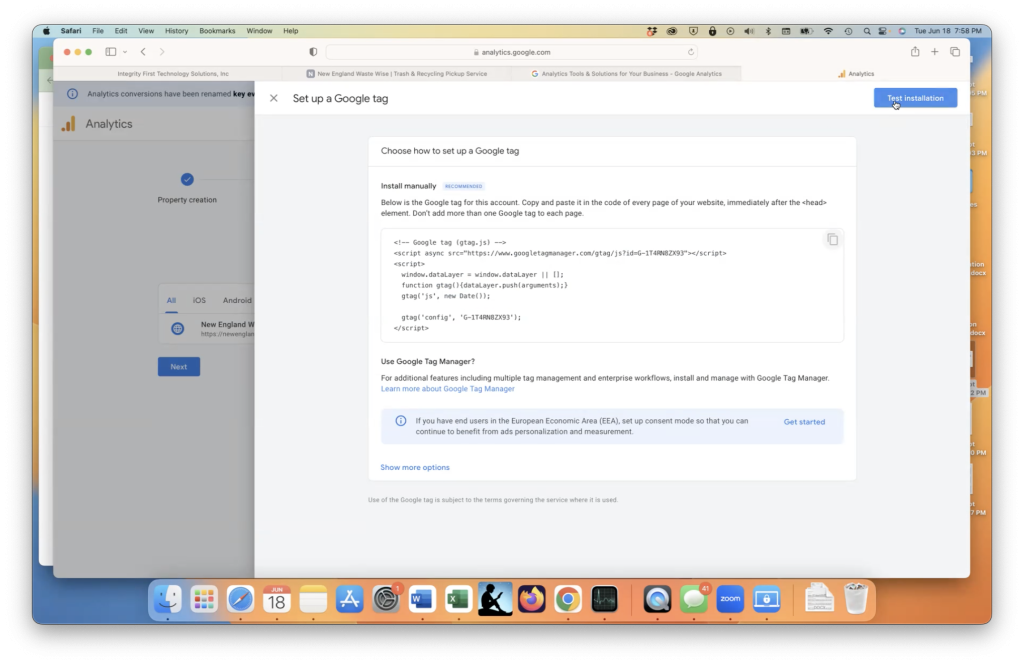
Return to the Google Analytics interface and click on “Test Track Installation” within the “Tracking Info” section.
2. Confirm Successful Tag Detection:
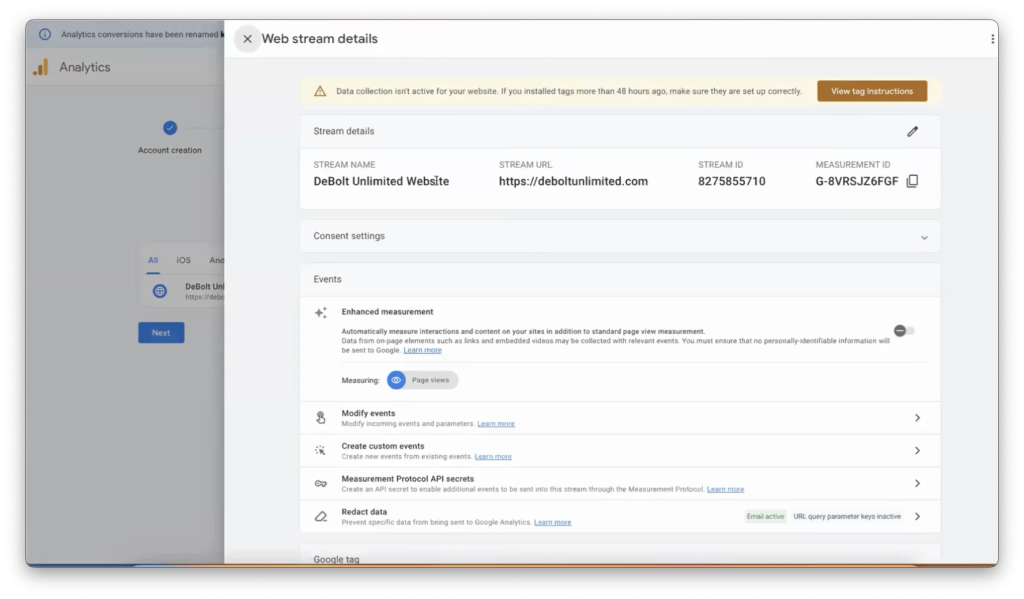
If the tag is detected correctly, you’ll receive a confirmation message indicating that Google Analytics is successfully tracking data from your second website.
Initially, you may see a message indicating that data collection is inactive. This is normal and should resolve within 48 hours. After this period, Google Analytics will start tracking visitor activity, including metrics such as bounce rate and session duration.
What’s Next? Managing Multiple Websites in Google Analytics
Now that you’ve successfully added a second website to your Google Analytics property, you can enjoy the benefits of centralized data management. Here are a few tips for managing multiple websites:
- Utilize Filters: Set up filters to segment data by website, allowing you to analyze each site individually.
- Custom Dashboards: Create custom dashboards for each website to focus on specific metrics relevant to each site’s goals.
- Set Up Goals: Define goals for each website to track conversions and other key actions.
Adding a second website to your Google Analytics property is a straightforward process that can greatly enhance your ability to manage and analyze multiple sites. By following the steps outlined in this guide, you can ensure that all your websites are accurately tracked, providing you with the insights needed to optimize performance.
If you found this guide helpful, be sure to check out our other resources on Google Analytics and digital marketing strategies. Have any questions or need further assistance? Leave a comment below or contact us directly—we’re here to help!