How to Make Professional AI Headshots at Home (Step-by-Step)
Want a polished, confident headshot for your website or LinkedIn—without a studio, getting dressed up, or perfect lighting?
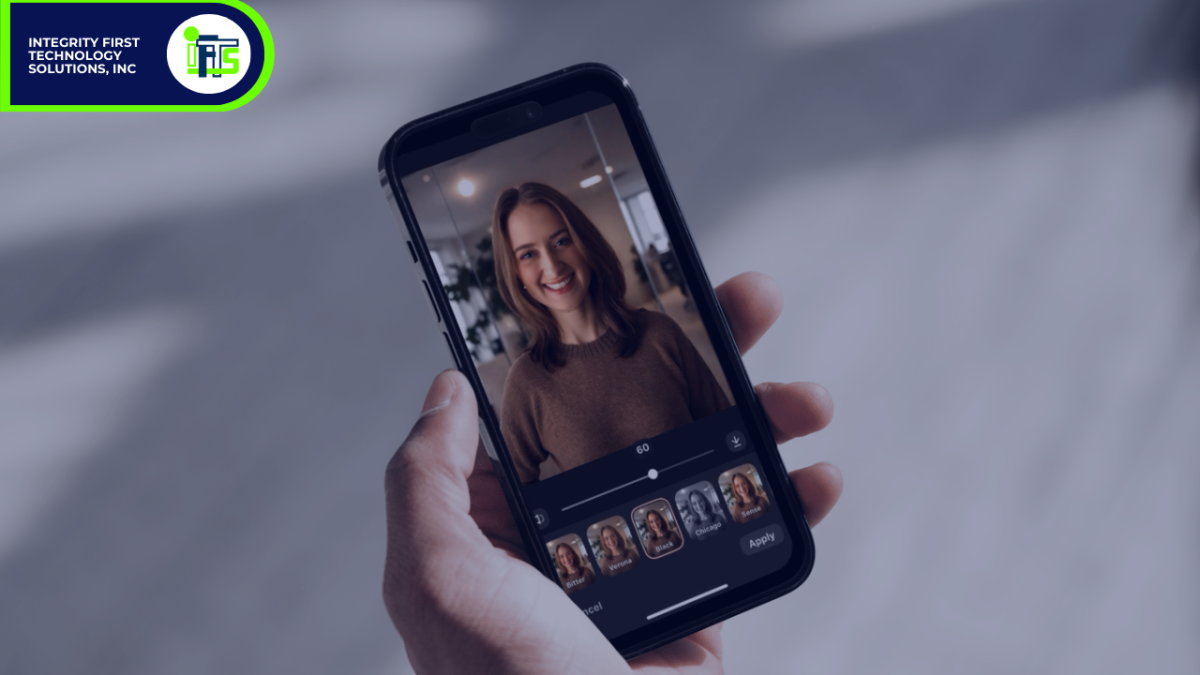
In this guide, I’ll walk you through creating professional-looking AI headshots at home using the app Gio (iOS; $39.99/year), plus pro tips for natural results.
What you’ll need
A smartphone (rear camera preferred)
A plain wall or simple background
Soft, even light (a bright window works great)
Geo app installed and logged in
Optional: a helper or tripod; otherwise use the phone’s timer
You don’t need to dress up or do full hair/makeup. We’ll handle styling and polish inside the app.
Step-by-step tutorial
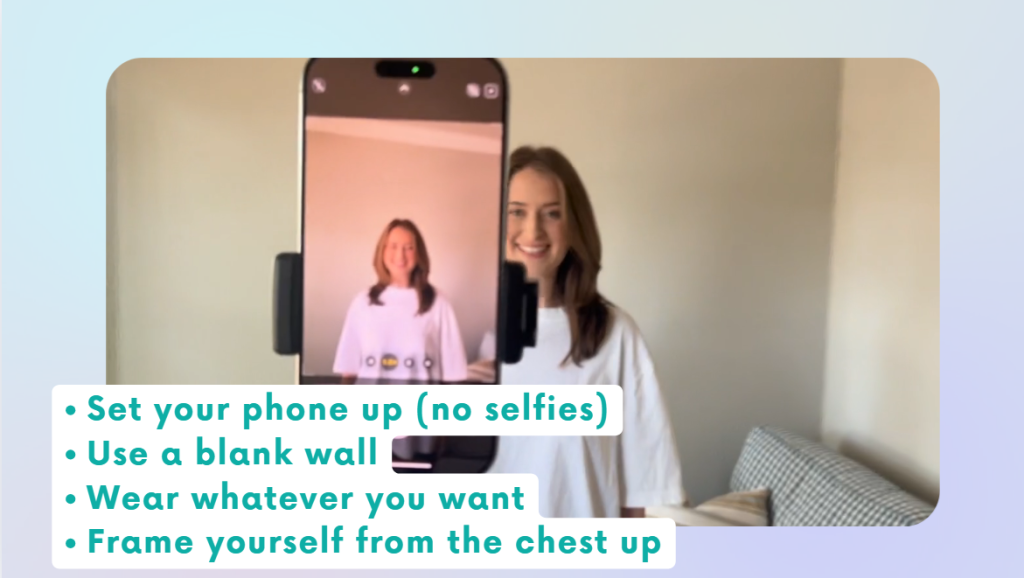
1) Prep your space
Stand 2–4 feet from a plain wall.
Face a window for soft, even light; avoid mixed overhead lighting.
Remove wall clutter (hooks, frames) so the background is clean.
2) Frame the photo correctly
Composition: chest-up, with a bit of space above your head.
Camera at eye level, held straight (no tilt).
Keep the frame not too wide—we don’t want a full-body shot.
3) Take your base photo
Relax your shoulders; slight smile or neutral expression.
Snap several options (different angles: straight on, slight turn).
If solo, use a 10-second timer and prop the phone at eye level.
4) Import into Gio
Open Gio → click styles→ select your best chest-up photo.
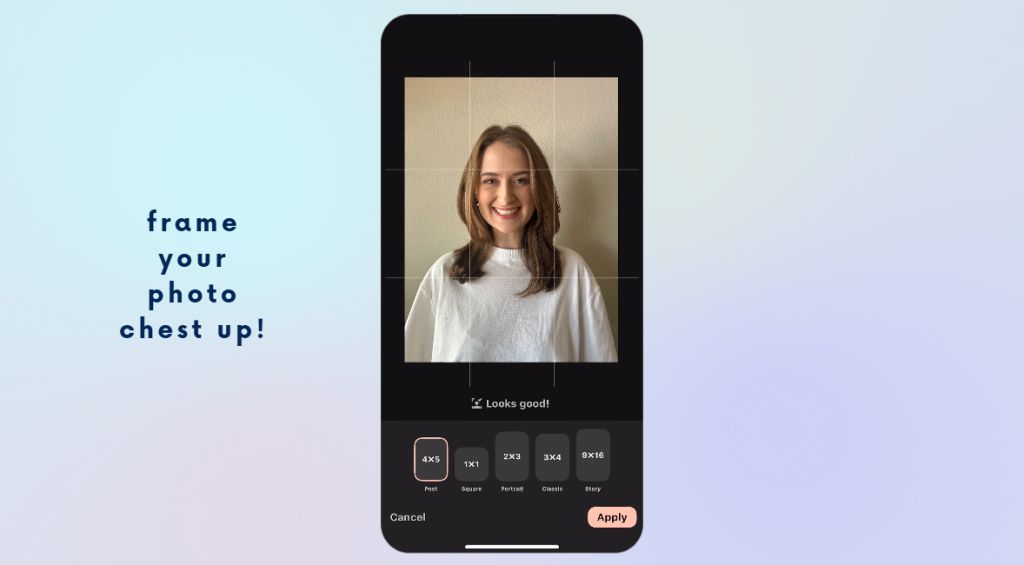
5) Crop before styling
Use Geo’s crop tool to frame just below the chest to a little above your head.
Center your eyes roughly in the upper third of the frame.
6) Choose a style
Tap Styles. You’ll see categories (e.g., Office, Doctor, Realtor, etc.).
For a classic business look, try Office → Blazer or a button-up.
Some styles add clothing only (no background). That’s normal—we’ll add a backdrop next.
Turtlenecks often hide neck artifacts, which can look more natural.
7) Generate & review
Let Gio process (typically quick or 1-3 minutes max).
Check hairline, neckline, and edges of clothing. If anything looks off, try a nearby style or let it regenerate.
8) Add a professional background
Go to Backgrounds → choose an office or studio look.
Aim for believable depth of field (slight blur behind you). This instantly elevates realism.
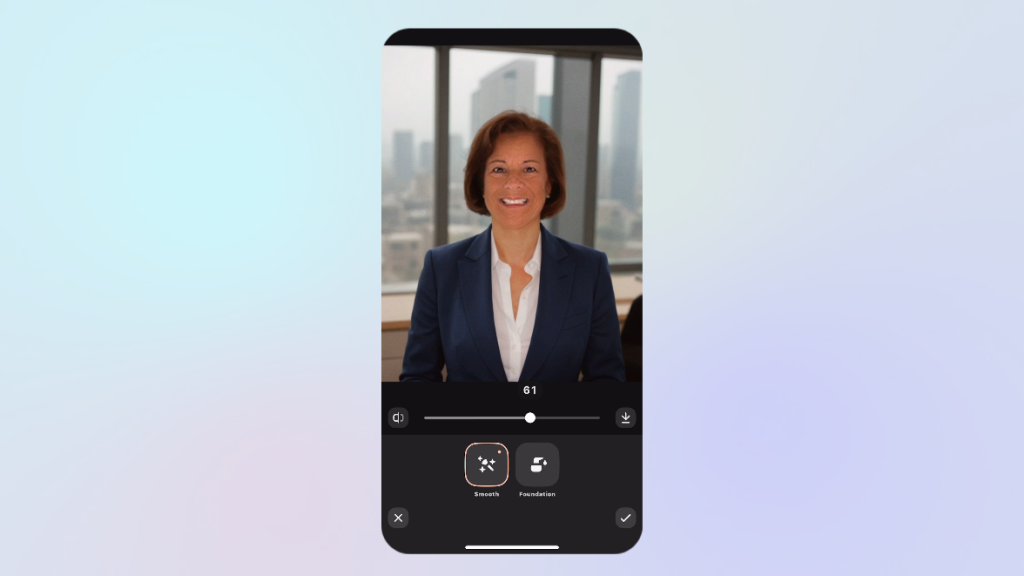
9) Retouch lightly (less is more)
Open Retouch → Skin:
Set skin smoothing ~40–50%. Enough to polish, not plastic.
Teeth/Lips:
Small amounts of teeth whitening or a slight lip lift can help; avoid extremes.
Rule of thumb: if you can see the edit, it’s probably too much.
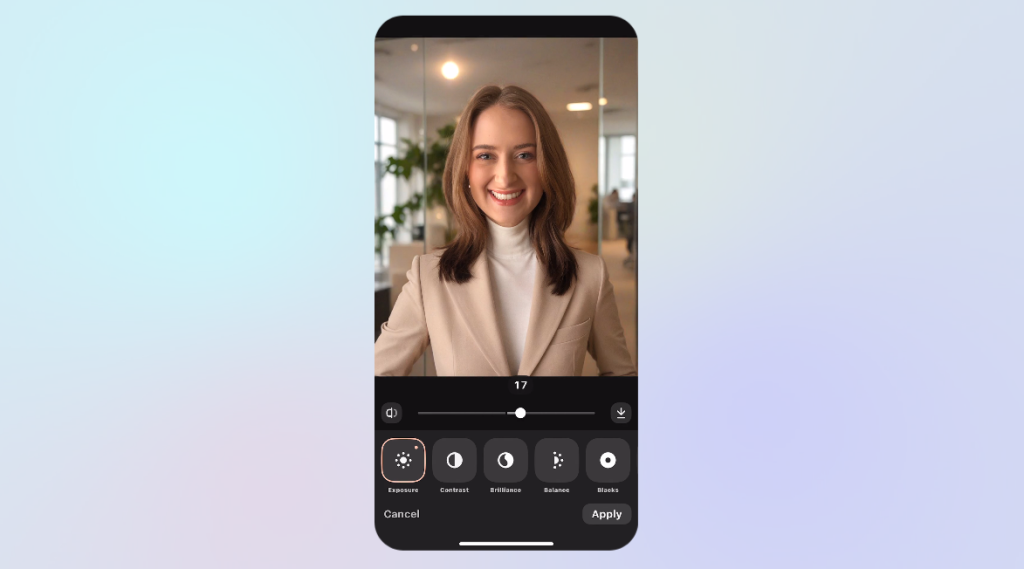
10) Match lighting & color
Use Adjustments:
Tweak brightness/contrast so your face matches the background exposure.
Slight warmth can add a healthy tone; avoid orange.
If AI clothing looks overly crisp, add a touch of blur or reduce sharpness to mimic a real photo.
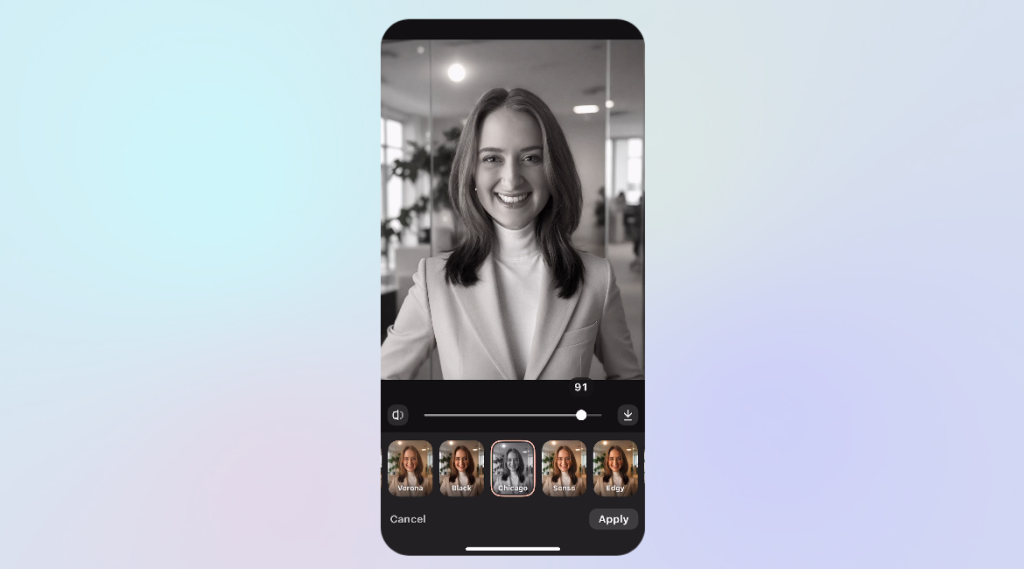
11) Optional: brand-style filters
Light filters can add mood or consistency with your website/Instagram.
Keep it subtle; you’re going for timeless, not trendy.
12) Export for each platform
Save as a standard image to your camera roll.
Crop for platforms:
LinkedIn: square (1:1), face centered, shoulders visible.
Website bio: vertical (3:4 or 4:5) with a bit more breathing room.
Working with less-than-perfect photos (mature skin & low light)
If your only photo is slightly blurry, dim, or shows fine lines, you can still get a great result.
Add a clean background first—this often fixes the overall feel.
Fine lines: keep smoothing under 50% to preserve texture.
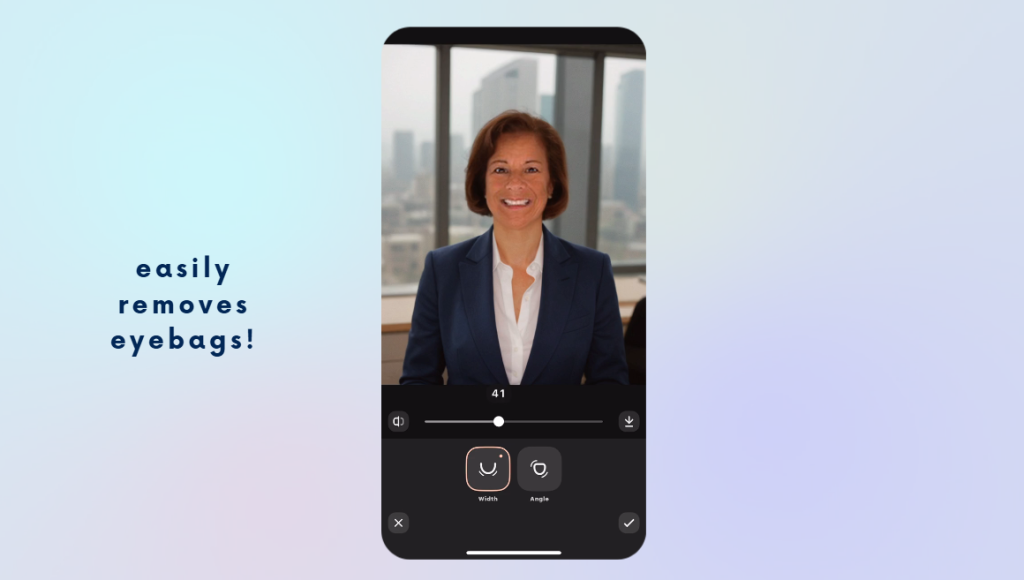
Eye bag reduction: you can push this higher than other retouches and still look natural.
Chin/angle tools: use sparingly to correct camera distortion (don’t reshape your face).
Makeup: The makeup options are minimal on Gio but offer a touch of color. I go with the natural look at about 50% and it adds light definition to eyes/lips without looking “done.”
If sharpening highlights wrinkles, back it down and rely on gentle blur + contrast balancing instead.
Quick do’s & don’ts
Do
Shoot chest-up against a plain wall with window light.
Keep edits subtle and consistent across all variations you export.
Choose backgrounds that fit your industry (law, tech, healthcare, creative).
Don’t
Over-smooth skin or over-whiten teeth.
Use busy or trendy backgrounds that will date the image.
Save only one version—export a LinkedIn crop and a website crop.
FAQs
Do I need to dress up? No. Wear anything—Gio can add a blazer, button-up, or sweater later.
What if my photo is a bit blurry? You can still get a professional result by pairing gentle retouching with a clean, well-lit background.
How many styles should I try? Test 2–4. Keep one formal (blazer), one business-casual (button-up), and one relaxed (sweater) for different uses.
Will people be able to tell it’s AI? If you keep retouching subtle and match lighting/contrast to the background, most viewers will simply see a clean, professional portrait.
Done-for-you option (fast, affordable, hands-off)
If you’d rather skip the tweaking and subscriptions, we offer a Virtual Headshot Service for $79:
3 professionally edited headshots to choose from
Custom social media graphic for LinkedIn/website
24-hour turnaround
It’s quick, effortless, and you never have to leave your office.