In today’s digital age, online reviews play a crucial role in shaping the reputation and success of businesses. Positive Google reviews not only build credibility but also attract more customers to your doorstep. So, how can you make it easier for your satisfied customers to leave glowing reviews? The answer lies in a simple yet powerful strategy: custom business cards.
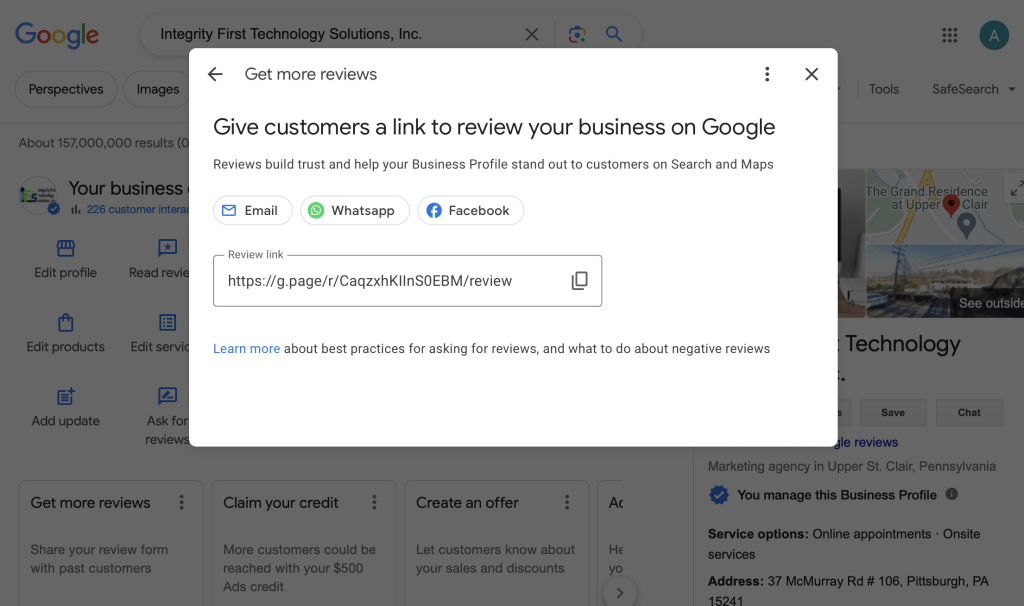
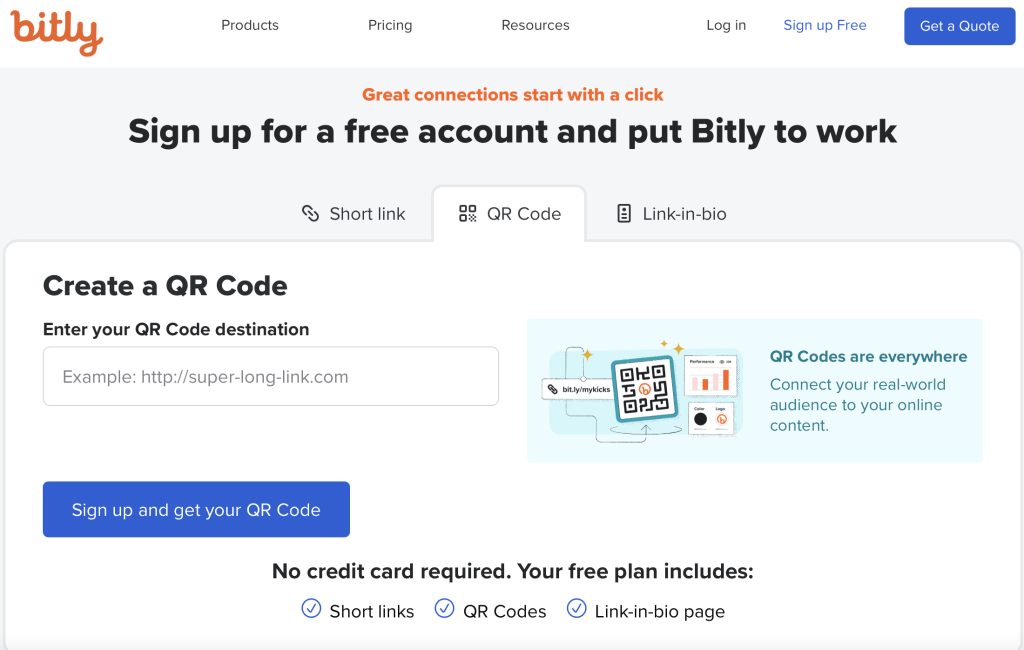
In our previous blog post, we showed you how to get a shareable Google Business review link and how to turn that link into a QR code using Bitly.
Now, we’re going to show you how to leverage the power of Canva to create custom business cards with your Google review link that drives even more Google reviews to your business.
Why Google Reviews Matter
Before we dive into the tutorial, let’s briefly discuss why Google reviews are so important for businesses.
- Credibility: Positive reviews from satisfied customers build trust and credibility in the eyes of potential customers.
- Visibility: Higher review ratings and greater numbers of reviews can improve your business’s visibility in Google search results.
- Customer Acquisition: A strong reputation with positive reviews can significantly influence a customer’s decision to choose your business over competitors.
Now that we understand the importance of Google reviews, let’s get started with the tutorial!
Sharing Made Easy With a Custom Review Card
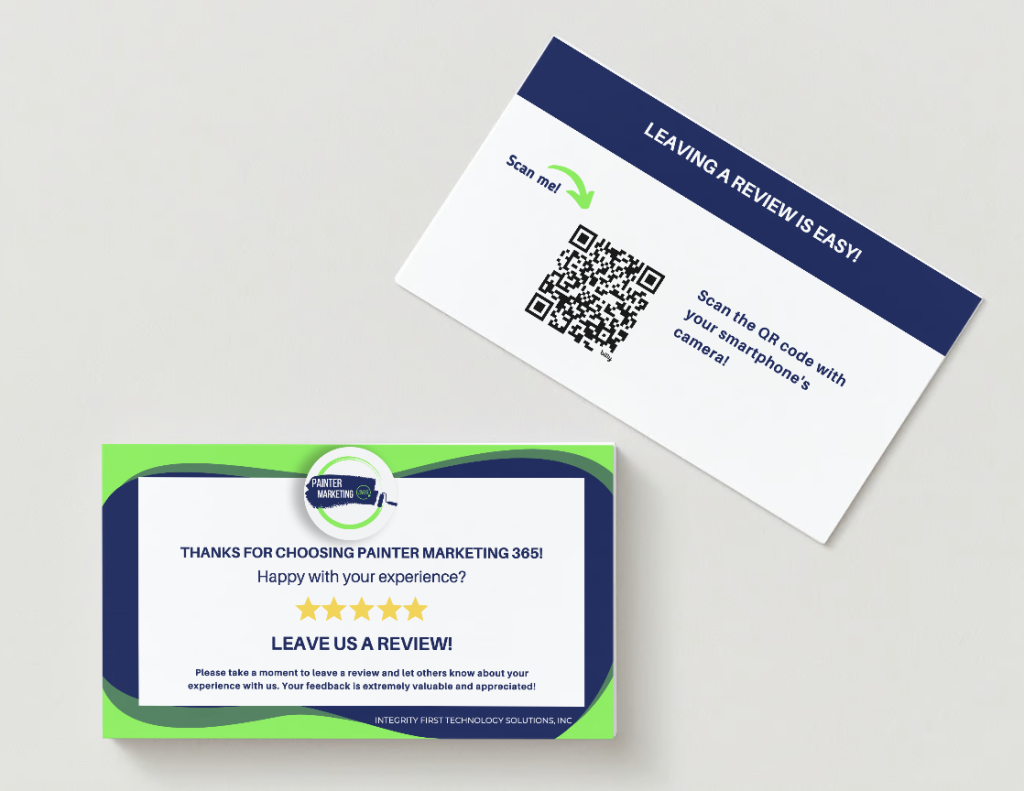
These cards not only serve as a reminder for customers to leave feedback but also make it incredibly convenient for them to do so. By incorporating a QR code linked directly to your Google review page, you’re simplifying the process for your customers, ultimately increasing the likelihood of them leaving a positive review.
Let’s explore how you can create and utilize these custom review cards to further enhance your online reputation and attract more customers to your business.
Step 1: Designing Your Custom Business Card in Canva
Canva is a user-friendly design platform that offers a wide range of templates for various purposes, including business cards. Here’s how to create your custom business card:
- Open Canva: Sign in to your Canva account or create one if you haven’t already.
- Select a Business Card Template: Browse through Canva’s selection of business card templates and choose one that fits your style and branding.
- Customize Your Design: Add your logo, contact information, and any other branding elements to personalize your business card.
- Adding the Bitly QR Code: Now, it’s time to generate a Bitly QR code linked to your Google review page. Head over to Bitly and follow the instructions to create a QR code linked directly to your Google review page, or watch our tutorial here.
- Incorporate the QR Code: Once you have your QR code, add it to your business card design in Canva. Ensure that it’s placed prominently and is easily scannable.
Step 2: Printing and Distribution
- Printing: You can print your business cards at home if you have the necessary equipment, or use a professional printing service for a high-quality finish.
2. Strategic Distribution: Make sure to leave your custom business cards at your checkout counter, include them in packaging, or hand them out during events or networking opportunities. The key is to make them readily available to your customers.
Ready, Set, Go Get Those Reviews!
By following these simple steps, you can create custom business cards that not only represent your brand but also serve as powerful tools for boosting your Google reviews. Remember, the more accessible and user-friendly you make the review process for your customers, the more likely they are to leave positive feedback.
So, what are you waiting for? Start designing your custom business cards today and watch as your Google reviews soar, bringing in more customers and growing your business’s reputation.
If you found this tutorial helpful, don’t forget to share it with others who might benefit from it.
Stay tuned to our blog for more tips and tricks to help you succeed in the digital world.
Happy designing and here’s to more glowing Google reviews for your business!

