Attracting Targeted Traffic with SEO

For painting companies, attracting homeowners, real estate developers, and commercial property managers who are actively searching for painting services is key.
SEO allows you to optimize your website with specific keywords related to painting services, such as “residential painting,” “commercial painting services,” or “eco-friendly painting solutions.” By identifying and incorporating these keywords throughout your site, you can increase your chances of appearing in relevant search queries, directly leading potential customers to your website.
Establishing Industry Authority Through Informative Content

Creating informative, valuable content is pivotal for painting companies aiming to establish authority.
For instance, blog posts on topics like “Choosing the Right Paint for Your Space,” “Trends in Interior Painting,” or “How to Prepare for a Professional Painting Job” can position your company as a knowledgeable and trustworthy service provider.
Blogs can also play a secondary role in your business by being instruction manuals that you send to your clients. As an example, when you send an appointment reminder email, you could also send a link to the “How to Prepare for a Professional Painting Job” article so they know what to do before you get there.
Consistently publishing high-quality content not only helps in building credibility but also in enhancing your website’s SEO. It does this by incorporating relevant keywords and engaging potential customers.
Get the Top 3 Social Media Post Templates for Painting Companies to Grow Your Following and Get New Clients
Engage with prospects and save time with your FREE Canva template kit. This kit features the top 3 social media posts for painting companies and directions on how to brand them for your own business in 5 minutes or less.

Enter your email below and get the templates sent directly to your inbox along with an instructional video on how to make personalized edits.
Enhancing The Overall User Website Experience
A well-optimized website offers a seamless user experience, crucial for keeping potential clients engaged and on your site. It also keeps them AWAY from your competitors.
For painting companies, this means having a visually appealing, easy-to-navigate website that showcases your work, services, and customer testimonials/reviews. Ensure that your site is mobile-friendly, as a significant portion of users access the internet via smartphones.
An intuitive, responsive design can lead to longer visits and reduced bounce rates, positively impacting your SEO rankings.
SEO Strategies Specifically for Painting Companies
To effectively improve your painting company's SEO, consider the following strategies:
Local SEO Optimization
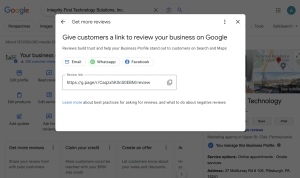
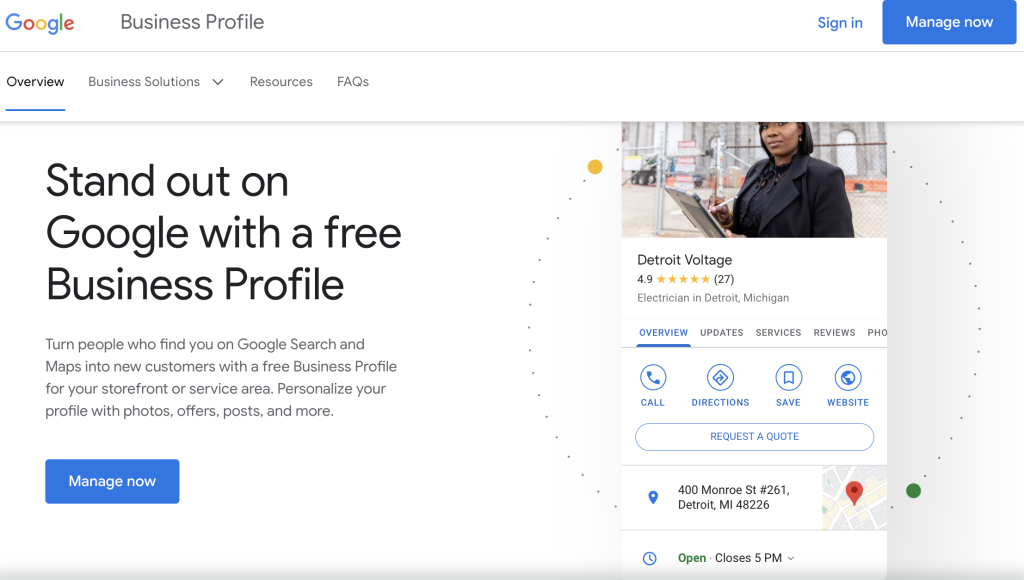
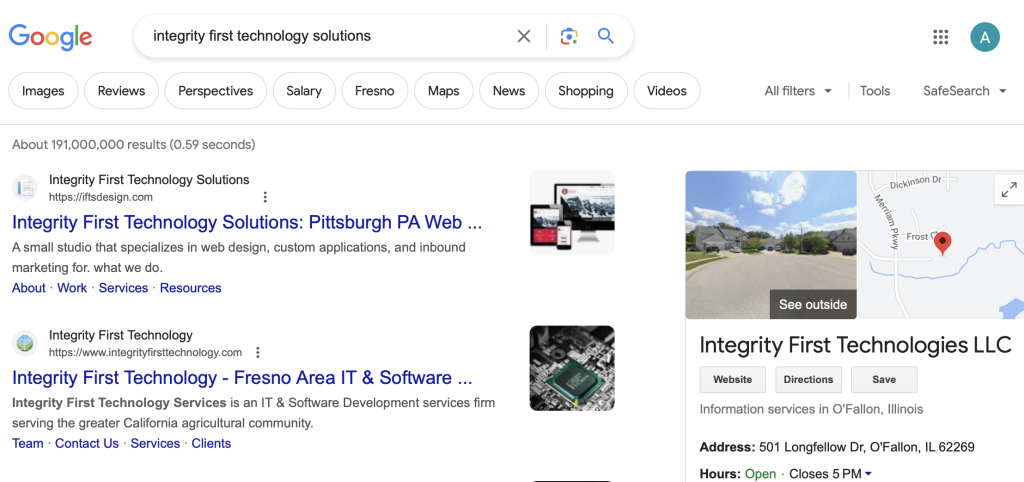
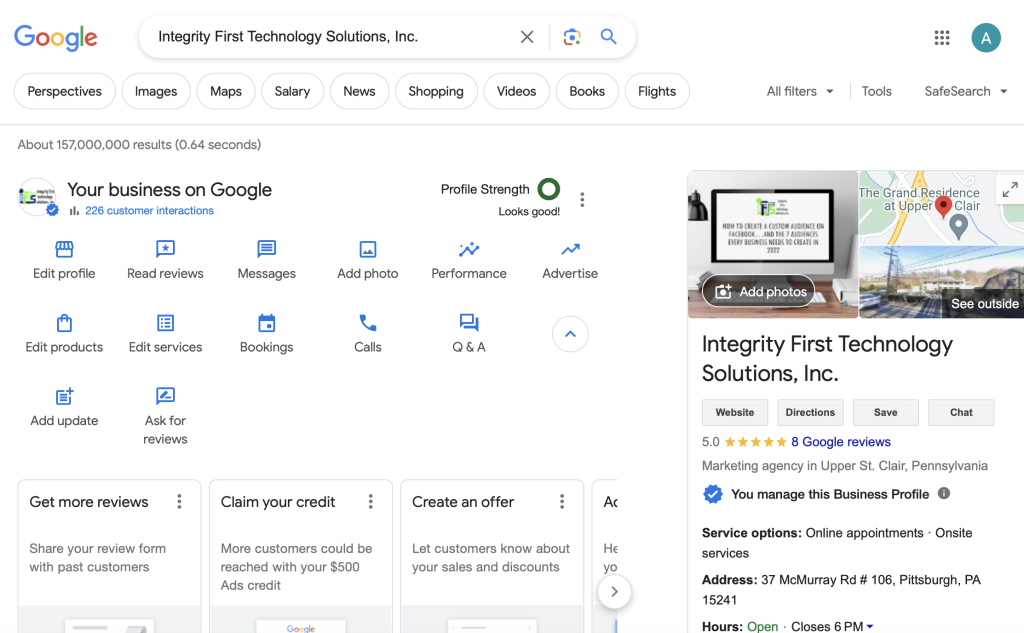
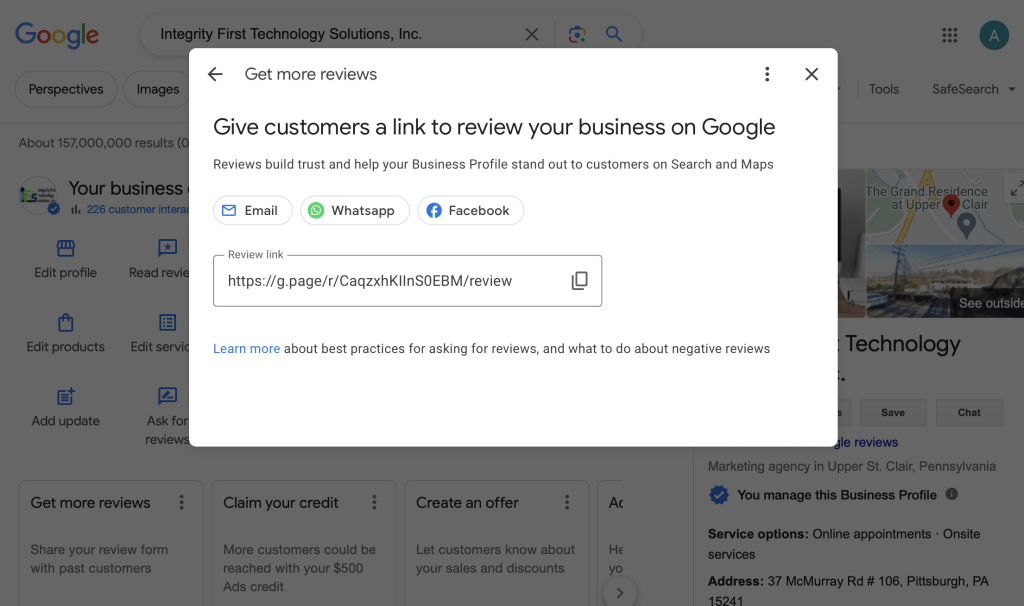
Since painting services are often sought locally, optimizing your website for local search is crucial. Claim your Google My Business listing, include local keywords (e.g., “painting services in [City]”), and ensure your NAP (Name, Address, Phone Number) information is consistent across all online platforms.
Keyword Research
Conduct thorough keyword research to understand what potential clients are searching for. Tools like Google’s Keyword Planner can help identify industry-specific keywords with high search volume.
Optimizing Website Meta Tags and Content
Incorporate your target keywords into meta titles, descriptions, and throughout your website’s content. This includes service pages, blog posts, and even image alt tags.
Showcasing Your Portfolio with Before and Afters
Use your website to showcase your best work. A gallery of high-quality, before-and-after photos of your projects can not only enhance your site’s visual appeal but also improve SEO by keeping visitors engaged longer.
Building Quality Backlinks
Earn backlinks from reputable sites within the home improvement or local business community. Guest posting on relevant blogs or participating in local community events can increase your website’s authority and improve its search engine ranking.
Staying Ahead of Your Competition Through SEO

SEO is an ever-evolving field, and staying up-to-date with the latest trends and best practices is essential to more leads and less competition.
For painting companies, this means:
- regularly updating your website with fresh content,
- monitoring your search engine rankings, and
- adapting your SEO strategy to accommodate new search engine algorithms.
Additionally, engaging with your audience through social media and online forums can boost your online presence and drive more traffic to your website.
What’s Next?
For painting companies looking to thrive in the competitive digital landscape, SEO is not just an option; it’s a necessity.
By implementing the strategies outlined above, you can improve your website’s search engine rankings, attract more targeted traffic, and establish your brand as an authority in the painting industry. Remember, the key to successful SEO is consistency, quality, and staying abreast of the latest digital marketing trends.
To further reinforce the points made, consider the insights from Moz’s “Beginner’s Guide to SEO” and Search Engine Journal’s “SEO Checklist.” These resources offer valuable tips and strategies that can be applied specifically to painting companies, ensuring that your SEO efforts are both effective and industry-relevant.
By dedicating time and resources to SEO, your painting company can achieve greater visibility, attract more clients, and ultimately drive significant business growth. Embrace SEO as a pivotal component of your digital marketing strategy and watch your painting business reach new heights.
Want a shortcut to getting this all done for you? Check out Painter Marketing 365 from IFTS, Inc!
Get the Top 3 Social Media Post Templates for Painting Companies to Grow Your Following and Get New Clients
Engage with prospects and save time with your FREE Canva template kit. This kit features the top 3 social media posts for painting companies and directions on how to brand them for your own business in 5 minutes or less.
Enter your email below and get the templates sent directly to your inbox along with an instructional video on how to make personalized edits.