fbpx

How to Use Infographics for Marketing Your Painting Business

If you’re looking for ways to stand out online and build your painting company’s brand, infographics are a great way to do it. 

A powerful tool for communicating, Infographics provide complex information in a visually pleasing way that’s also easy to understand. When used the right way, they can be very effective at bringing people to your website and getting them to interact with you on social media, and they don’t have to be expensive or take a lot of time. And because they are so easily shared on social media, they’re a great way to boost your SEO.

So, what is an infographic anyway?

As a small business owner, you wear a lot of hats. You’re the CEO, the estimator, the team lead, and the marketing team all rolled into one. And while you might be good at a lot of things, there’s only so much time in the day to get your message out. 

Enter – infographics!

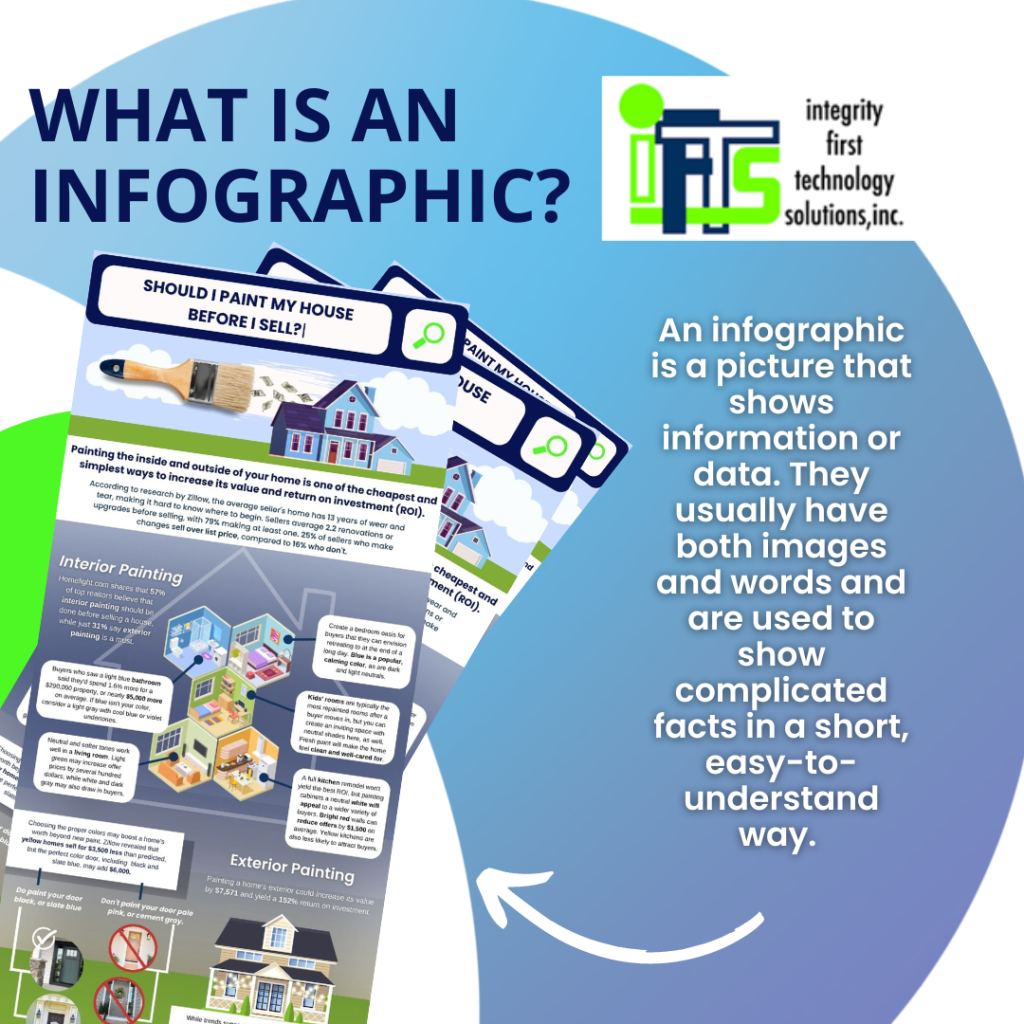
An infographic is a picture that shows information or data. They usually have both images and words and are used to show complicated facts in a short, easy-to-understand way. 

Plan to use infographics instead of spending hours poring over spreadsheets, making newsletters, or writing long blog posts. And the best part is, they’re fun to make! 

In this post, we’ll show you the best ways to use and make infographics for your painting business, but feel free to apply these tips to other markets, as well!

Make infographics about your painting services or products.

When creating an infographic about your product or service, be sure to focus on one key point that you want to communicate. 

This should be something that will interest your customers and help them understand what you do. Most of the time, less is more because too much information can turn people off.

Explain how your product or service helps solve a specific problem or shows off an interesting process you use at work. Use clear, concise language and make sure the visuals support the text.

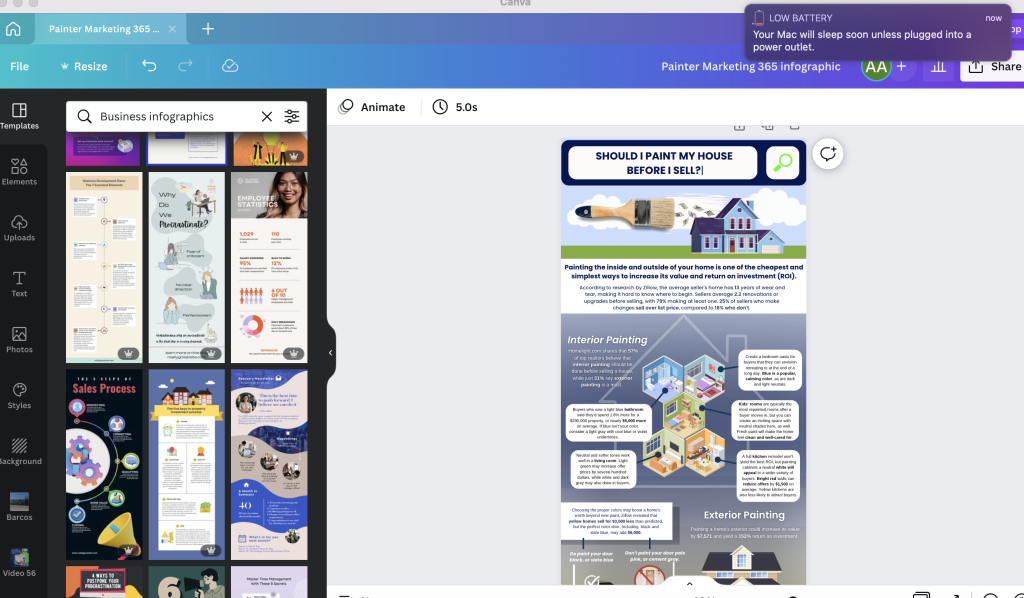
For example, an infographic that points out the areas of a house that should be painted for the best return on investment is a great way to help potential clients decide which walls to paint when they are getting ready to sell their home. 

Or, do you have a favorite way to prepare a surface or a favorite type of paint that you use for different projects? Creating an infographic to share your tips and tricks about this topic, provides a new way for your audience to rely on your years of experience for their painting needs.

Create infographics about your company's history and personality.

An infographic is a great way to share the history of your business. 

Use it to talk about important people, important events, and even interesting facts about how your business got started. This is a great way to get potential customers interested in your business and show them what it’s all about. 

People LOVE stories! If people know and like your story, it builds trust, making them more likely to want to work with you in the future. 

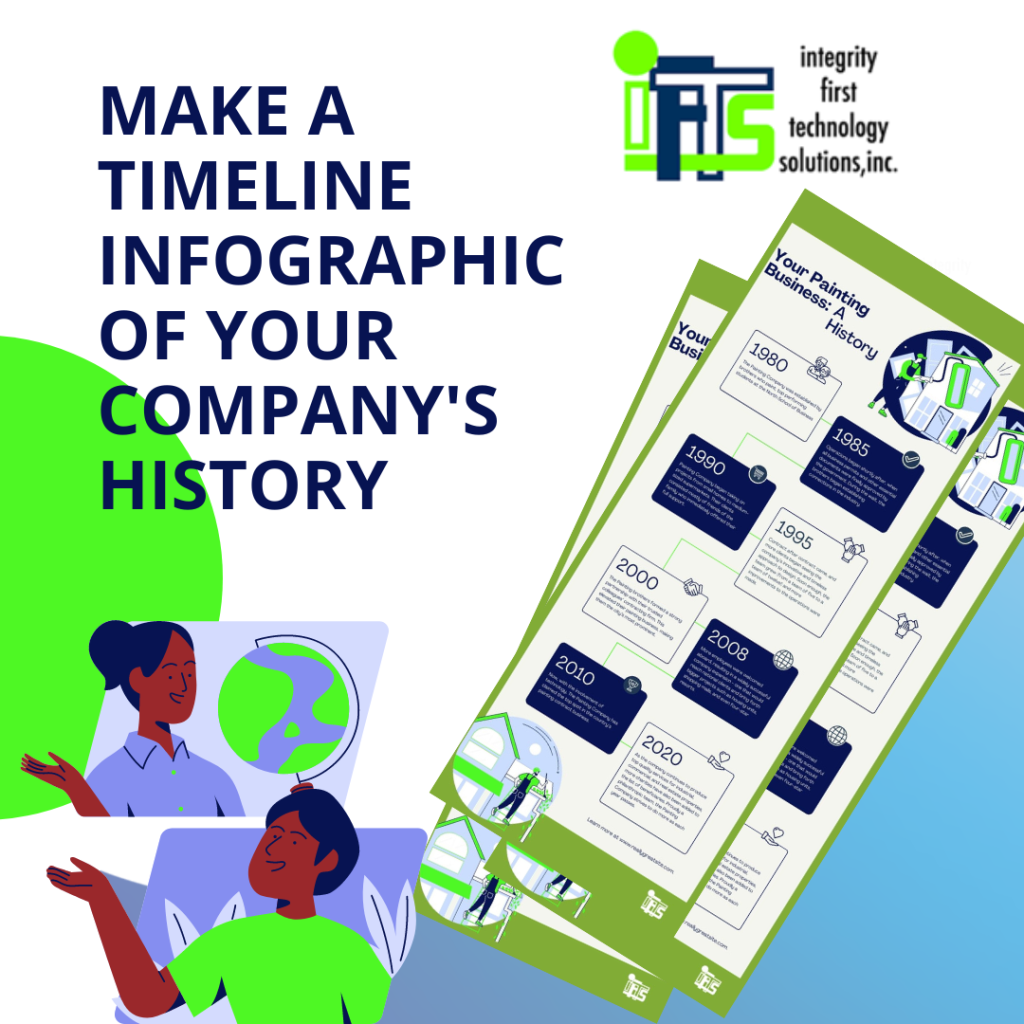
Another example is an infographic timeline that shows the different kinds of work your business has done over the years. Again, this shows that you have experience and makes your business stand out as unique and likable to potential customers and employees. 

How to make an infographic.

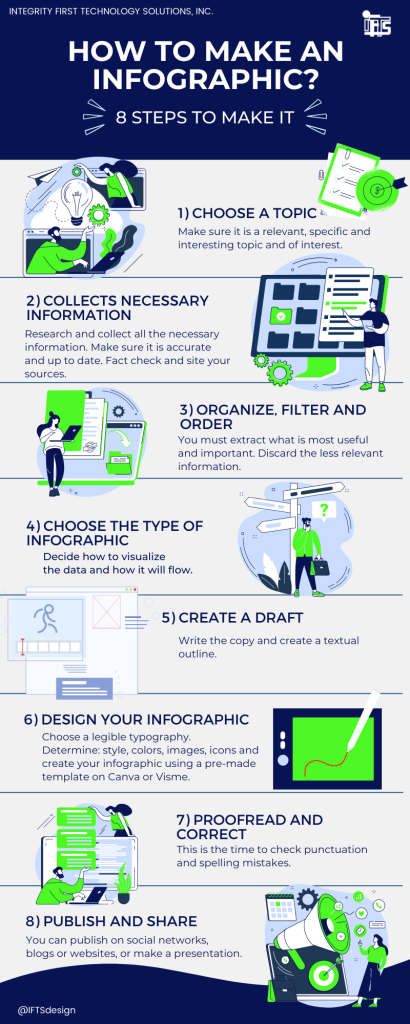
Now you can start making your infographics! 

First, think about your values and your brand’s style. 

What is your mission statement? 

Check out this article on creating a brand style guide for more ideas, and take some time to brainstorm and write down everything that you can think of.

When you really understand your company’s values and style, you’ll be able to communicate with your audience consistently. Which makes sense and builds that trust again!

Also, be sure to think about your customers’ age, gender, location, and income level. 

What are they passionate about? 

What do they like to do in their free time? 

What are their buying habits? 

Answering these questions will help you create content that really speaks to your target market.

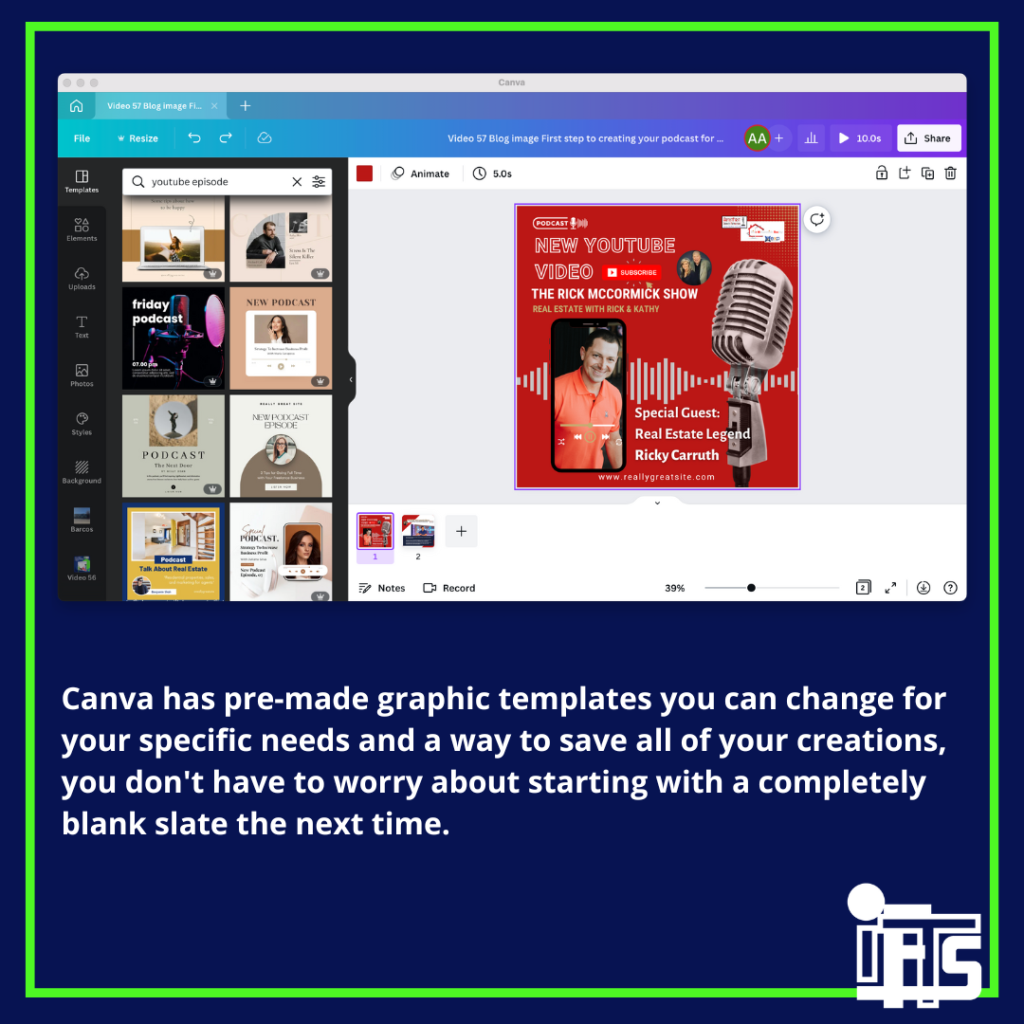
Once you have all of this information, you can start designing your infographics. Be sure to use visuals, such as charts and graphs, to make your infographic more engaging and fun to look at. 

Canva is a great, easy-to-use app that you can always turn to. It has infographic templates that you can use to get started quickly, and you can format them for many different social media sites.

Share your infographics.

Now, if you’re happy with your infographic, it’s time to share it with the world! Post it on your website, social media, and anywhere else your target audience is likely to see it.

If you need more ideas on where you should be posting your infographic, learn more about the social media platforms we recommend for your painting business here

By using these tips, you can create informative and visually appealing infographics about your company. This will help you attract new customers and employees and build a strong online presence for your business—and there’s no need to hire a professional designer to create them (although you certainly can if you want to)!

So what are you waiting for? 

Get started making infographics for your small business today!

If you need more help in this area, give IFTS, Inc. a call at 412.715.6266 for a FREE consultation!

How To Film A Video On Your Smartphone And Turn it Into Two Weeks of Social Media Content

If you’re running a small business, chances are you don’t have a big budget for marketing. 

That’s why it’s important to be creative and get the most out of the resources you do have! If you’ve been following social media and internet trends in recent years, you’ve probably noticed that video is taking over and can be very effective for your small business.

One way to produce some really good content for your social media is by filming informational videos that can be turned into two weeks worth of social media content!

In this article, we are going to help you save time (and money) when it comes to producing social media content for your business. You’ll learn how to film and edit your video, and use it to create two weeks worth of eye-catching social media content!

Filming Your Video

Filming a video for social media sounds like a daunting task, but it doesn’t have to be! If you have a smartphone, you have everything you need to film a great video. We have a full article that goes into the details on how to create and optimize a video for YouTube.

Here are a few quick tips to help you get started with filming:

  1. Use natural light whenever possible. This will help your video look more professional.  It will also help you look your best!
  2. Invest in a tripod to keep your camera steady. This will also help with the professional look of your video.  Here’s an example of a great starter tripod.
  3. Plan out what you’re going to say before you start filming. This will help you stay on track and avoid rambling.  If you are worried about not sticking to your script, try a teleprompter app.

Editing your video

Editing your video doesn’t take as long as you might think.

Canva is an awesome all-in-one tool that you can use to edit your videos AND create your social posts that we will talk about in the next step. Follow these quick tips when editing your video:

  1. Start by trimming any dead space at the beginning or end of your video.
  2. Then, upload the file to canva and add in any titles or text that you want to include. We recommend adding a title slide and ending slide that includes a call to action.
  3. Finally, add some background music to your video. This will make it more engaging and entertaining to watch.

Envato Elements is a great resource to download background music for your videos.

Posting Your Video

Once you have edited your video, it’s time to post it on social media!

The first place that you should post your video is YouTube. If you don’t have a YouTube channel, follow these 3 easy steps to set up a YouTube channel!

Another great place to post your full video is on your businesses Facebook page. This is a great way to get more views and engagement on your video.  You can check out our Facebook page for inspiration and ideas.

You can also create shorter clips of your video to post on Instagram and Twitter. These social platforms are all about quick, snackable content that is easy to consume. So, make sure that your video clips are short, informative and to the point.

Turning Your Video Into Two Weeks of Content

To get the most out of the video that you created, you’ll want to turn it into multiple pieces of content for social media.

This is where Canva comes in handy again! You can use Canva to easily create images and graphics with information from your video that can be used for social media posts.

We created a list of the Top The Top 18 Social Media Post Ideas to engage your online audience and save you time.

Creating content from your video will help you get more views and engagement on your video, and also help you reach a larger audience across many platforms, while saving you time.

Here are a few ideas on how to turn your one video into two weeks worth of content:

Day 1: Publish the video on YouTube and share it on your social media channels.

Day 2: Create a blog post about the video and promote it on social media. To make things even easier, use Otter.ai to transcribe your video and post the text as a blog.

Day 3: Create an Instagram story about the video and share it on your other social channels.

Day 4: Take a fun fact or quote and turn it into text with a picture that goes with it.

Day 5: Share some behind the scenes photos or videos on Instagram from when you were filming the video.

Day 6: Share a clip from the video on Instagram and link to the full video in your bio.

Day 7: Share a reminder to check out your blog post

Days 8-9: Create a social media challenge related to the video and encourage people to participate.

Day 10: Create a list post or promote free consultations, subscriptions, newsletters, or other lead magnets.

Day 11: Share interesting facts or comparisons as an infographic.

Day 12: Share another clip from your full video.

Day 13: Combine text and a visual image using a useful fact or statistic from your video.

Day 14: Share a reminder to watch your video on YouTube and link to the full video.

Schedule Your Posts Ahead of Time

Put your social media on autopilot by scheduling your content ahead of time! This will save you hours each week and help ensure that your content is getting in front of your audience on a regular basis.

We recommend using a tool like SocialPilot to queue up your content and post it for you automatically.

What Are You Waiting For?

Filming an informational video about your small business is a great way to create content that you can use for social media. Now that you know how to film a video on your smartphone, edit it, and turn it into two weeks of content, it’s time to get started! These tips will help you save time and money while still getting great results.

So, what are you waiting for?

Get filming!

If this process still sounds too time consuming for you, contact the social media experts at IFTS and we will get the job done for you! Call us today at 412-715-6266.

Top 5 Tips for Turning Your YouTube Podcast Video into Two Weeks of Social Media Posts

It can be a struggle to come up with fresh ideas for your social media campaigns, but if you have a great podcast that you’re passionate about, why not use your discussions and turn them into social media content?

With a little bit of work, you can easily turn your podcast into two weeks of social media posts that will help you grow your audience and build your brand.

In this blog, we’ll give you tips on how to turn your audio into text and graphic posts, and even short video clips for sites like Youtube, Instagram, Facebook, and Twitter. We’ll also tell you how to promote your videos so that more people watch them.

So if you’re ready to learn how to turn your podcast into social media gold, read on!

#1-Make a daily plan for the next two weeks for your social media.

Having an outline of the types of posts you want to share each day and the format you want to use, such as text, image, video, or a combination of the three, is helpful.

For example,

Monday: Upload your podcast video to YouTube (we talked about how to do this in our last blog) and share the link on your other social media sites.

Tuesday: Take a fun fact or quote and turn it into text with a picture that goes with it.

Wednesday: Post a short clip from the whole video.

Thursday: Find an inspirational quote and make a graphic related to your topic.

Friday: Create a blog link post.

Saturday: Post a fun fact or a funny clip.

Sunday: Reminder to check out the Youtube video.

Week 2

Monday: Combine text and a visual image using another useful fact or statistic from your podcast.

Tuesday: Make another inspirational quote post.

Wednesday: Create a list post or promote free consultations, subscriptions, newsletters, or other lead magnets.

Thursday: Provide another guest quote or topic quote, either in the form of a short video clip or an image and text post.

Friday: Post a reminder to check out your podcast with a link included.

Saturday: Share interesting facts or comparisons as an infographic.

Sunday: Show a screenshot of the podcast video or image with a teaser that says “keep tuned for our upcoming episode.” 

#2-Pull out the most interesting parts of your podcast to create your social media posts.

You can do this the old fashioned way by listening to your audio and writing down at least 8 to 10 points you’d like to highlight, or you can easily transcribe your entire podcast with apps like otter.ai, which saves the entire text from your audio, making it easy to read over and copy all of the quotes and information you’ll use when making your daily posts.

#3-Create your text and graphic posts.

Let’s dive in!

Feel free to be as creative as you’d like, but we like to follow these simple rules.

  • Get the reader’s attention with a topic line that stands out.
  • Explain why this content is important to them.
  • Tell them what they will learn.
  • Tell them how to listen to the episode.

Remember to add colors, your logo, and a font style consistent with your brand’s personality and the topic you’re covering.

Using photos, art, and other graphics can give your social posts a unique touch and help you get the attention of your audience.

It may take a little longer in the beginning to create posts from scratch, but once you have a theme, it will take less time in the future.

There are many design apps out there with free-to-use features, and one of the easiest and most intuitive to work with is Canva. With pre-made graphic templates you can change for your specific needs and a way to save all of your creations, you don’t have to worry about starting with a completely blank slate the next time.

#4-Create your video posts.

Creating video clips and posts of your podcast episodes is a great way to repurpose your content and get more bang for your buck.

You can share two types of video: an actual video clip, if your podcast story or interview is videotaped, or an audio clip transformed into video format (mp3 to mp4), which is a lot easier than it sounds.

Read on to learn how to convert audio files to YouTube-friendly videos:

  • Go to Headliner.app or Canva.com and register for free.
  • Click “create audiograms” or choose one of the many video templates on Canva.
  • Upload your podcast audio, or you can upload a video file of your episode if using Canva.
  • Choose the length of video you will create, or for more advanced options, Canva allows you to cut your video and save it as a new project where you can add custom graphics and elements, including page animations, transitions, and background music!
  • Headliner allows you to Include transcription, but only up to 10 minutes in length. In Canva, you can add text to each frame of your video, which is time consuming for an hour long podcast, so save that for shorter clips. As we covered in our last blog, Youtube allows you to add subtitles automatically and is by far the easiest way to add captions to an entire podcast video.
  • Follow these steps to design, and your video clips will be ready to share on social media.

If you’re posting just audio, try to keep it under one minute, and remember, sites like Instagram only allow video posts that are one minute or less.

And make sure you include a great opening line, so that listeners will want to hear more!

#5-Plan and schedule your posts.

The last step is to publish your content. You can do this manually, but if you use lots of different social media platforms, use an automatic scheduling program like socialpilot.co, which will allow you to plan multiple posts in advance.

These sites often provide analytics which tell you how your posts are performing on each platform. Be sure to try it out and don’t worry about being perfect!

Finally, be sure to include links to subscribe to your podcast on iTunes or other sites and add relevant hashtags so that people can easily find and follow you. And remember to promote your videos by sharing with your friends and followers and encouraging everyone to share them, too.

You can also use paid advertising on social media platforms like Facebook and Instagram to boost your videos. When creating your ads, be sure to target people who are likely to be interested in your content. For example, if your podcast is about business, target people who work in businesses or are interested in entrepreneurship.

By following these steps, you can easily turn your podcast into two weeks of social media content. 

So what are you waiting for? 

Start creating and promoting your videos today!

Need some help in this area? Call our social media experts at IFTS and learn more about our services at 412-715-6266.